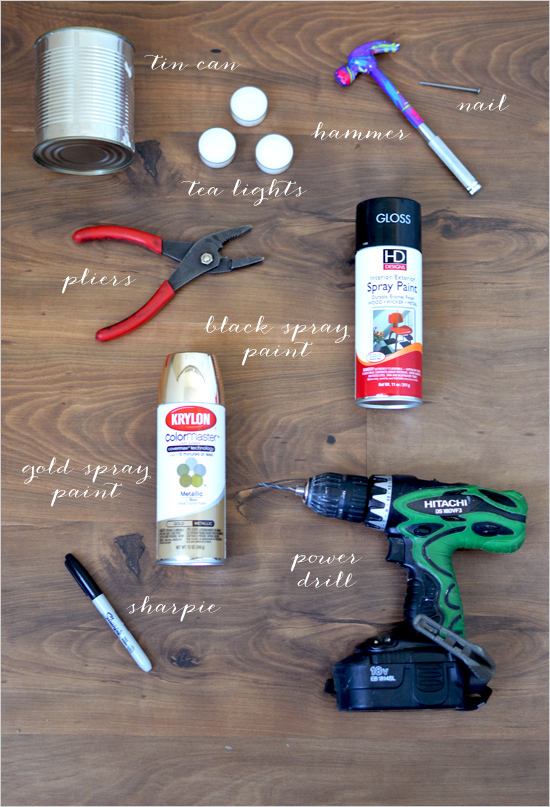
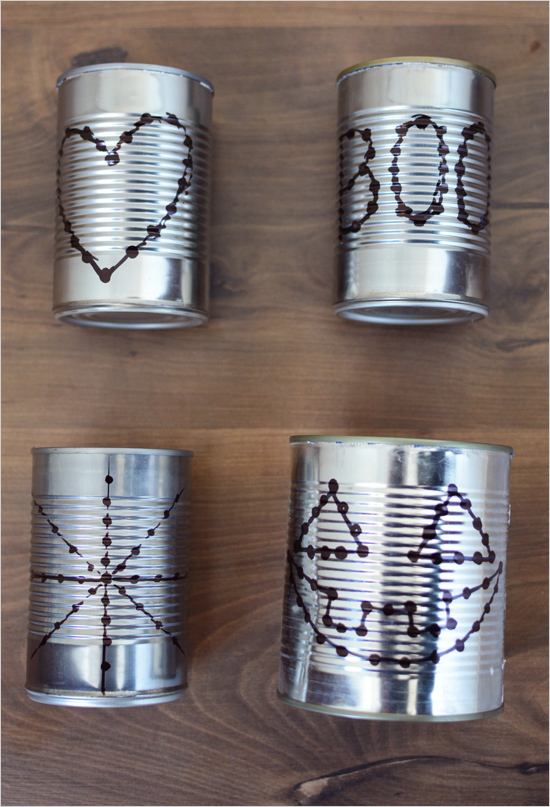
DIY Tin Can Lanterns Light up this years Halloween party with some super cute and easy to make DIY tin can lanterns! We have a list of all of the materials needed with step by step directions right here, so how can you possible resist checking it out?! Light up this years Halloween party with some super cute and easy to make DIY tin can lanterns! We have a list of all of the materials needed with step by step directions right here, so how can you possible resist checking it out?! Materials you will need for your DIY tin can lanterns: Cleaned out tin cans with labels removed Tea light candles Pliers Sharpie Power drill (No drill? a hammer and long nail will also work) Spray paint. Step 1: Use the pliers to flatten any sharp edges on the inside rim of your tin cans. Step 2: Draw the designs you wish to create onto the outside of each can. Draw a dot everywhere you would like to put a hole, this will make the drilling/hammering easier. Step 3: Carefully drill out your designs. If you are using a hammer and nail we recommend wearing gloves and using clamps to keep the cans in one place. Step 4: In a well ventilated area spray paint the inside of each of your cans. Step 5: Once dry, pack the inside of each can with newspaper/paper towels/napkins. This will prevent the exterior color from dripping into the inside of your lanterns. Step 6: Turn your cans upside down and apply an even coat of spray paint to the outside and bottoms. This may take several coats. Step 7: Allow to dry completely in a well ventilated area. Drop tea light candles into each of your lanterns, light and enjoy the spooky effect! Previous Next