DIY Wedding Makeup: Flawless Bronzed Look Tutorial with Product Guide
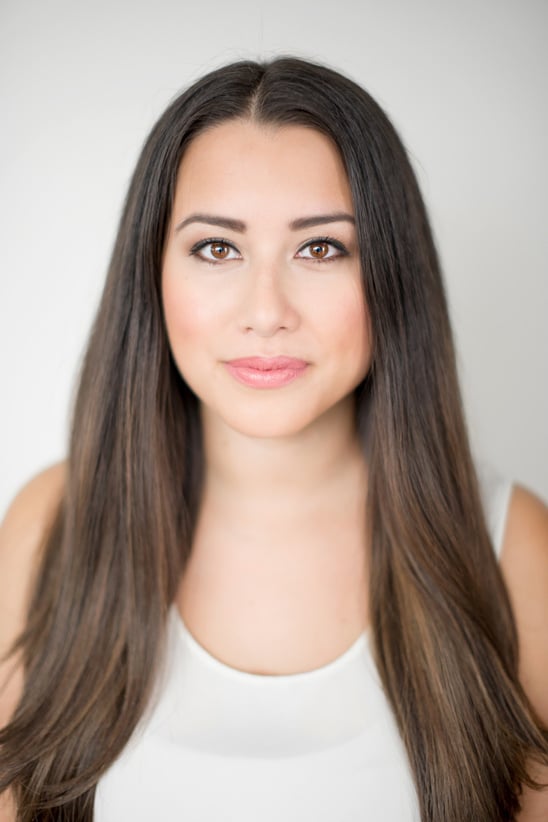
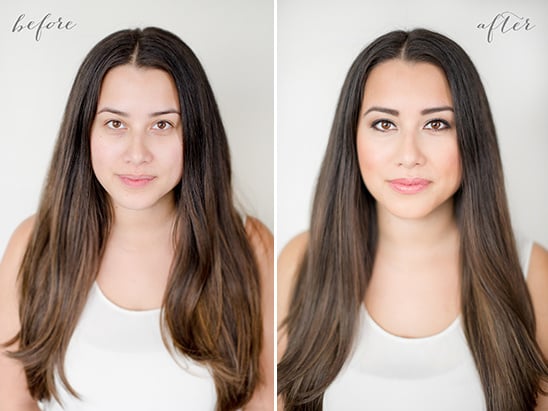
Did you know that Kate Middleton did her own wedding makeup? Well ... you can too! To show you how easy it is to do your own wedding makeup, we have an easy seven step tutorial on how to re-create a flawless bronzed wedding look. Don't worry we will tell you what to buy as well. Remember ladies, practice makes perfect so be sure to test your look out several times and take selfies to ensure you got your wedding look down to a science.
Now on to the tutorial designed by makeup artist Denise Elliott Makeup Artistry! All captured by Christie Graham Photography.
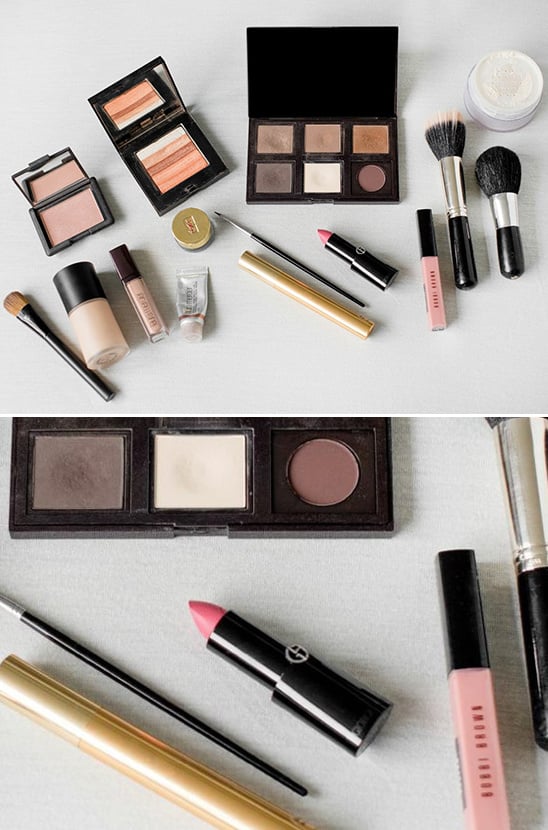
[show_boutique_widget id="132616"]
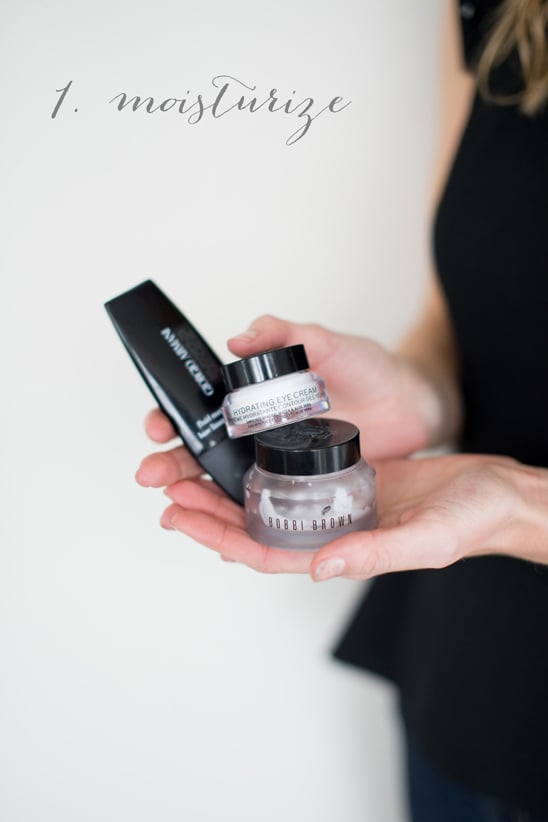
Keeping your skin hydrated is very important, as it will make the foundation look smooth and natural! Moisturize first and then apply primer. This will minimize pore size and hold the foundation throughout the day.
Products: Bobbi Brown Hydrating MoisturizeGiorgio Armani Primer
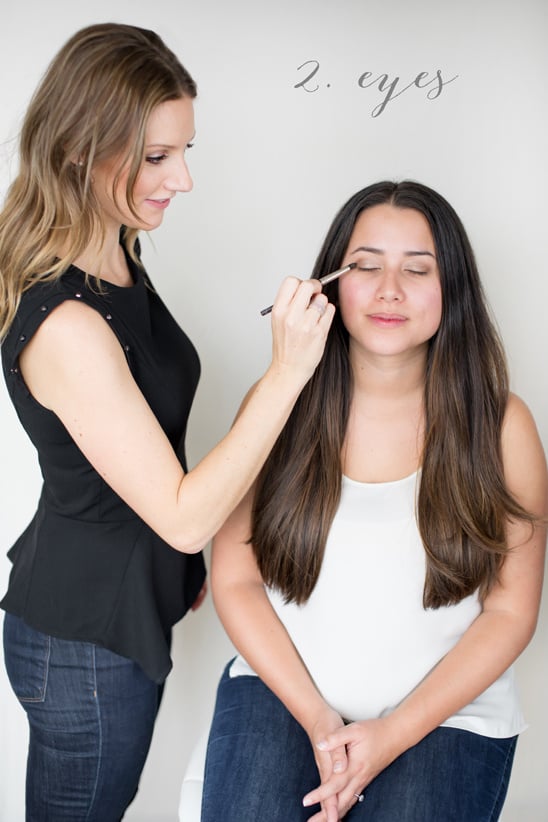
1. Prime the lid: Apply to the entire lid. This will prevent any creasing.
2. Cream eye shadow: Apply a cream shadow from lash line to the crease.
3. Powder eye shadow: Apply eye shadow in the crease creating contour and depth to the eye.
4. Gel liner: Apply the liner for the outer corner of the eye to the inner corner. The trick is to apply it as close to the lash line as you can.
5. Mascara: Before applying always curl your lashes. Start applying at the root of the lashes and wiggle the brush while you sweep the lashes upwards.
Helpful Tip:
Always do eyes first before concealer! Eye shadow will cause fallout under the eye area. Once you finish the eyes, use a q-tip and use eye cream to clean the eye shadow fall out.
Products:
Eye cream: Bobbi Brown Hydrating eye cream Eye primer: Laura Mercier Eye Basic Cream Shadow: Laura Mercier Gold Metallic & Laura Mercier bronze eye shadow Gel liner: Bobbi Brown Gel or YSL gel liner. Mascara: L’oreal voluminous or YSL
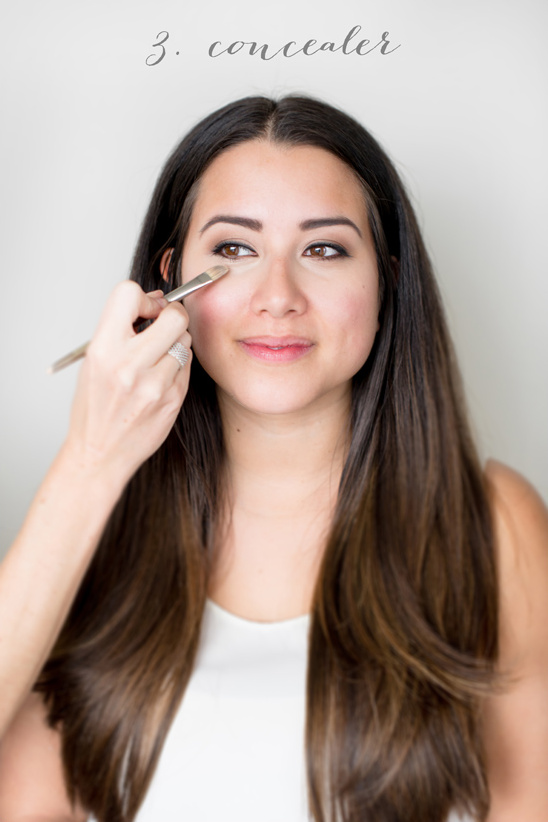
Apply corrector to neutralize under eye darkness. Then the concealer is applied over top to brighten.
Products:
Corrector: Bobbi Brown Concealor: Giorgio Armani Concealer
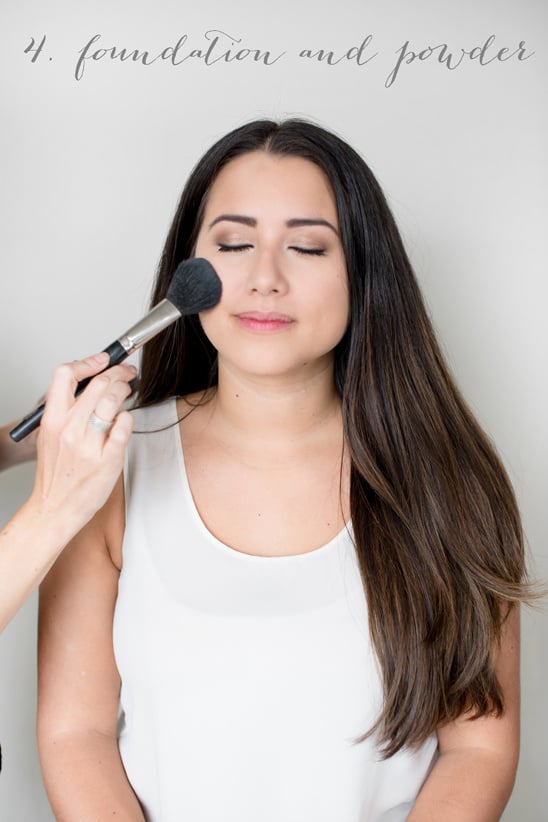
Apply with foundation brush or beauty blender (if you want lighter coverage). Start in the center of the face and blend outwards making it blend right into the jaw line. Use a powder brush to apply the powder by pressing it into the skin setting the liquid foundation. Also, don’t forget to set the under eye area where you applied corrector/concealor.
Helpful Tip:
If you have the pressed powder, bring it with you for touch-ups during the day if you get oily in the T zone.
Products:
Foundation: Giorgio Armani Luminous silk (For oily skin: Lasting Silk UV Foundation)
Powder: Laura Mercier Translucent loose/pressed.
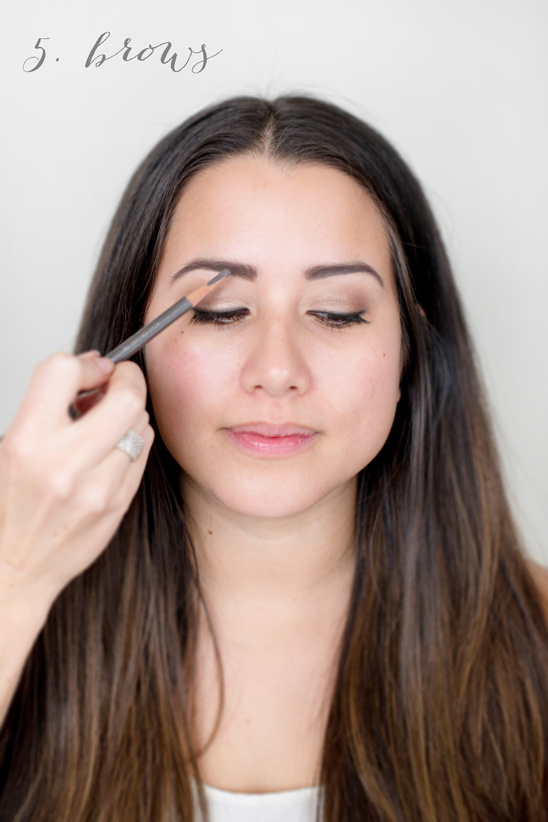
Brows are key as they frame your face. Fill brows from the edge of your nose to the outer corner of your eye. Having the arch lined up with the middle of your pupil means your arch is in the correct shape.
Products:
Brow Pencil: Shu Uemura brow pencil
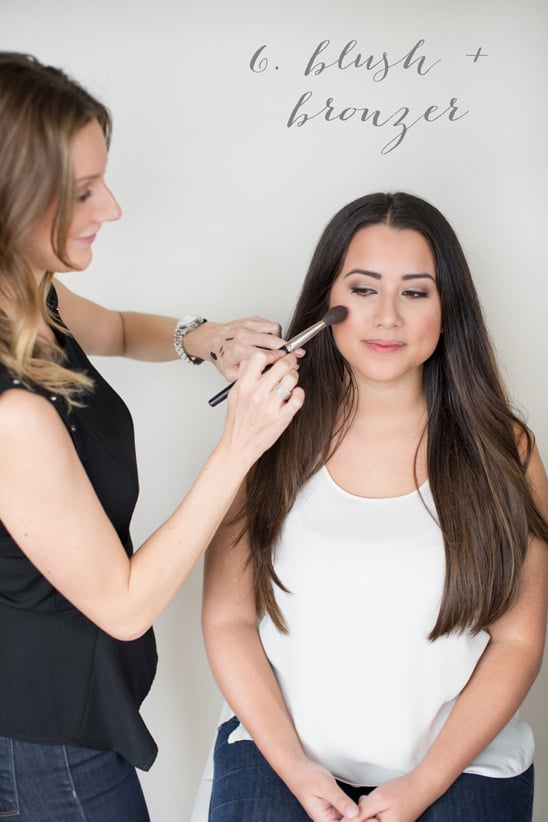
Apply the bronzer first. Apply the bronzer from the top of the forehead, on the side of your temples and then sweep underneath your cheekbones and down to the neck. It’s like making a number “3” motion with your brush. Apply blush on the apples of the cheeks. For a highlight on the check bones use Bobbi Brown shimmer brick.
Products:
Bronzer: Bobbi Brown Blush: Nars Shimmer Stick: Bobbi Brown & Shimmer Brick
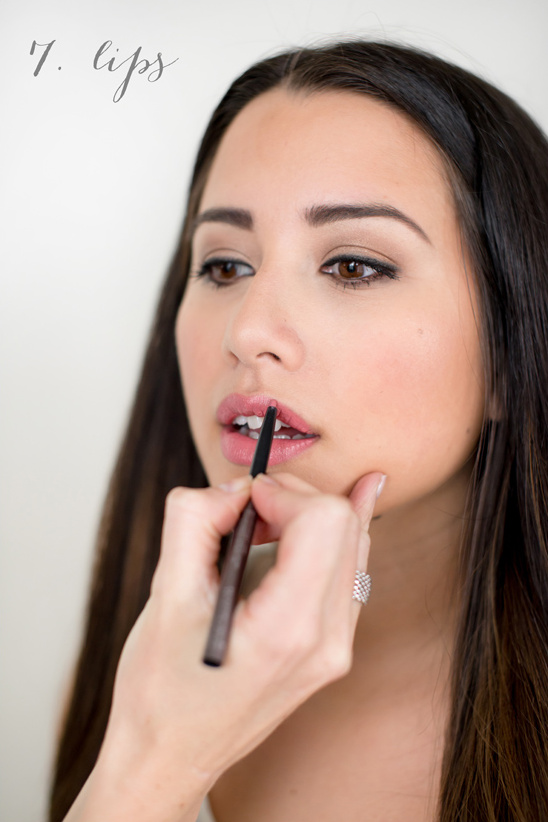
Lightly line with liner, apply lipstick to add color, and top with gloss for shine.
Products:
Lipstick: Giorgio Armani Gloss: Bobbi Brown Lip Liner: Bobbi Brown
Makeup: Denise Elliott Makeup Artistry Photography: Christie Graham Photography Model: Alicia Quan of Alicia Fashionista