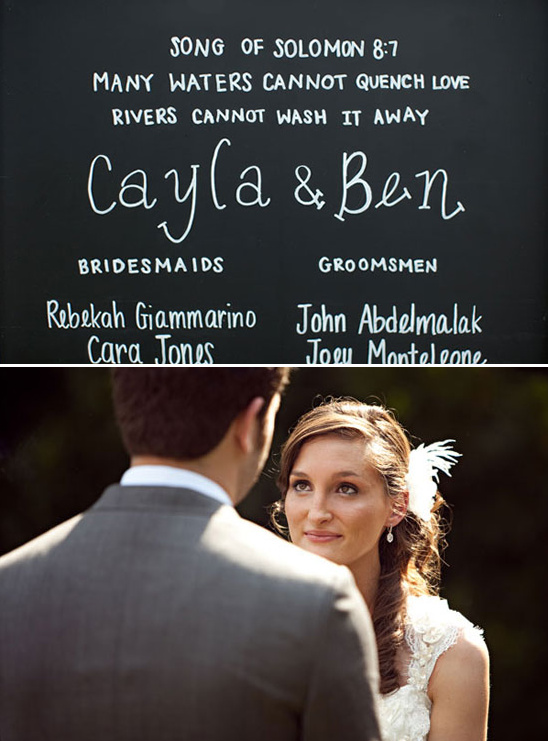
DIY Wedding Inspiration: Bunting Invitations & Vintage Typewriter
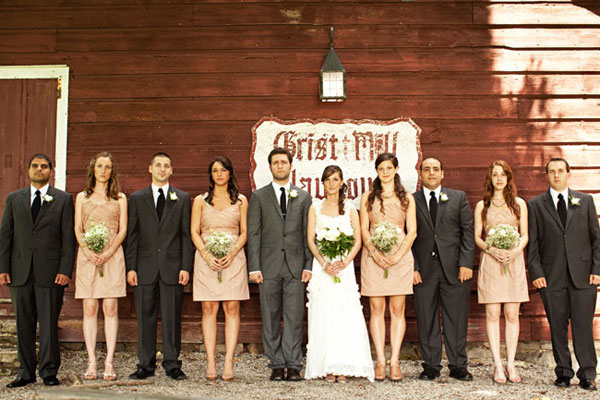
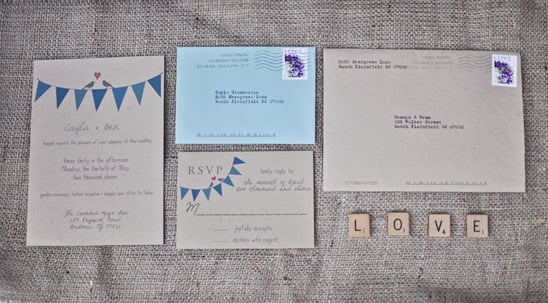
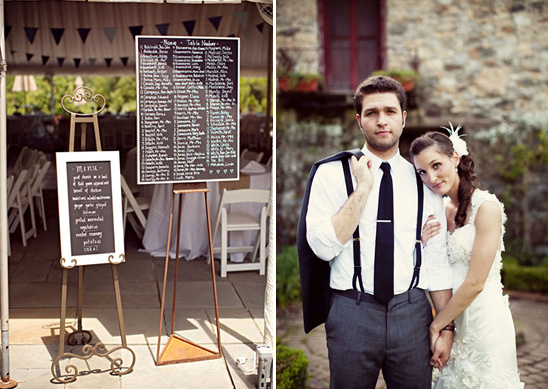
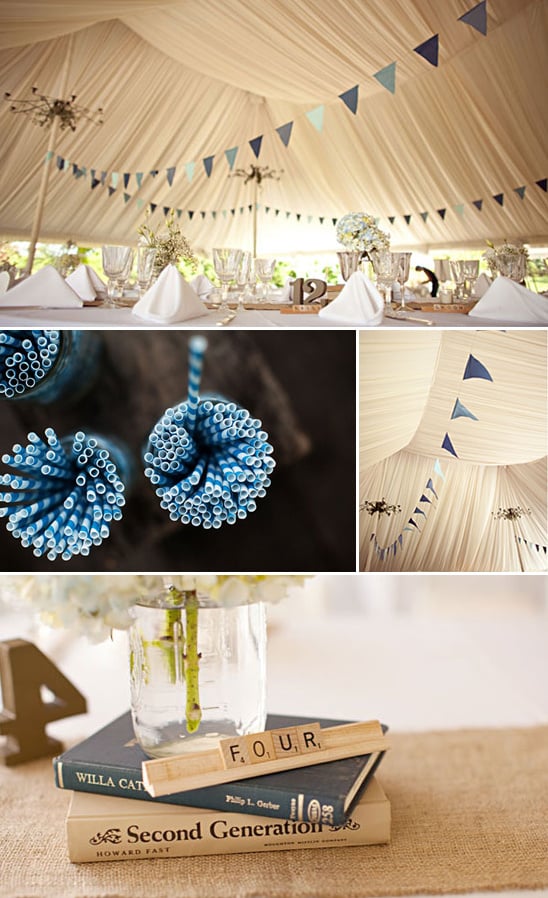
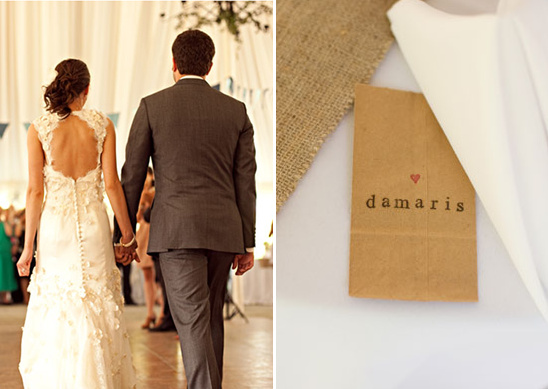
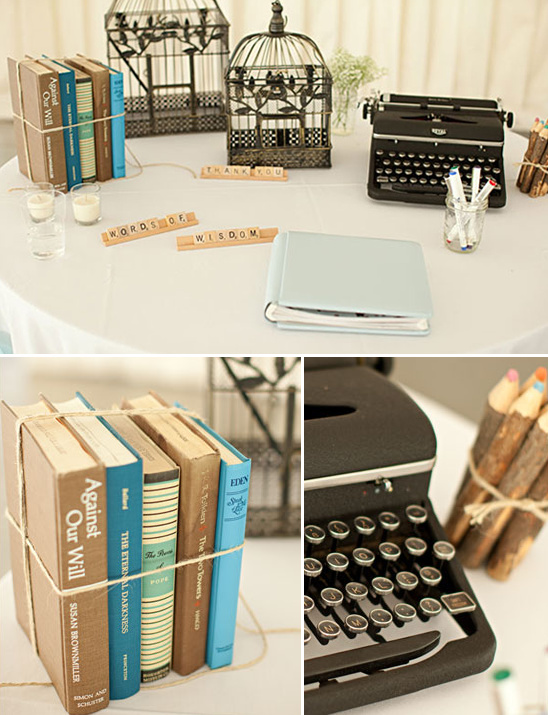
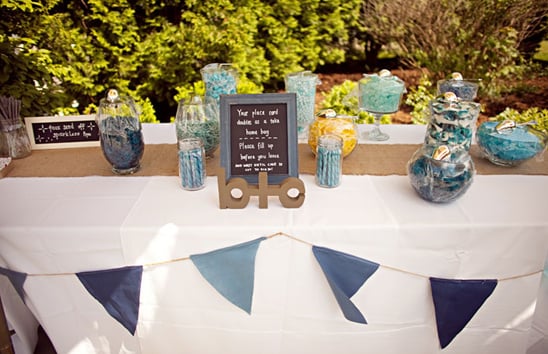
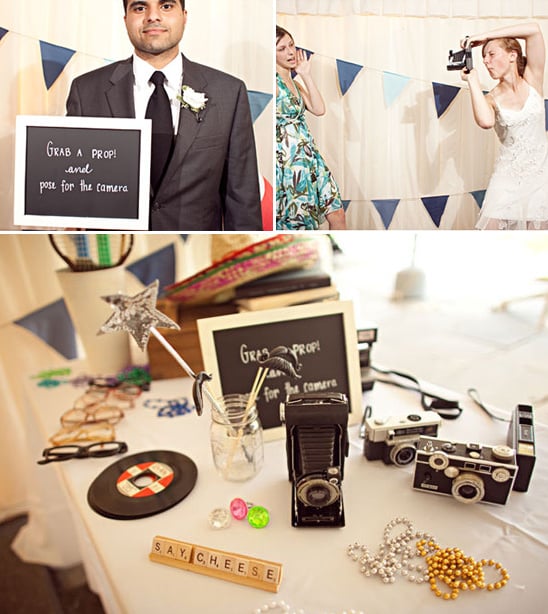
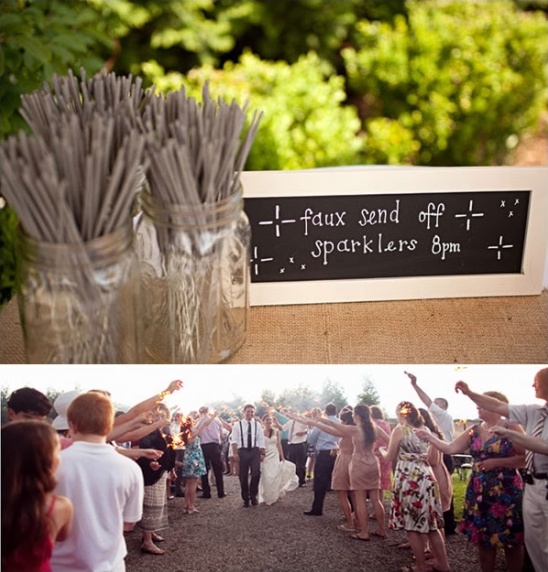
Words of the Bride: One of the big inspirations for our wedding was the Bunting Free Printable Wedding Invitation Templates by The Wedding Chicks. We slightly tweaked their DIY free template. We also hand typed all the envelopes on my grandmother's typewriter that she got when she was in the 5th grade. The invitations directly impacted our reception details: the flag bunting in the same shades of blue, the vintage typewriter at the guest book table, even the candy bar! We also had used their Save the Date template, and used the same heart stamp for the invitations to tie the two together.
We found our videographers, FortyOneTwenty, thanks to The Wedding Chicks too! We couldn't be more pleased with our choice in photographer and videographers!!
This video is no longer available to view. Please visit FortyOneTwenty on their website or blog.
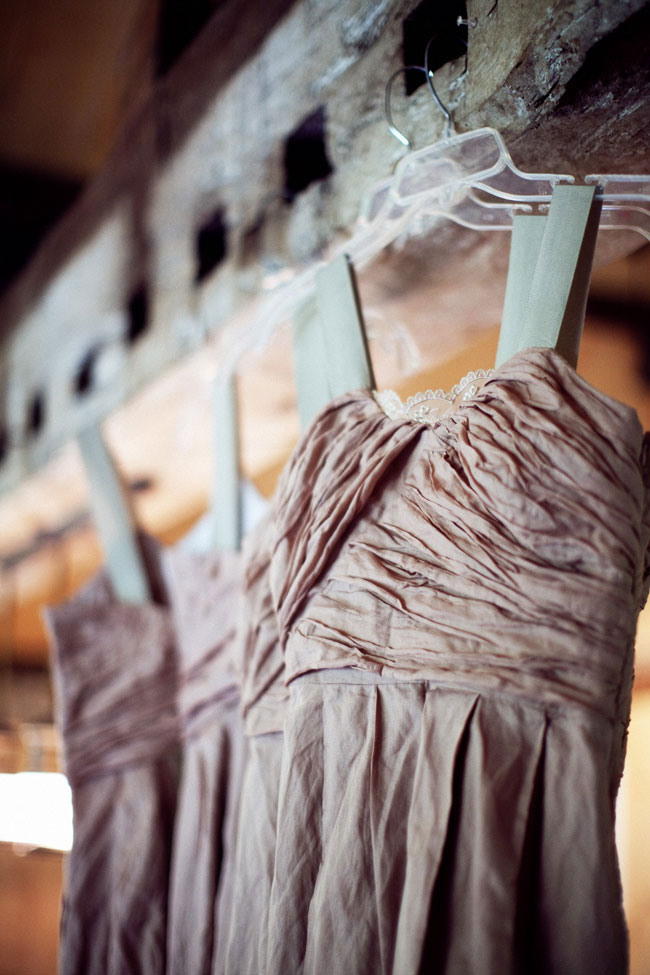
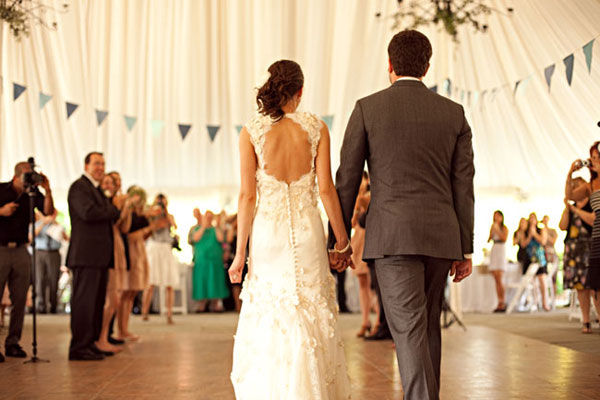
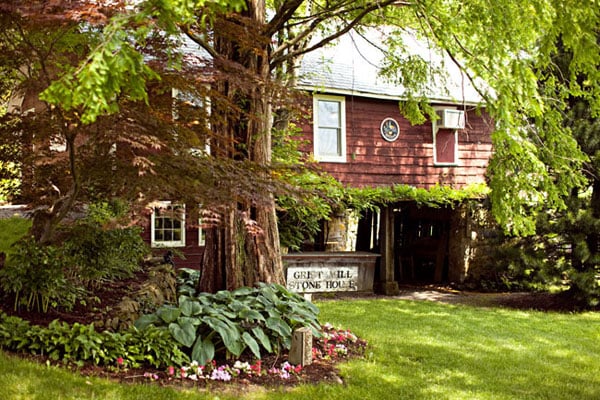
Cinematography: FortyOneTwenty Photographer: EE Photography Venue: Crossed Keys Inn Cake, Desserts & Caterer: Celsos Caterers DJ: Extreme Excellence Entertainment Dress Designer: WToo by Watters Floral Design: Stanley's Florist Groom's Attire: J. Crew Jewelry: Roman Jewelers Shoe Designer: Steve Madden Stationery: The Wedding Chicks Bunting Suite Hair Accessories: Corrine O'Neill on Etsy
View All Images