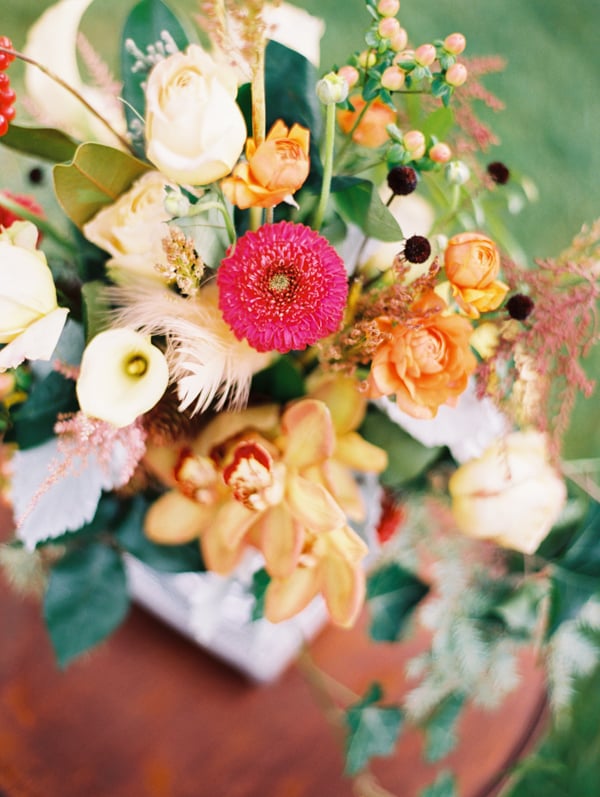
Simple DIY Boutonniere + Wedding Centerpiece Ideas
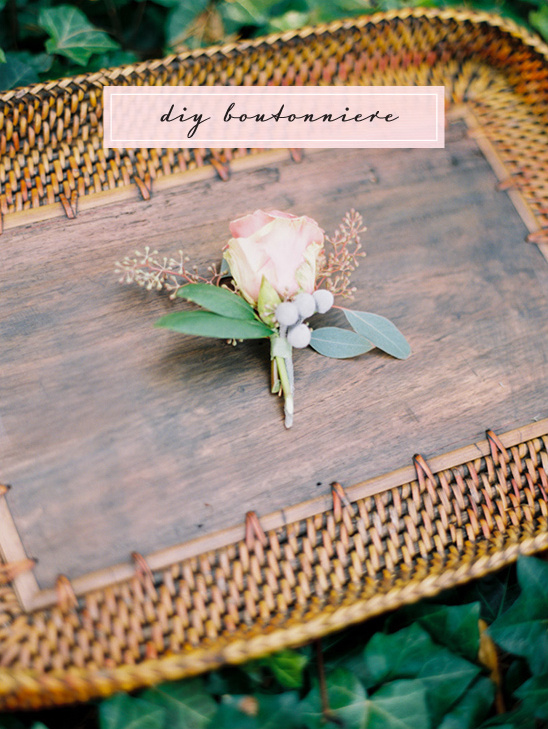
The boutonniere dates back to the 1700’s, and these pretty little things were worn daily by men in order to mask bad smells and ward off disease and evil spirits. My have things changed, today they are typically worn on special occasions like your wedding. We imagine that centuries ago men did not have access to a professional florist, and more than likely were the first to make their own boutonnieres.
In honor of this age old tradition we have Heather Heagy of Custom Florals to share with us how to make a simple boutonniere. Photographed ever so beautifully by Justin Tearney. After this quick and easy floral diy stay tuned for more pretty centerpieces.
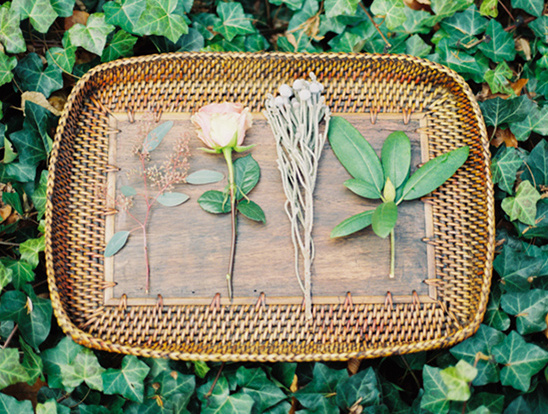
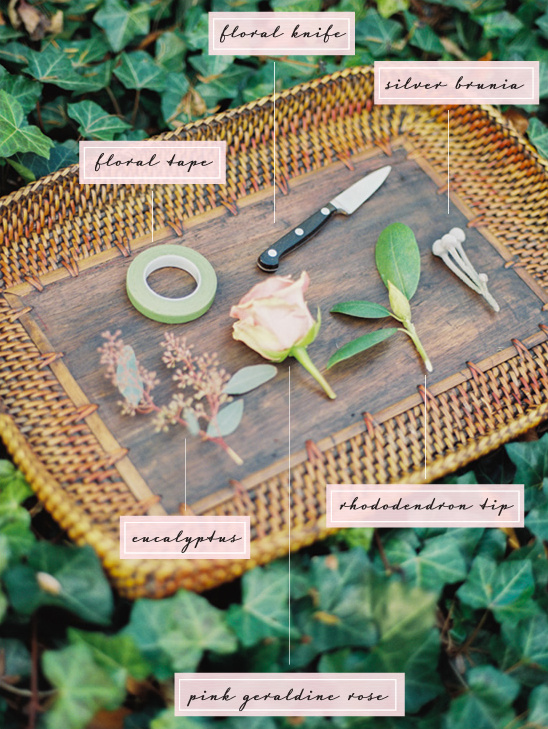
The first step is to gather all of the florals and supplies. For the florals, they used silver brunia, eucalyptus, pink geraldine rose, and a rhododendron tip. Basically, you need an assortment of small greens and one floral bud.
The main flower will be a single stem partially open bloom or bud, and then you will have different heights of greenery surrounding it. After you have decided on the order of the greenery, trim accordingly with the furthermost back piece of greenery having the longest stem, so it peaks out at the top of the boutonniere. The order of this example boutonniere has eucalyptus, rhododendron tip, pink geraldine rose and then a bit of silver brunia on the top.
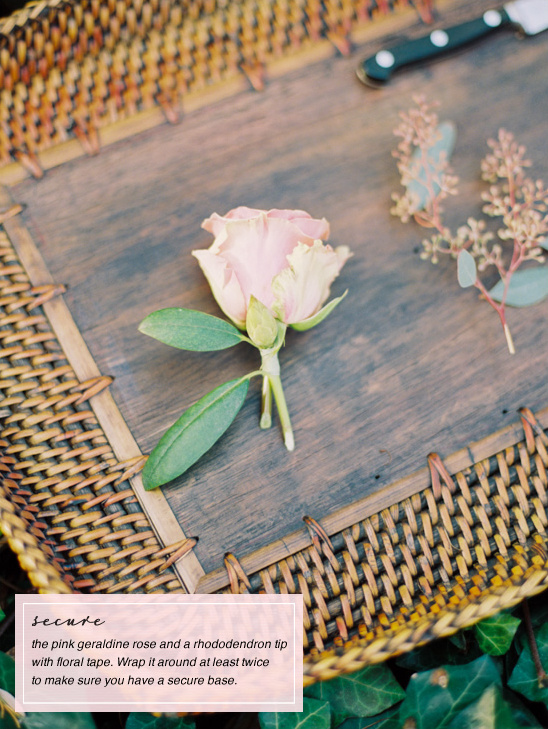
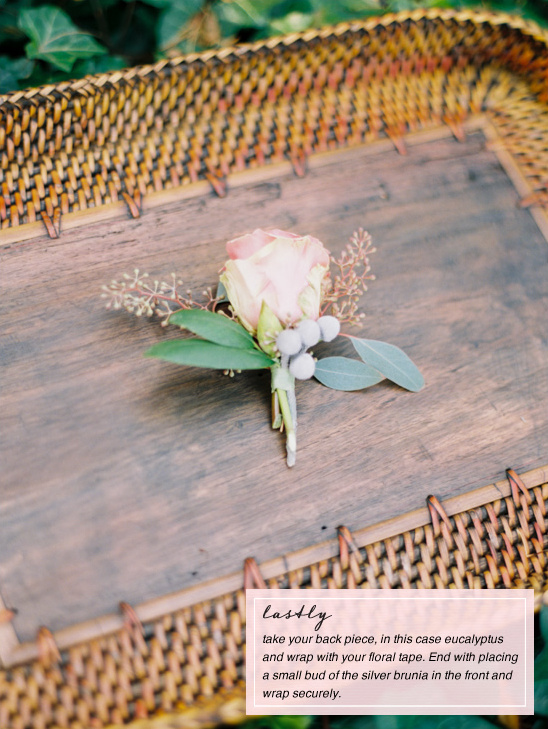
Next, secure the base with the main floral (in this case the pink geraldine rose and the rhododendron tip). Wrap with floral tape at least twice around, to ensure a nice and secure base. Lastly, place your back piece of greenery in position, and wrap with floral tape (here the eucalyptus was used). End your boutonniere by securing your front accent floral with floral tape (in this case a few buds of the silver brunia). Voila, simple DIY Boutonniere.
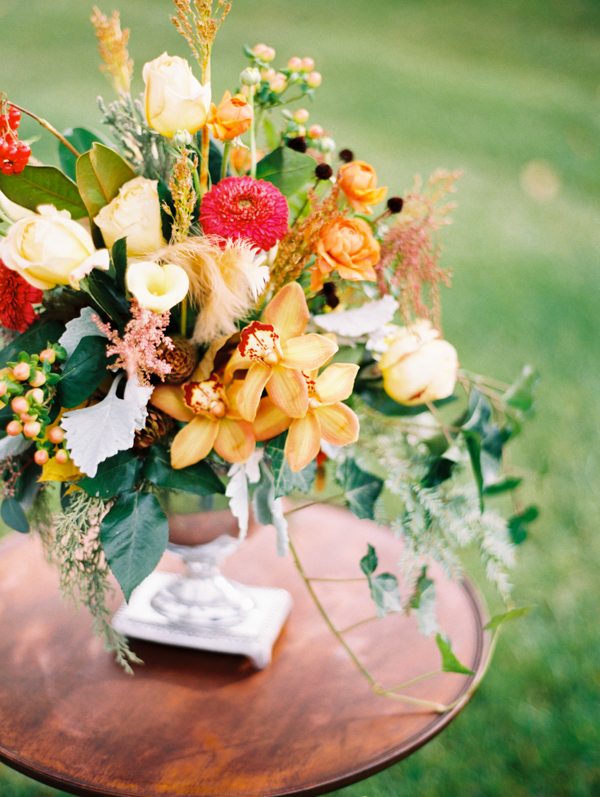
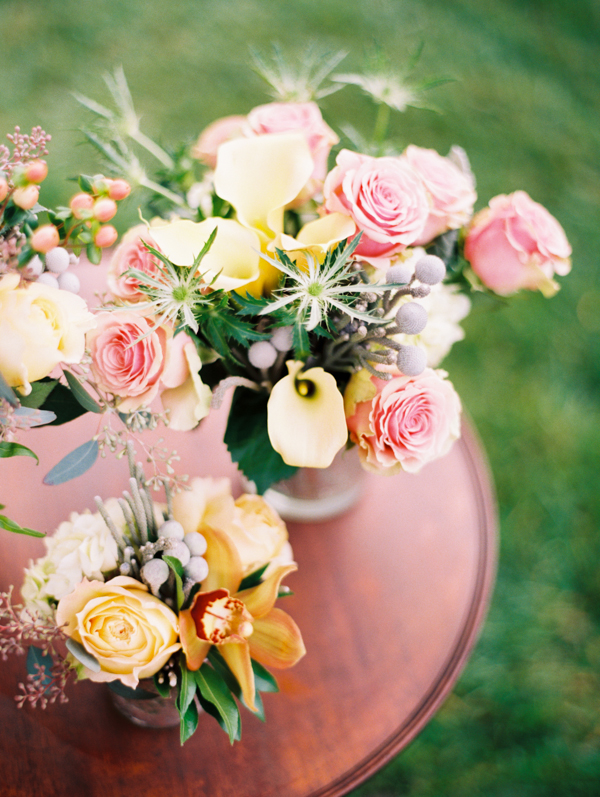
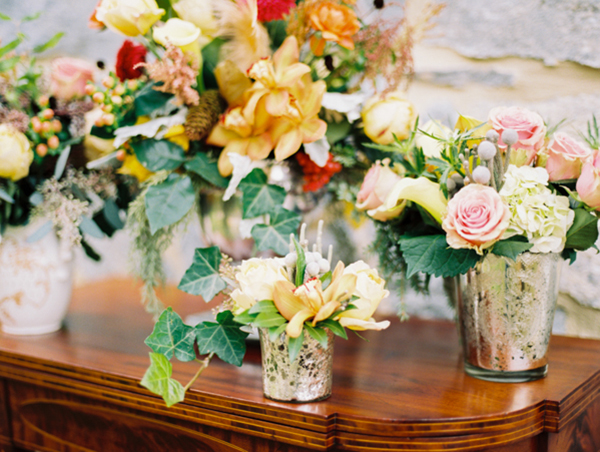
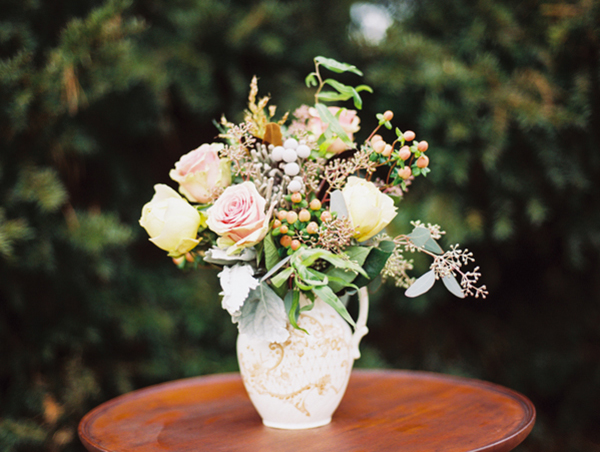
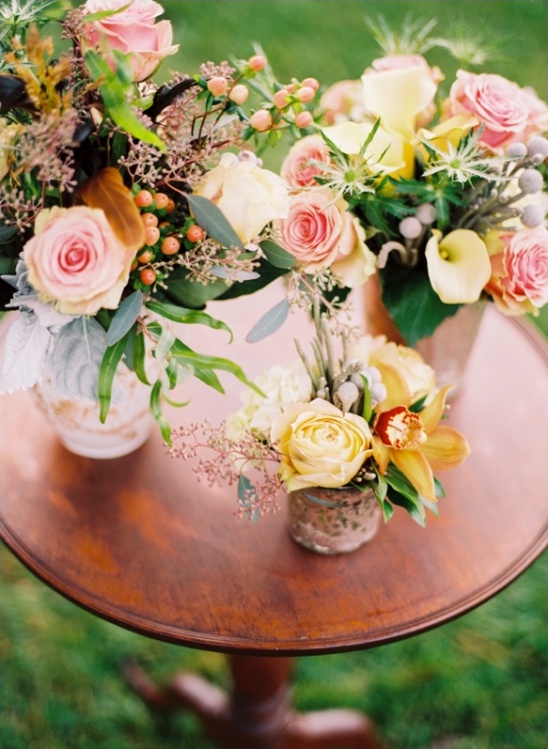
To add even more inspiration to your day we have a few stunning arrangements styled by Megan Tearney and designed by Custom Florals that would blend ever so perfectly with florals used in our simple DIY boutonniere.
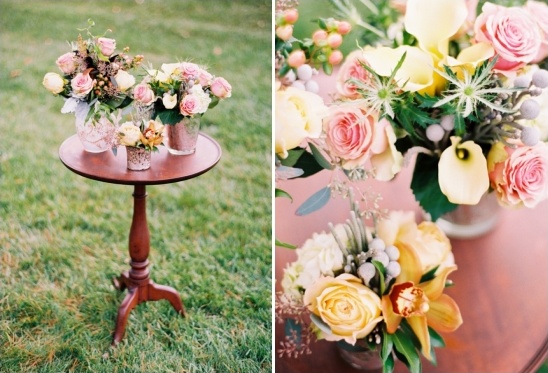
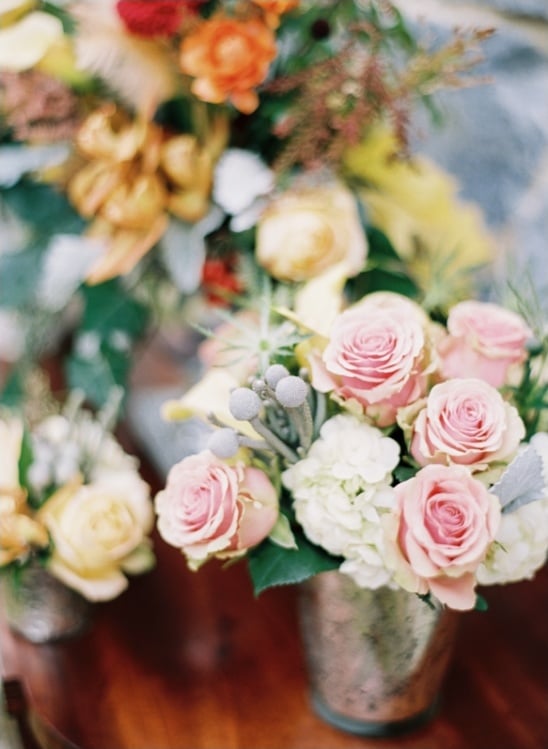
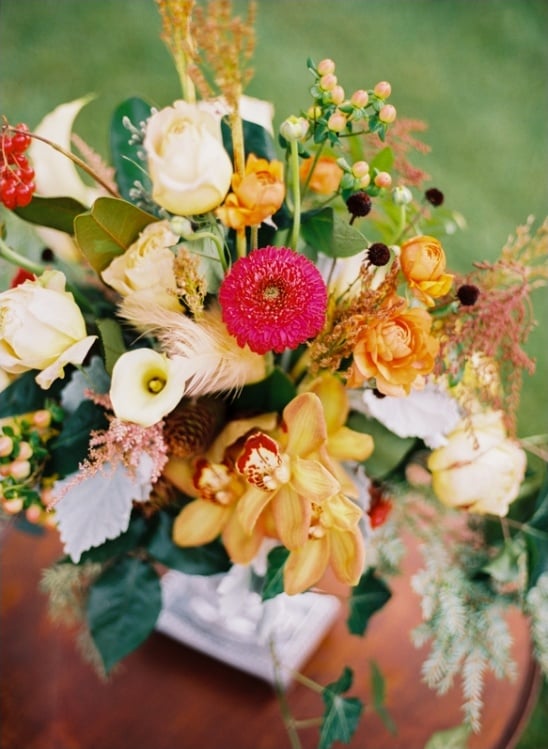
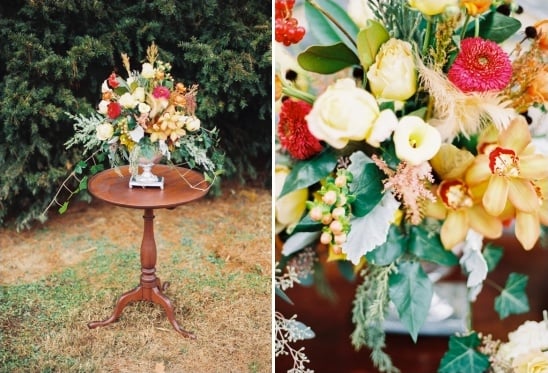
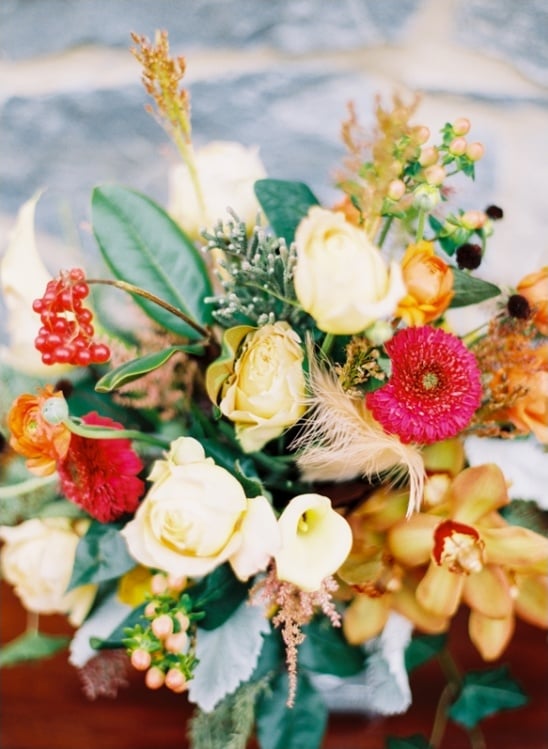
- Event Designer: Megan Tearney
- Flowers: Custom Florals
- Photography: Justin Tearney
