Easy Messy Updo Tutorial: Perfect for Special Occasions

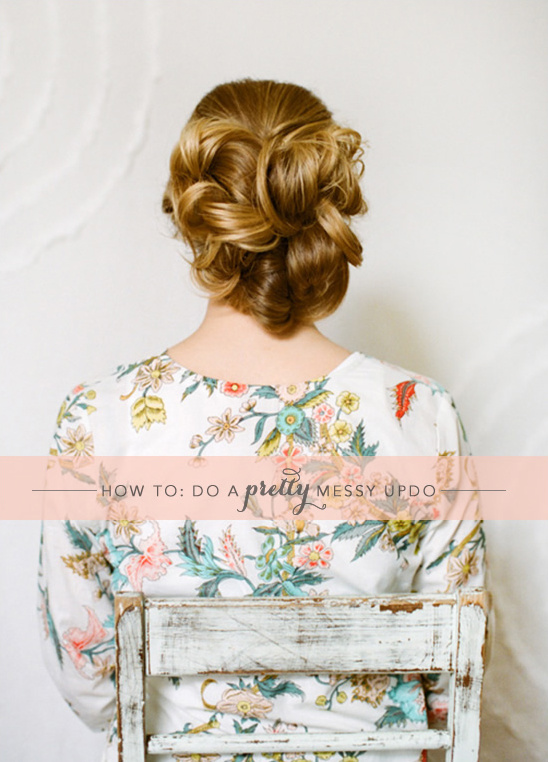
Although not only fancy schmancy, a messy updo creates a look with plenty of pizazz but still has a relaxed feeling to it This would be a great look for your rehearsal dinner or any special occasion. Watch our easy tutorial below from Erica at 1011 Makeup and be sure to read in more detail below on how to create the perfect messy updo.

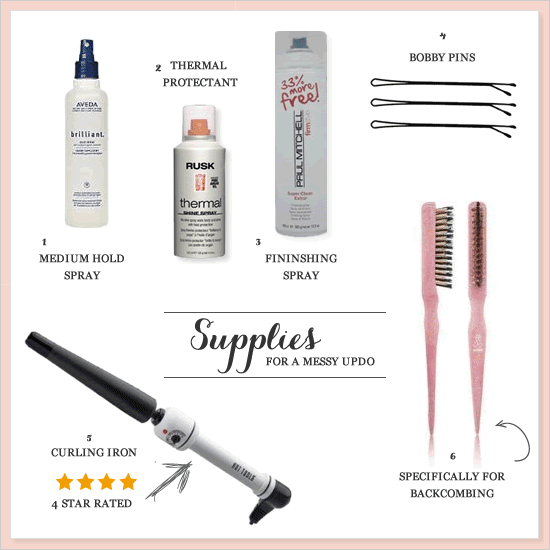
Before you even get started with your messy updo hairstyle you will need a few supplies.
1. Medium Hold Spray like this one from Aveda 2. Thermal Protectant RUSK
3. Finishing Spray like this one from Paul Mitchell 4. Bobby Pins 5. Hot Tools Curly-Q Tapered Nanoceramic Curling Iron 6. Backcombing Brush

Hair & Makuep: 1011 Makeup Robe: Plum Pretty Sugar
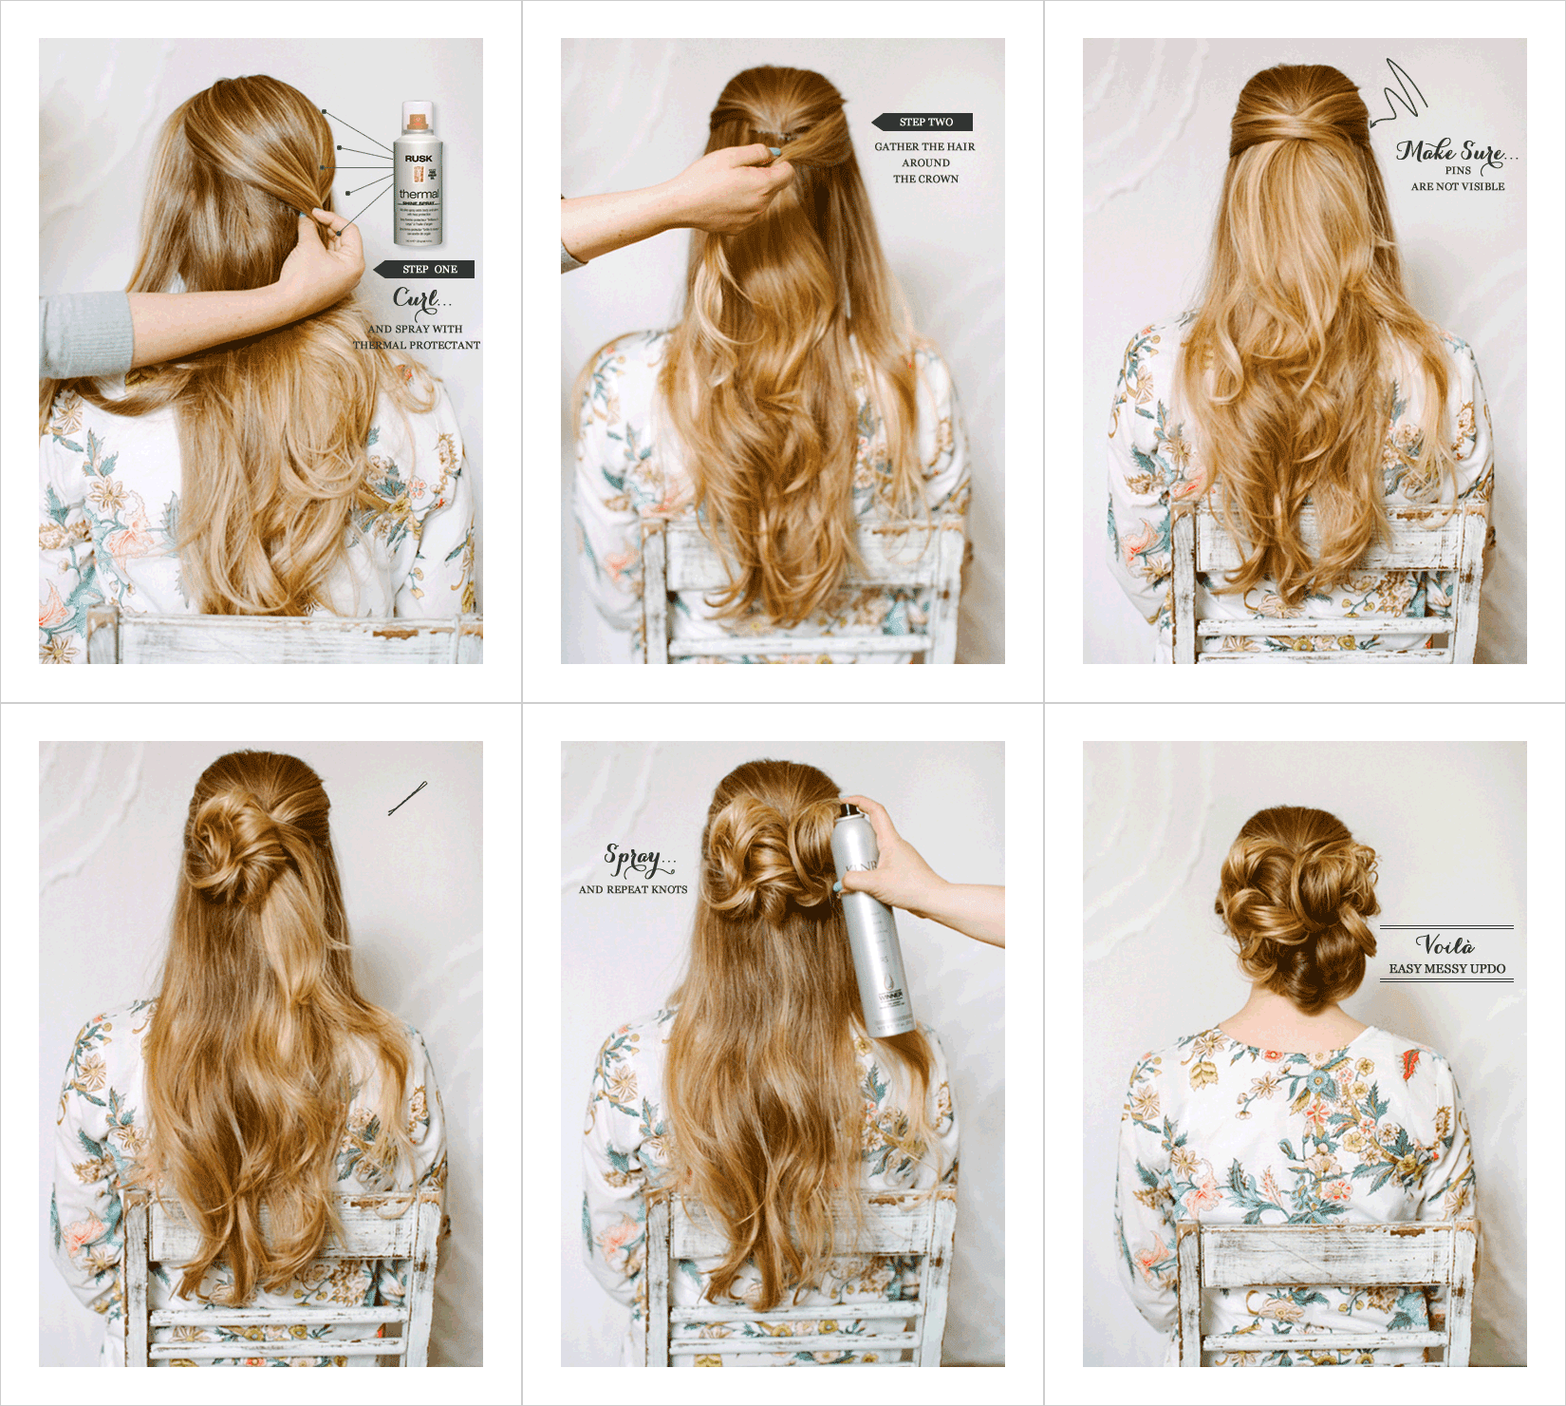
How To Do A Messy Updo HairstyleStep One: Before you begin prep your hair with thermal protectant, and curl your hair to create some texture. We like Rusk® Thermal Shine Spray with Argan Oil.
• Section out the hair around the crown of your head, leaving out the front pieces, that frame your face, on both sides.
• Back comb the hair you have gathered from the crown. Spray with a medium hold spray to help hold the back comb.
• For best results use the fine tooth portion of your comb and start the back comb about 3 1/2 inches from the scalp, pressing the hair down, towards your scalp, to create a cushion and volume.
• Lightly brush and smooth over the surface of the hair on the top, leaving the back comb in place on the under side of the section.
Step Two:Once smooth, gather the hair around the crown and pin from each side creating an "x". You can slightly push the hair up to create lift and volume prior to pinning.
• Try to keep the hair you have gathered centered on the back of your head, as you push up to create volume, it will be more even. You can use the end of a rat tail comb to lift areas where the shape and form of the hair are uneven or not as full as you would like.
• Once secured with bobby pins, take one side of the hair you left down in front and bring it back to cover the previously pinned, "x", section.
Spray with strong hold hair spray before you pin.
•If you have finer hair, or lots of layers, you can back comb the under side of this front section and smooth the outside/top as you bring the hair back to cover the pins.
• As you pin the side section you can place the bobby pins under the hair and at an angel. The pin will still grab the hair to hold, but will no longer be noticeable. Depending on the thickness of your hair you may need multiple bobby pins to secure, making sure no pins are visible. Repeat with the other side.
Step Three:• Section out the hair however you would like for your custom up do. A quick and easy way would be four sections, two on top and two on the bottom.
• Twist a section of hair, form a circle, and bring the ends of the hair through the center- as though you were tying a knot.
•For a more playful look, bring the ends all the way through, creating a finished knot, and pin. For a more structured look, do not bring the ends all the way through the center, and pin.
Step Four: Pin through the center of the knot, making sure the pins are not visible. Making an "x" with the pins will help keep them secure.
• You may need to secure the outsides of the knot as well. Pin from the outside towards the center, keeping pins close to the head as you pin the underside of the knot. Spray and repeat. Finish with a strong hold finishing spray.
* If you have finer hair, you can back comb the hair prior to twisting the hair into the knot, creating a fuller look. If you have thick hair you may need more sections with less hair, and any hair that is not placed into a knot can be twisted and intertwined into the design you have created. Secure with pins.