These DIY Floral Envelope Liners Are Too Cool
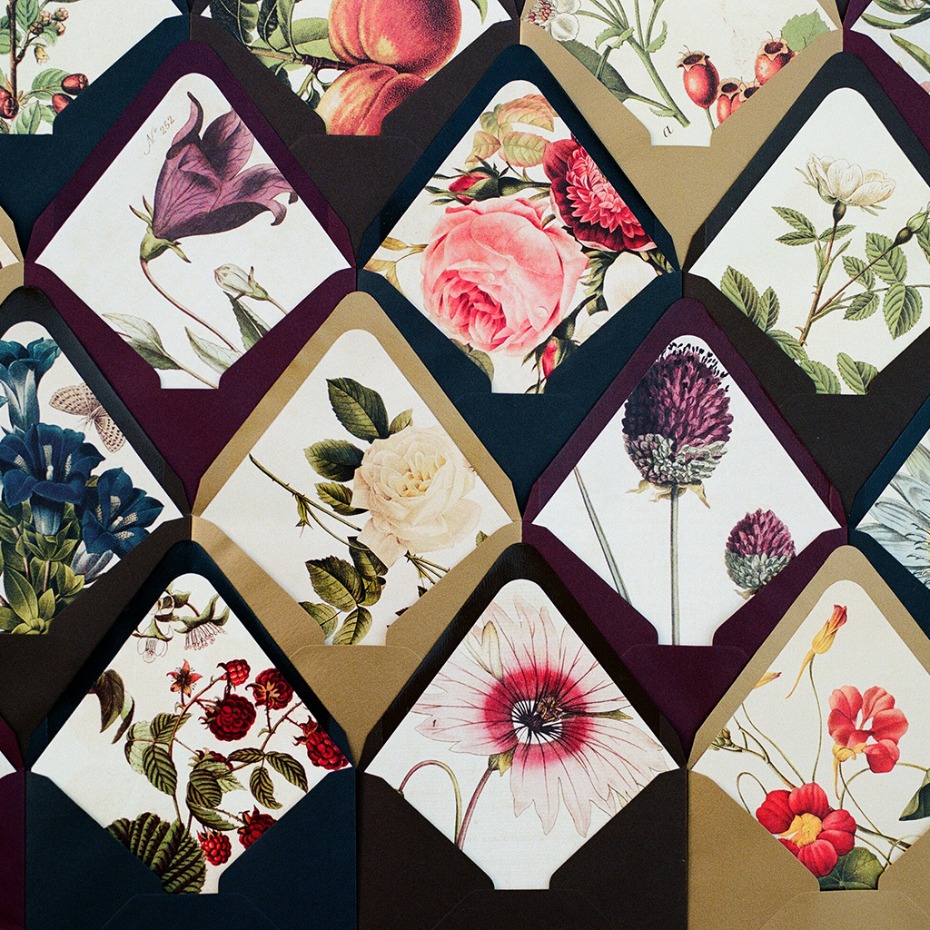
Alright, stationery nerds: we’ve got something that you’re just going to die over. And we’ll cut to the chase realllll quick. DIY envelope liners. Mmmmmm...
Pretty sure I’ve said this before, too many times, but my wedding stationery was much higher up on my bridal priority list than it is for most. And that’s okay, we all have our preferences for where the 💸💸💸 goes. I spent a pretty penny on my invites, because I just didn’t have it in me to say ‘NO’ to the pearlized paper, colored and scalloped envelopes, glitter backing, it all fit into my whimsy vibe, and it made sense to me. I still stand behind my invitations. I have one that my Aunt had sent to a designer on Etsy and mounted with pressed flowers - and it hangs over our bed, because it’s THAT pretty. We also have another one framed in my living room.
I kept my pretty paper budget flexible, because my standards were sky high, but I did need to practice some self control when it came to envelope liners. Because yessss I would have loved an antiqued champagne inside against our dusty rose envelopes, but I also wanted to have a honeymoon, a shimmer veil on our cake (probs my biggest display of extra for the day) and all the other fun wedding things. So I had to nip it in the bud…
But liners don’t have to be the bane of your stationery budget, chickadees. They can be DIY-ed and still look oh so flawless, whether you go with something from Minted or take it even a step further with printed art stills. One of our favorite photographers, Christina McNeill, shared one of her best hacks for perfecting this enviable envelope embellishment, and we’re foreverrrr grateful for it.
Feast your 👀
WHAT CAN YOU SAVE BY DIY-ING YOUR LINER?
Seriously, if you’re already working with a floral design for your invites, like our brand-new romantic botanical printable, you can totally copy this liner shortcut and look like a total boss while you do. It might just save you upwards of $150-$400 (average of anywhere from $1.50 to $4 per invite) on your entire stationery expense (more or less depending on how many invites you’re in the market for).
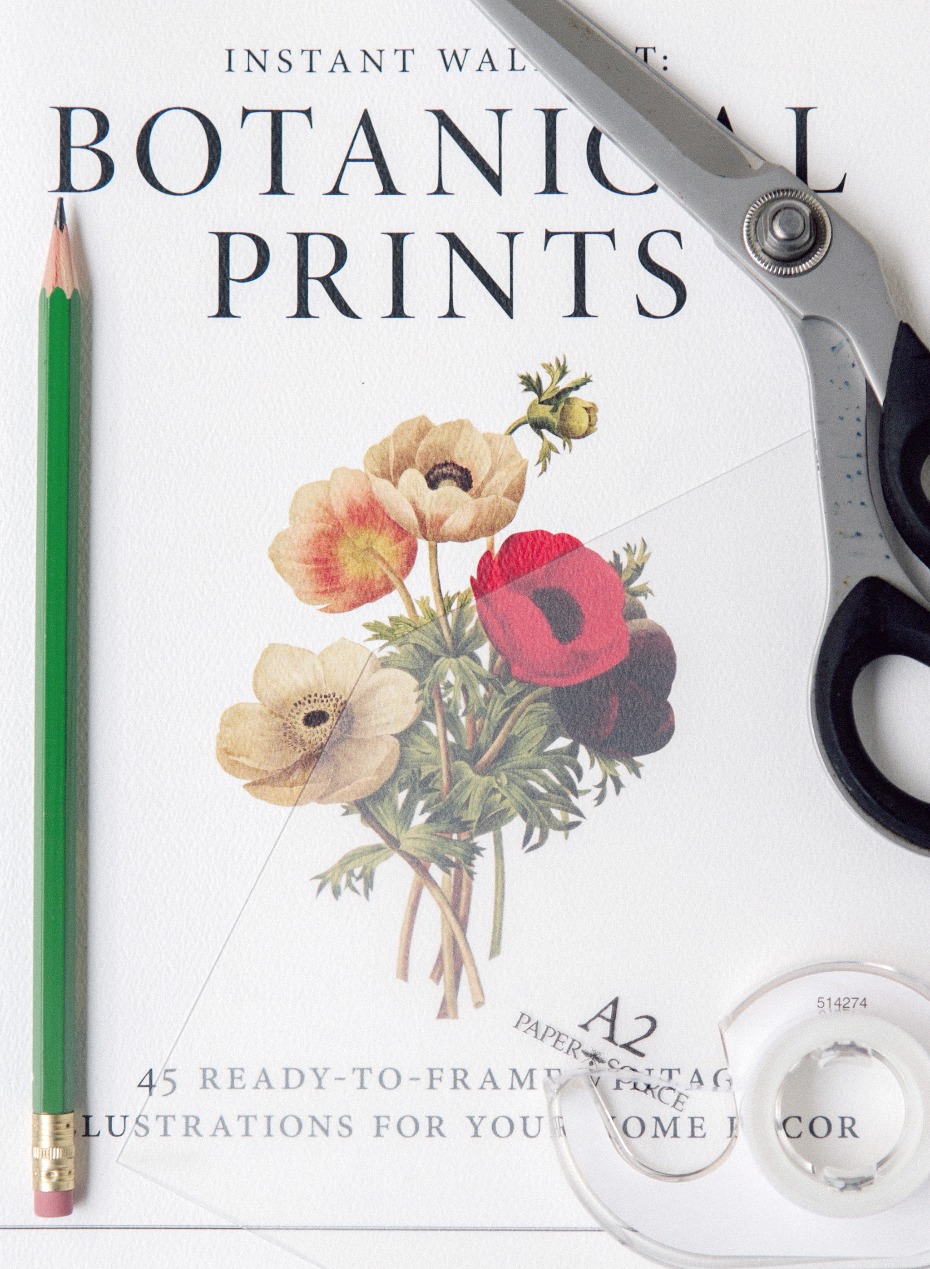
SO WHAT WILL YOU NEED?
Instant Wall Art Botanical Book (this is what Christina and her pal Heather of Adelphi Events found on Amazon - and it includes 45 ready-to-frame prints that can be ripped out of the book!)
Paper Source Envelope Liner Template Kit
✏️ ✂️ glue or double-sided tape
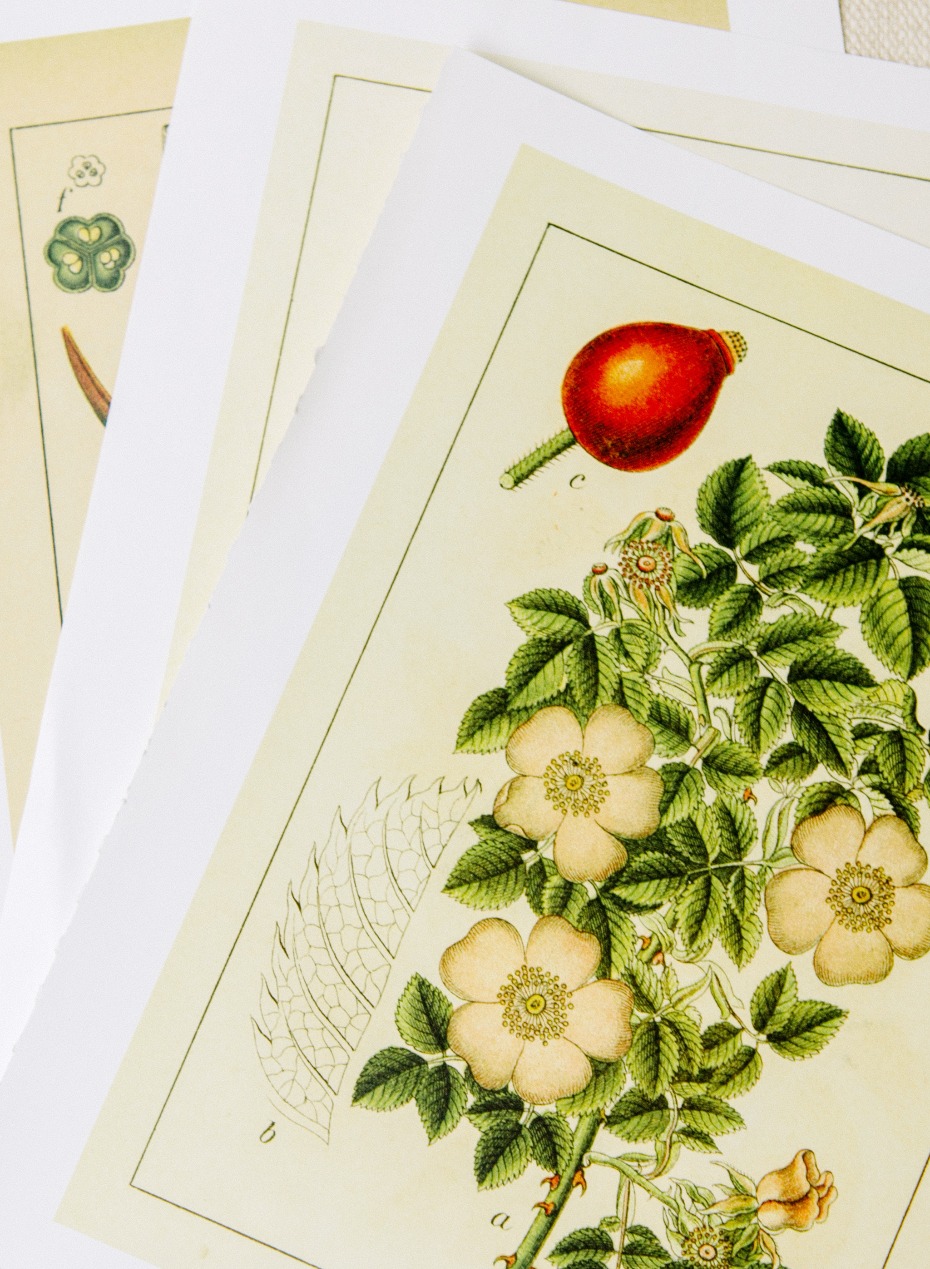
WHAT COMES NEXT?
Using your desired print and the correct-sized envelope liner template, with a pencil, trace where you’d like to cut. (also, you can totally rotate the print to make your ideal cut-out. You have alllll the freedom here)
Cut along the lines and take your newly-cut print and slip it inside the envelope
Slightly fold the liner forward and add a small amount of double stick tape (or use a glue stick) to the back side of the top of the envelope
Press against the envelope and set
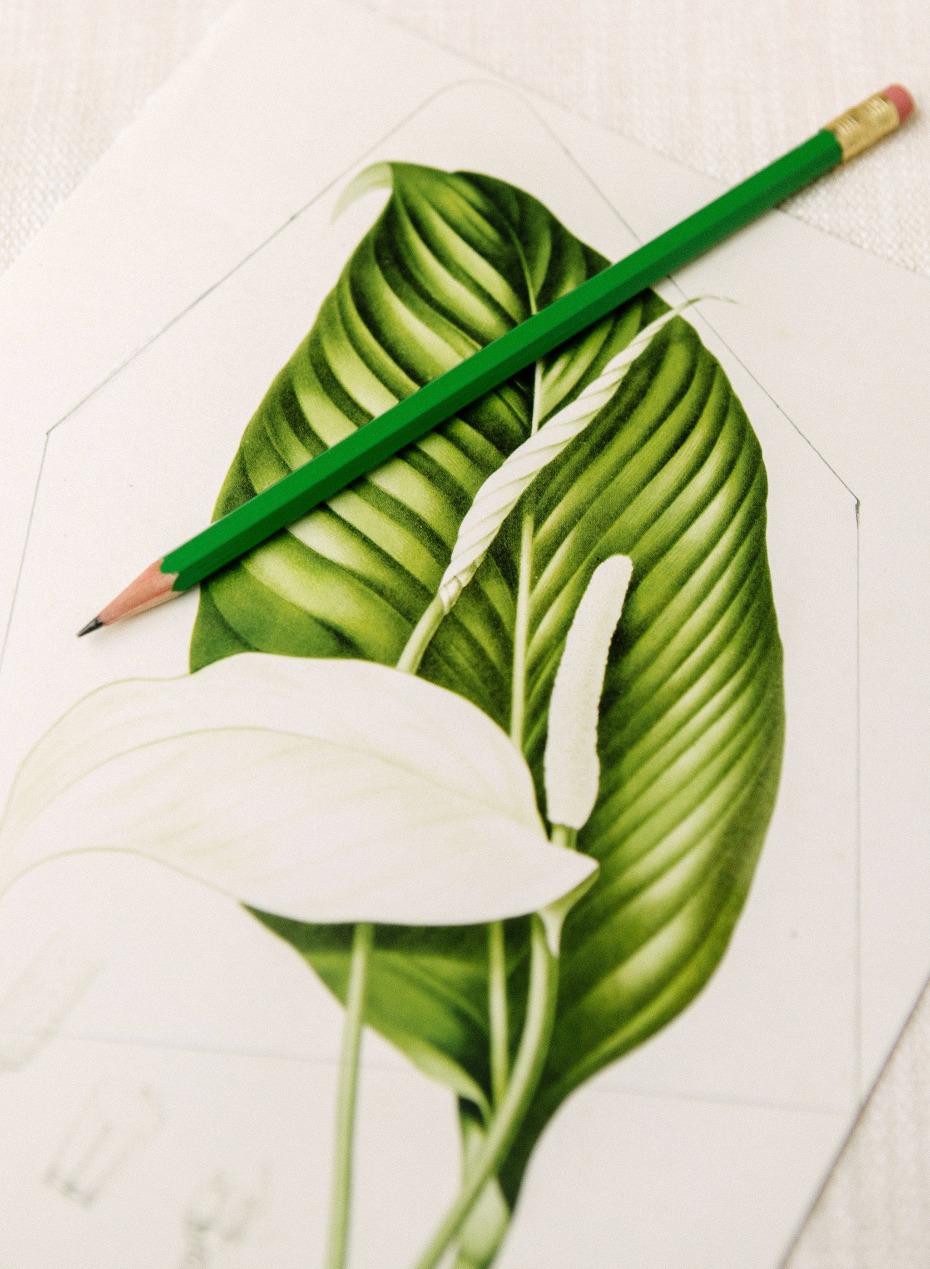
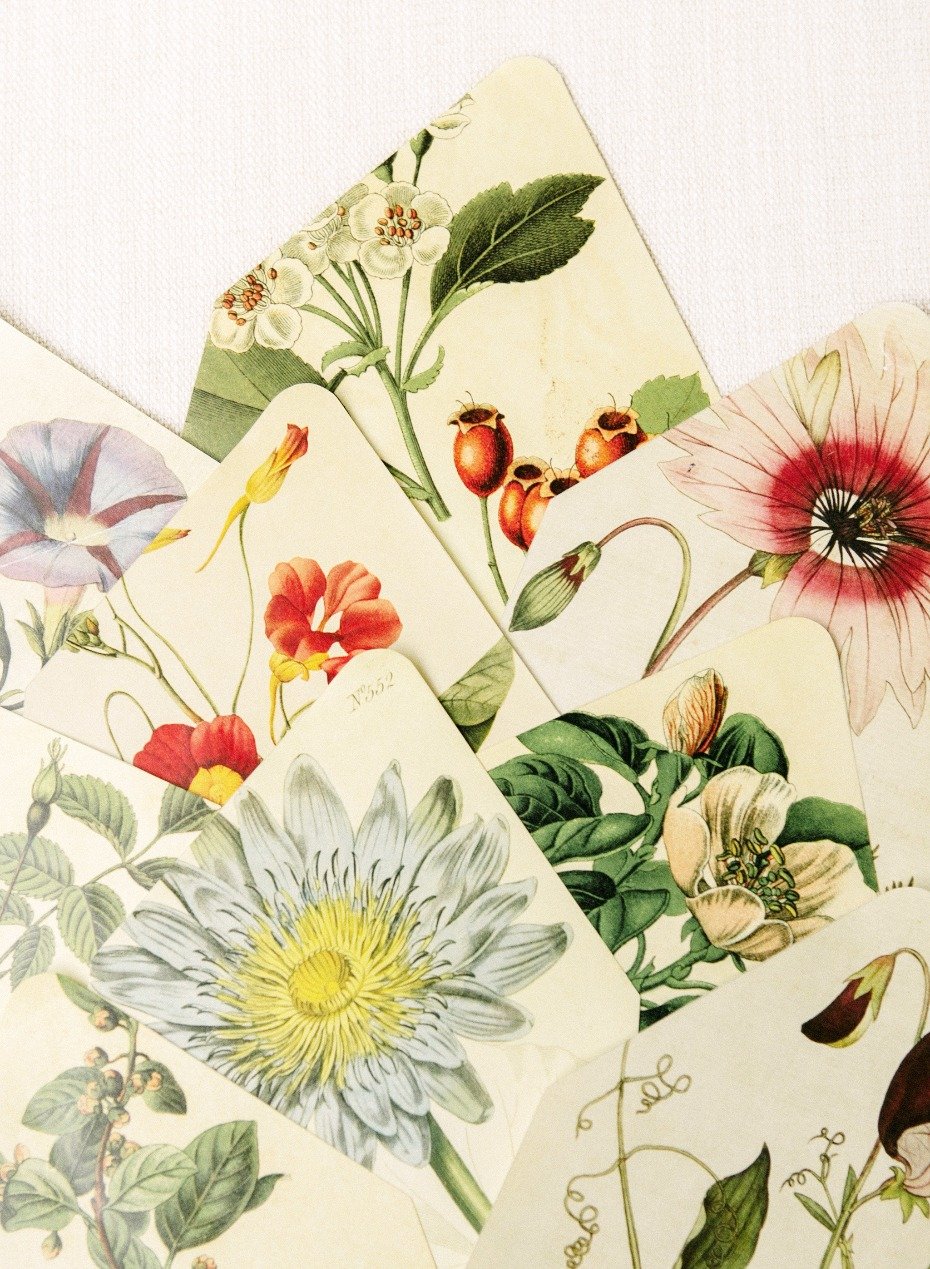
***You can also slip the liner inside of the envelope and then fold the flap down to crease so you can ensure the envelope liner stays put. (according to Christina and Heather, it does leave a crease, so use your discretion)!***
WOULD YOU LOOK AT THESE BEAUTIES!!! WE’RE SHOOK. 100 PERCENT.
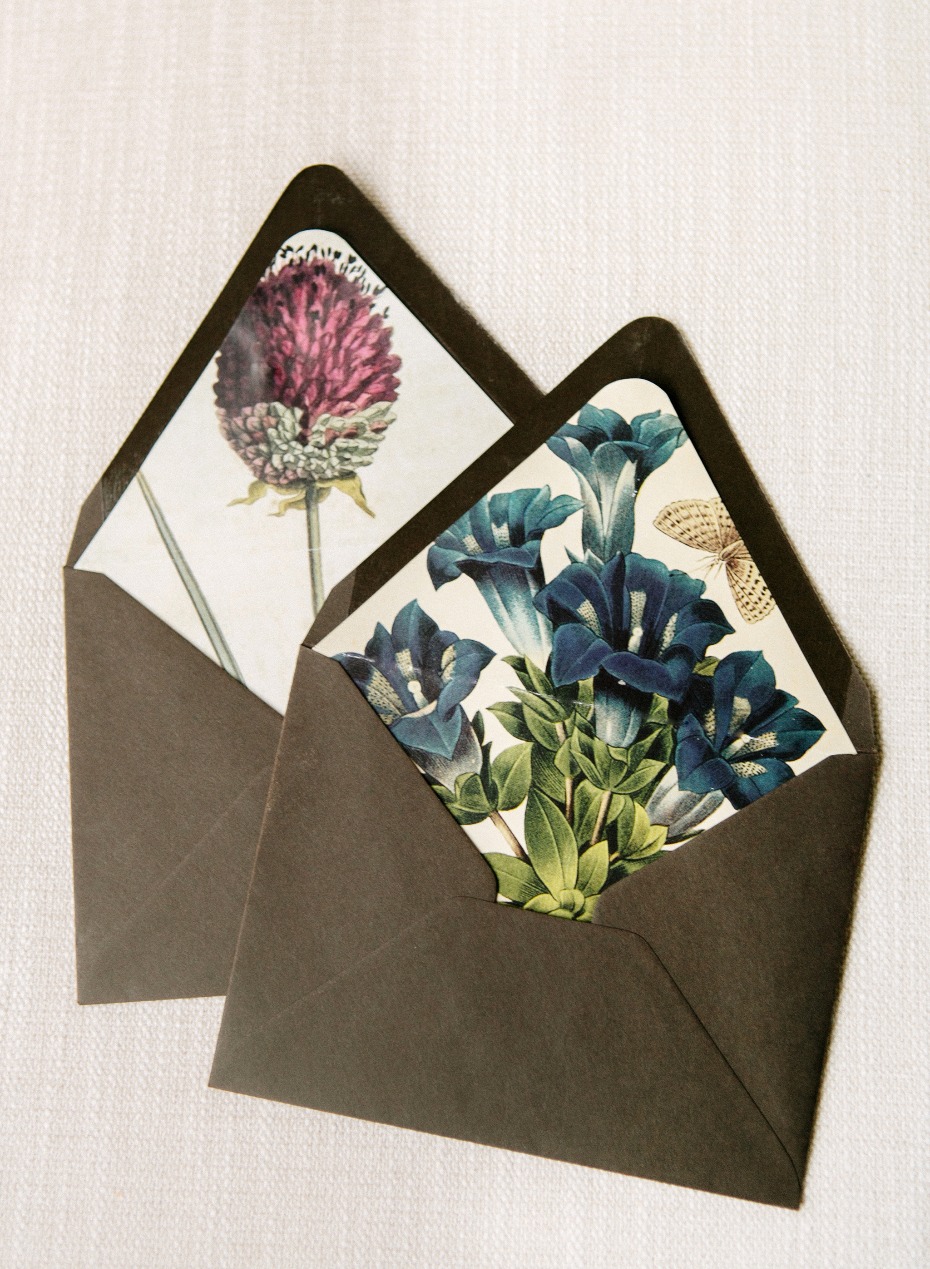
Start DIY-ing friends, we can’t wait to see your results… they’ll look so good against your DIY flower arrangements, too, right?!
All photos courtesy of the boss babe team that is Christina McNeill and Adelphi Events.
- Event Planning & Design: Adelphi Events
- Photographers: Christina McNeill