How to Make a Romantic Ring Bouquet
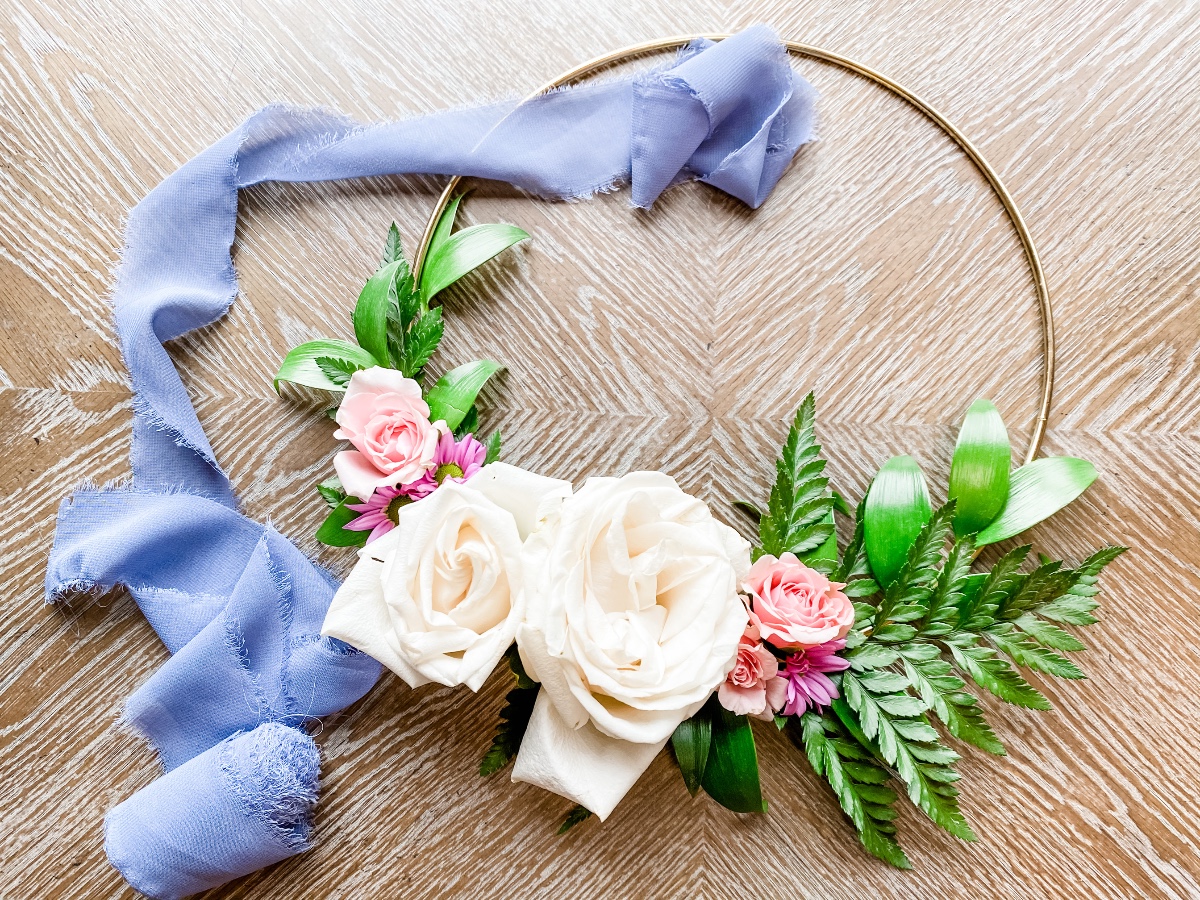
Ring bouquets are really trendy right now, and for a really good reason - they look really both fun and beautiful! The full size bouquets are right at home at a modern or romantic wedding, and smaller ones are absolutely adorable on flower girls. Here’s how to make your own ring bouquet in a few easy steps.
You will need:
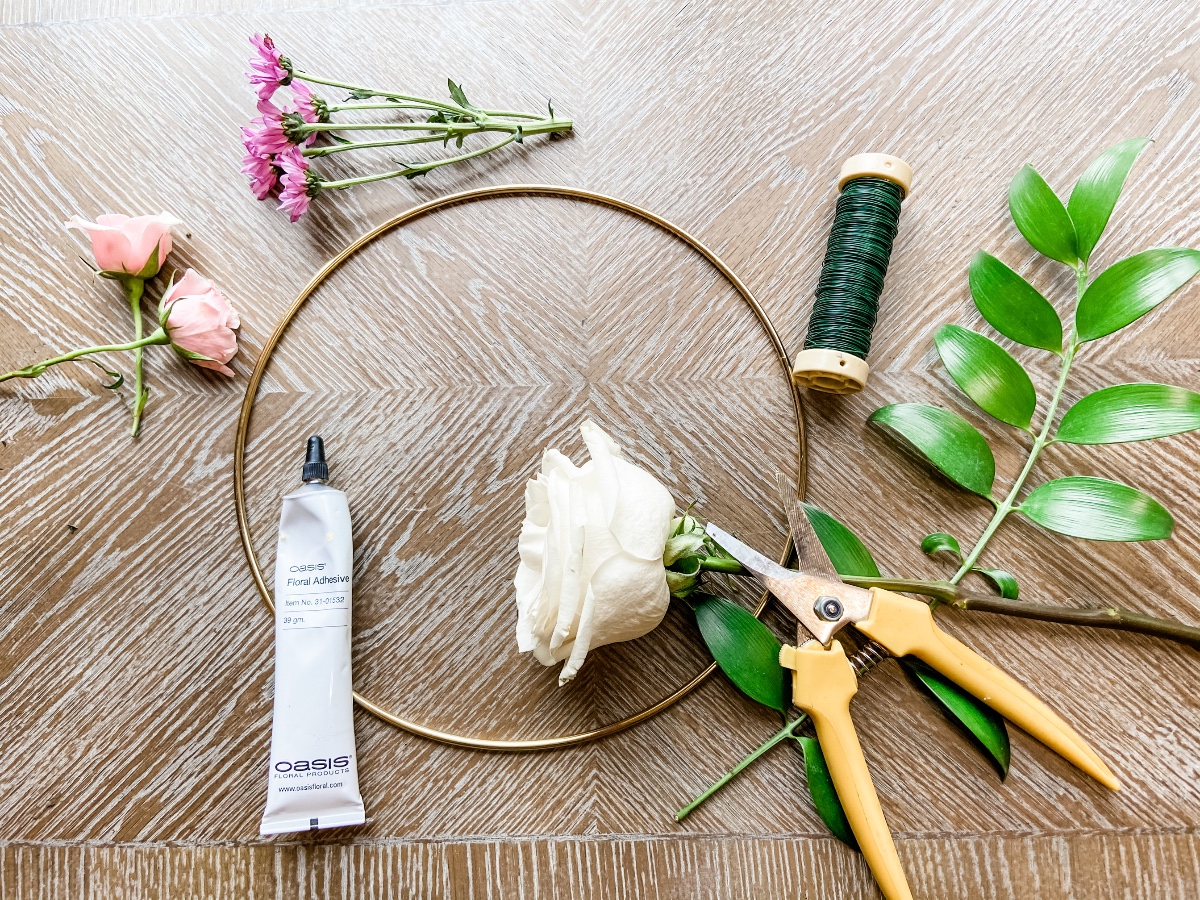
Ring for the bouquet
Floral adhesive
Floral shears
Floral wire
Ribbon (optional)
Flowers and greenery
This bouquet used hardy real flowers - a mix of roses, spray roses, daisies, leather leaf and ruscus. But ring bouquets don’t last long when fresh! Consider using silk or preserved flowers so you can make your bouquet well before your wedding day. Fresh bouquets will only last in the fridge overnight.
Step 1: Wire the base greenery
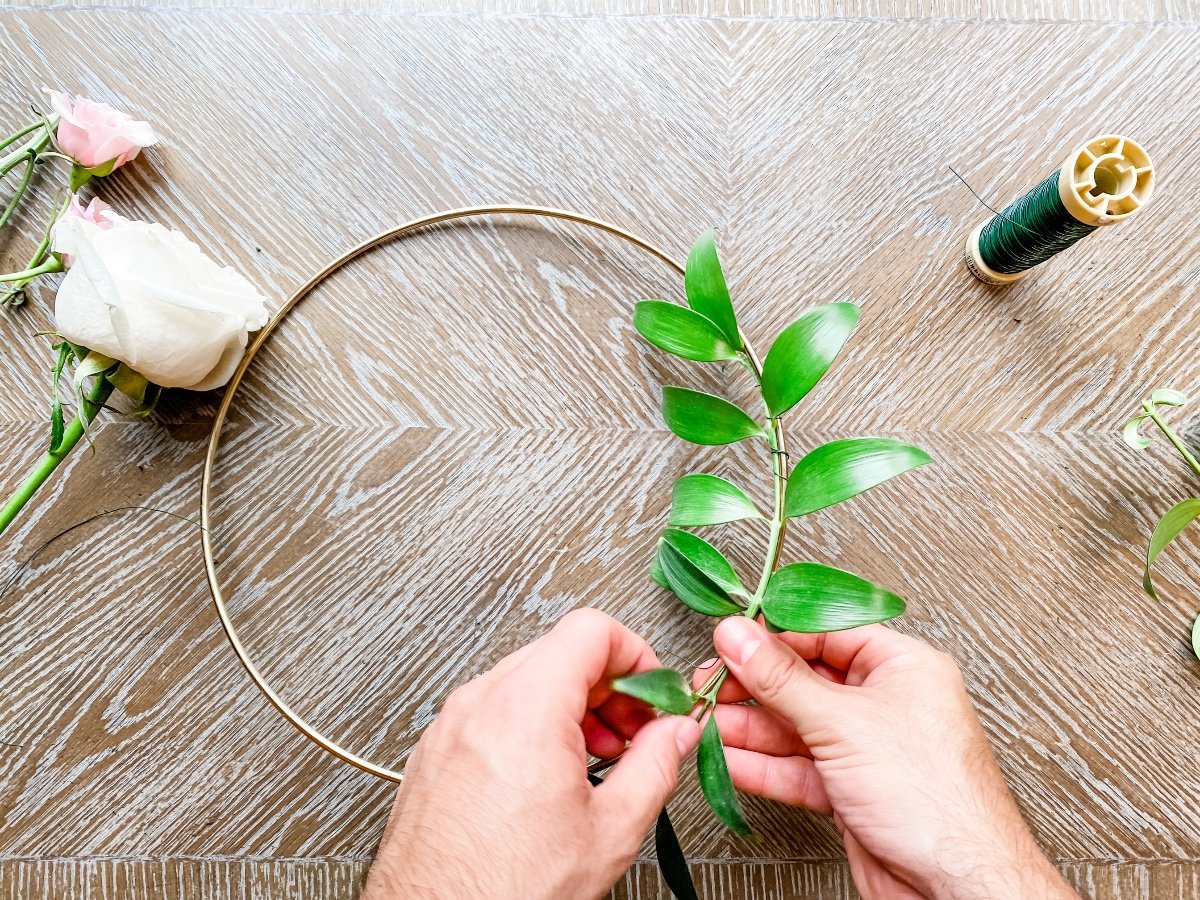
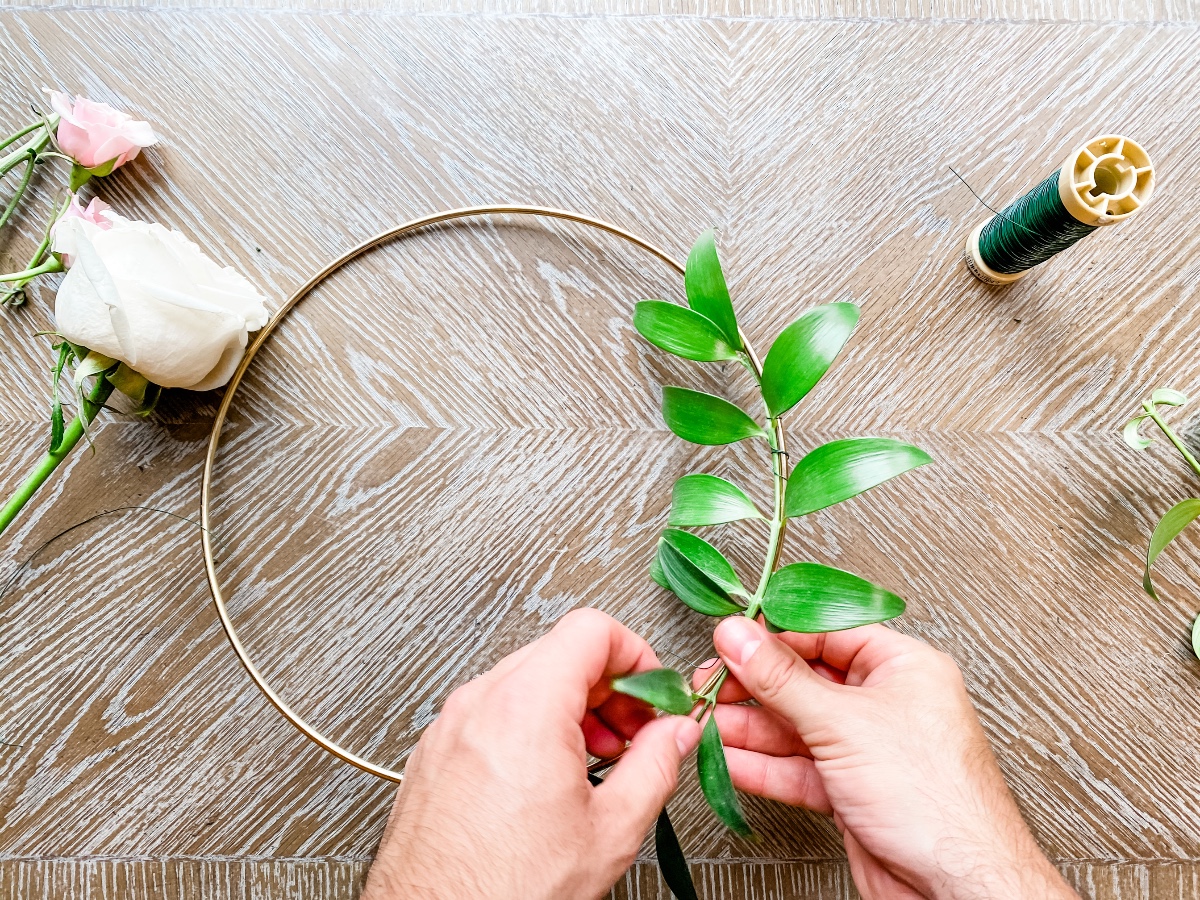
Start by selecting enough greenery to cover about half of the ring. Long and skinny pieces work well! Cut the greenery with your floral shears and wire the stems close to the ring in a spiral pattern. When you’re done, give the ring a little shake to make sure it’s secure.
Step 2: Add texture
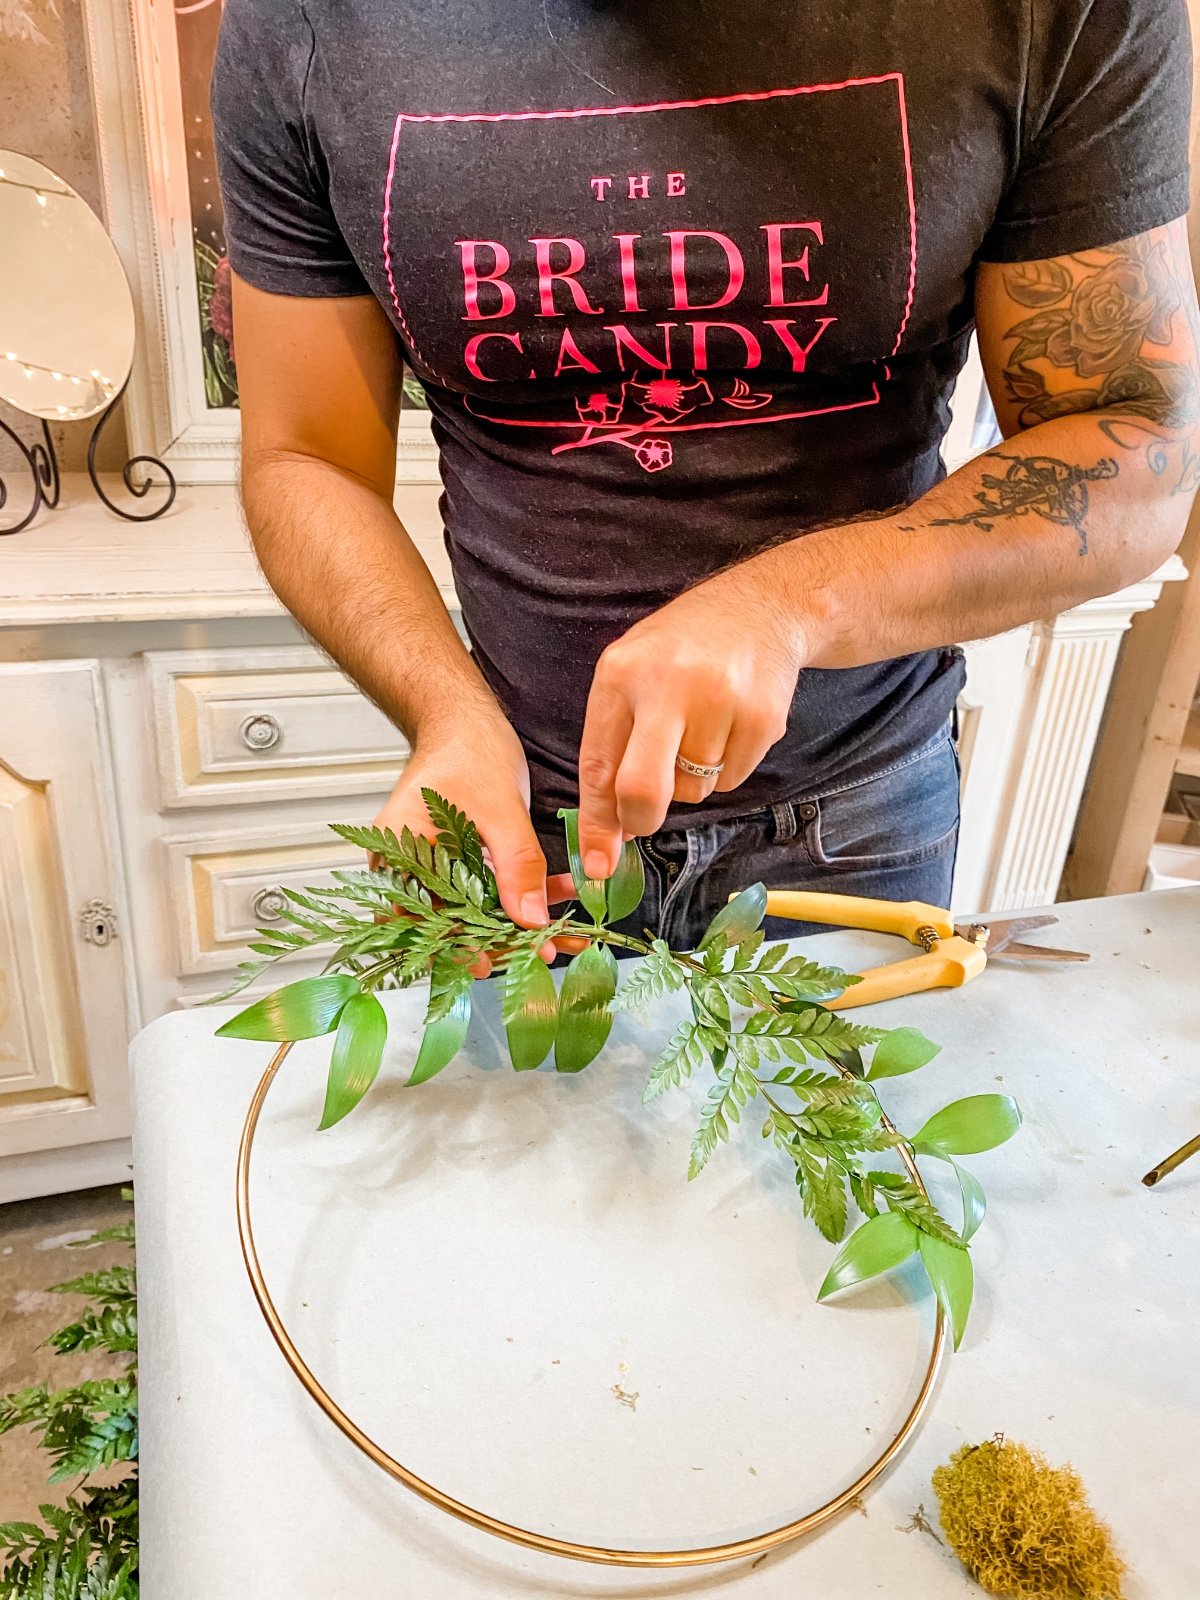
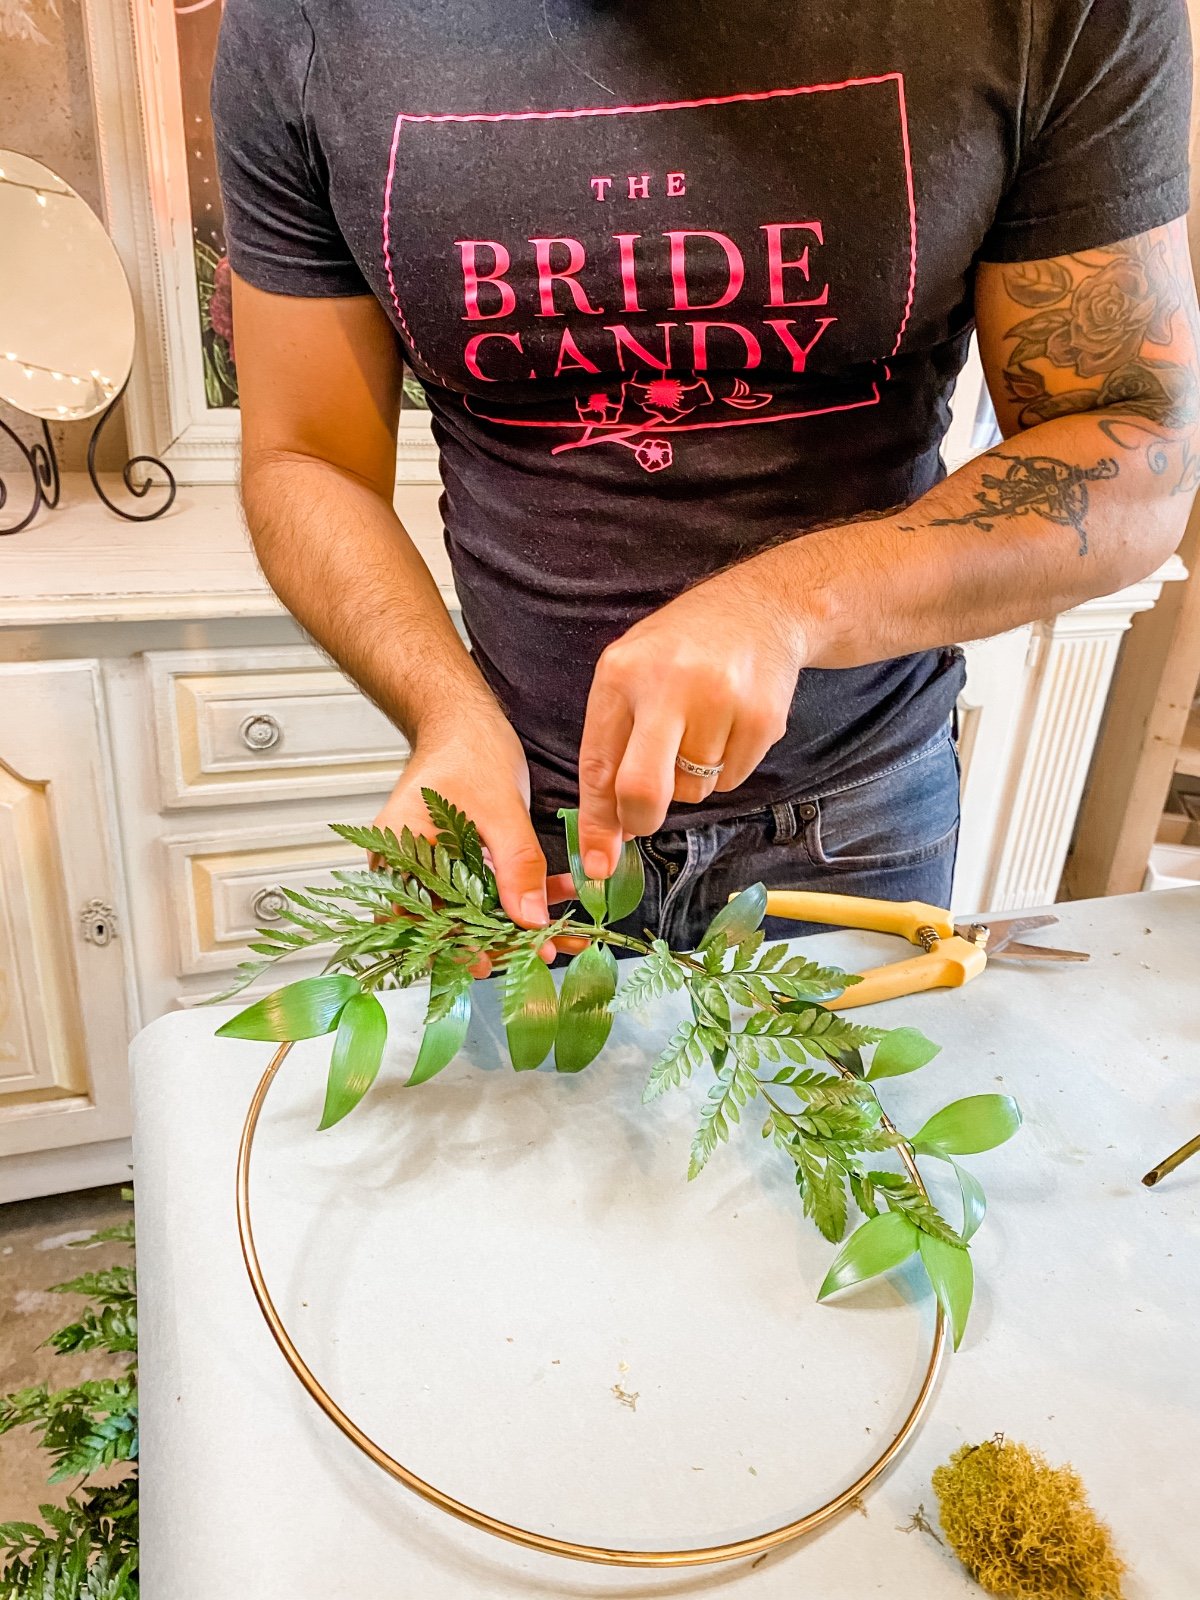
Choose a second type of greenery and wire it on top of your base layer in the same style. Again, make sure it’s secure - you’ll be gluing the rest of the design to it later!
Step 3: Attach the larger flowers

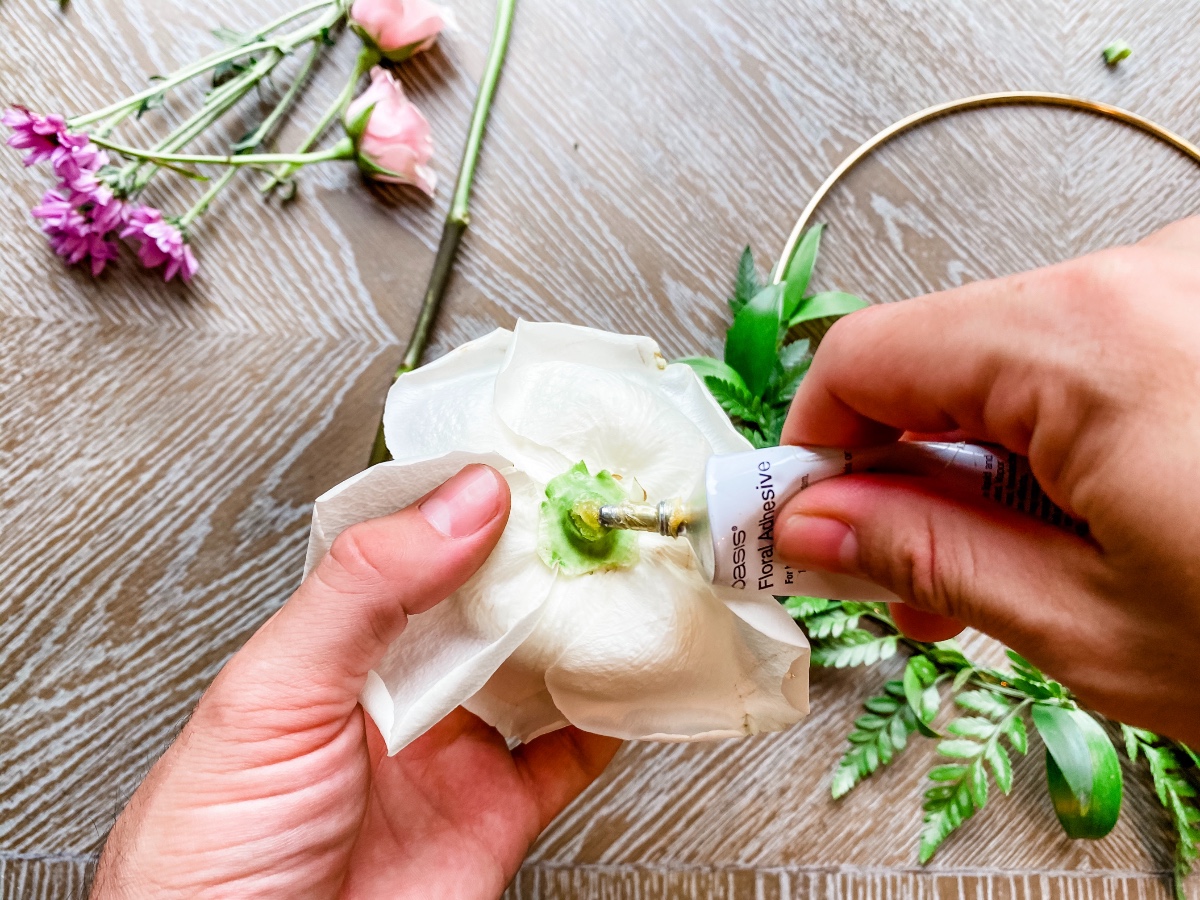
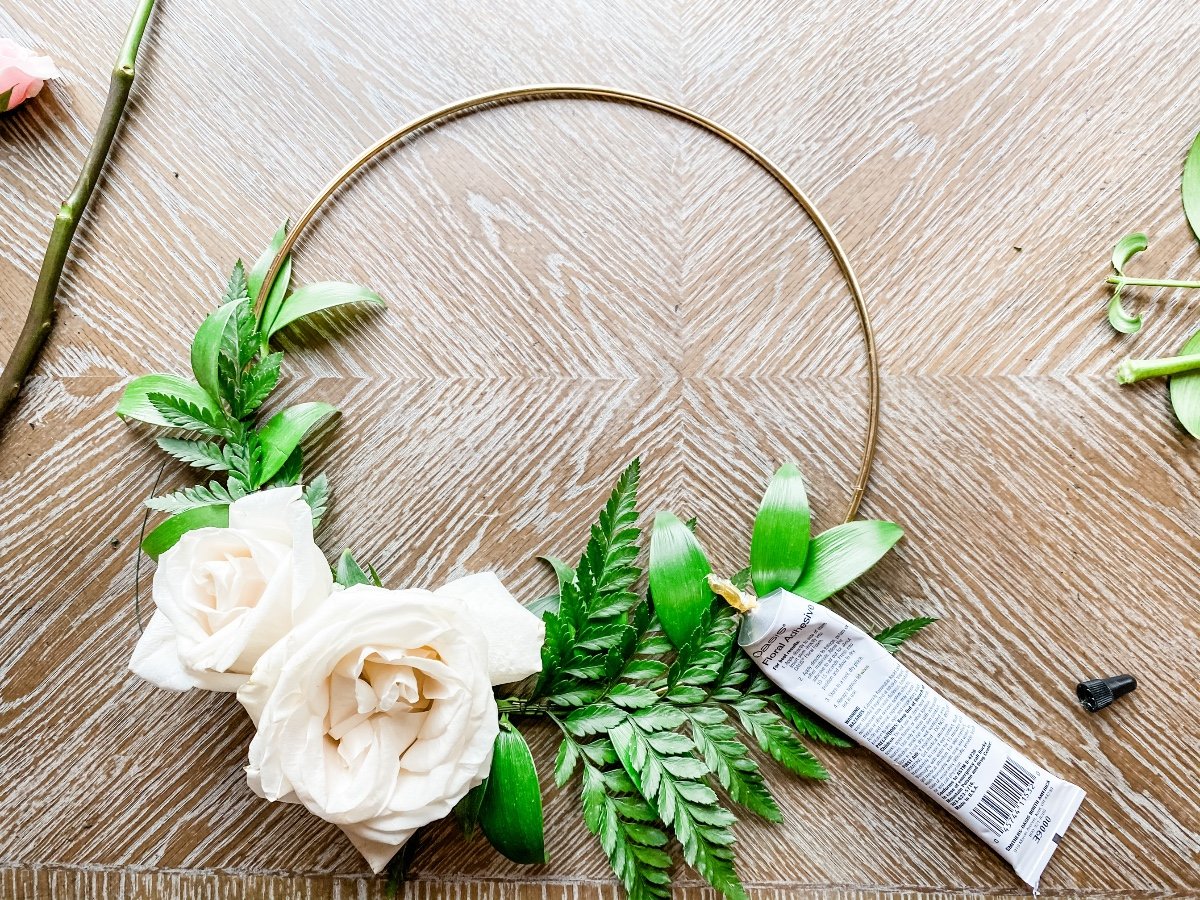
Choose a few large flowers to be the center of your design. Cut the stems off completely and put a dab of floral adhesive on the base of the bud. Floral adhesive takes about a minute to set, so blow on it gently to get it a little sticky then position your flower on the ring. Hold it in place while gently blowing on it until the adhesive is set.
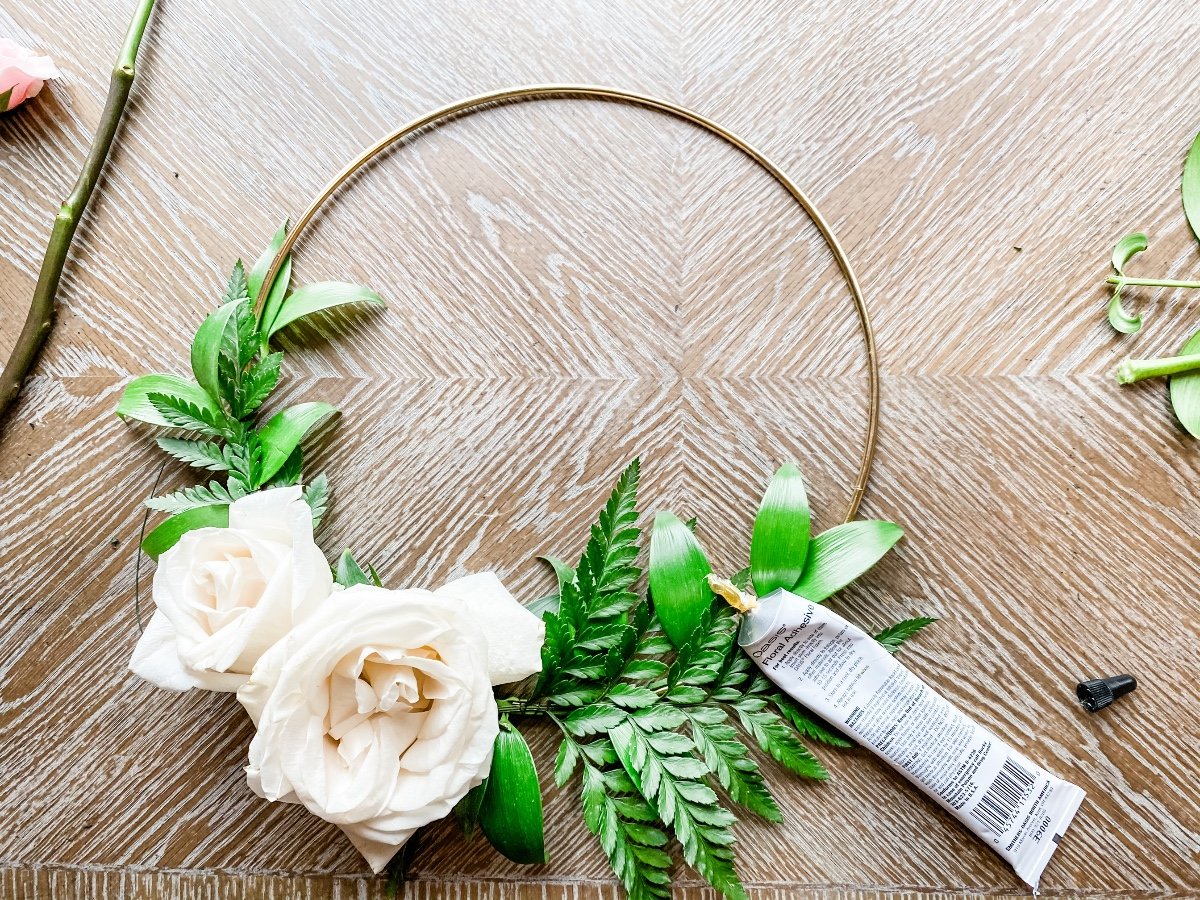
Step 4: Fill in the details
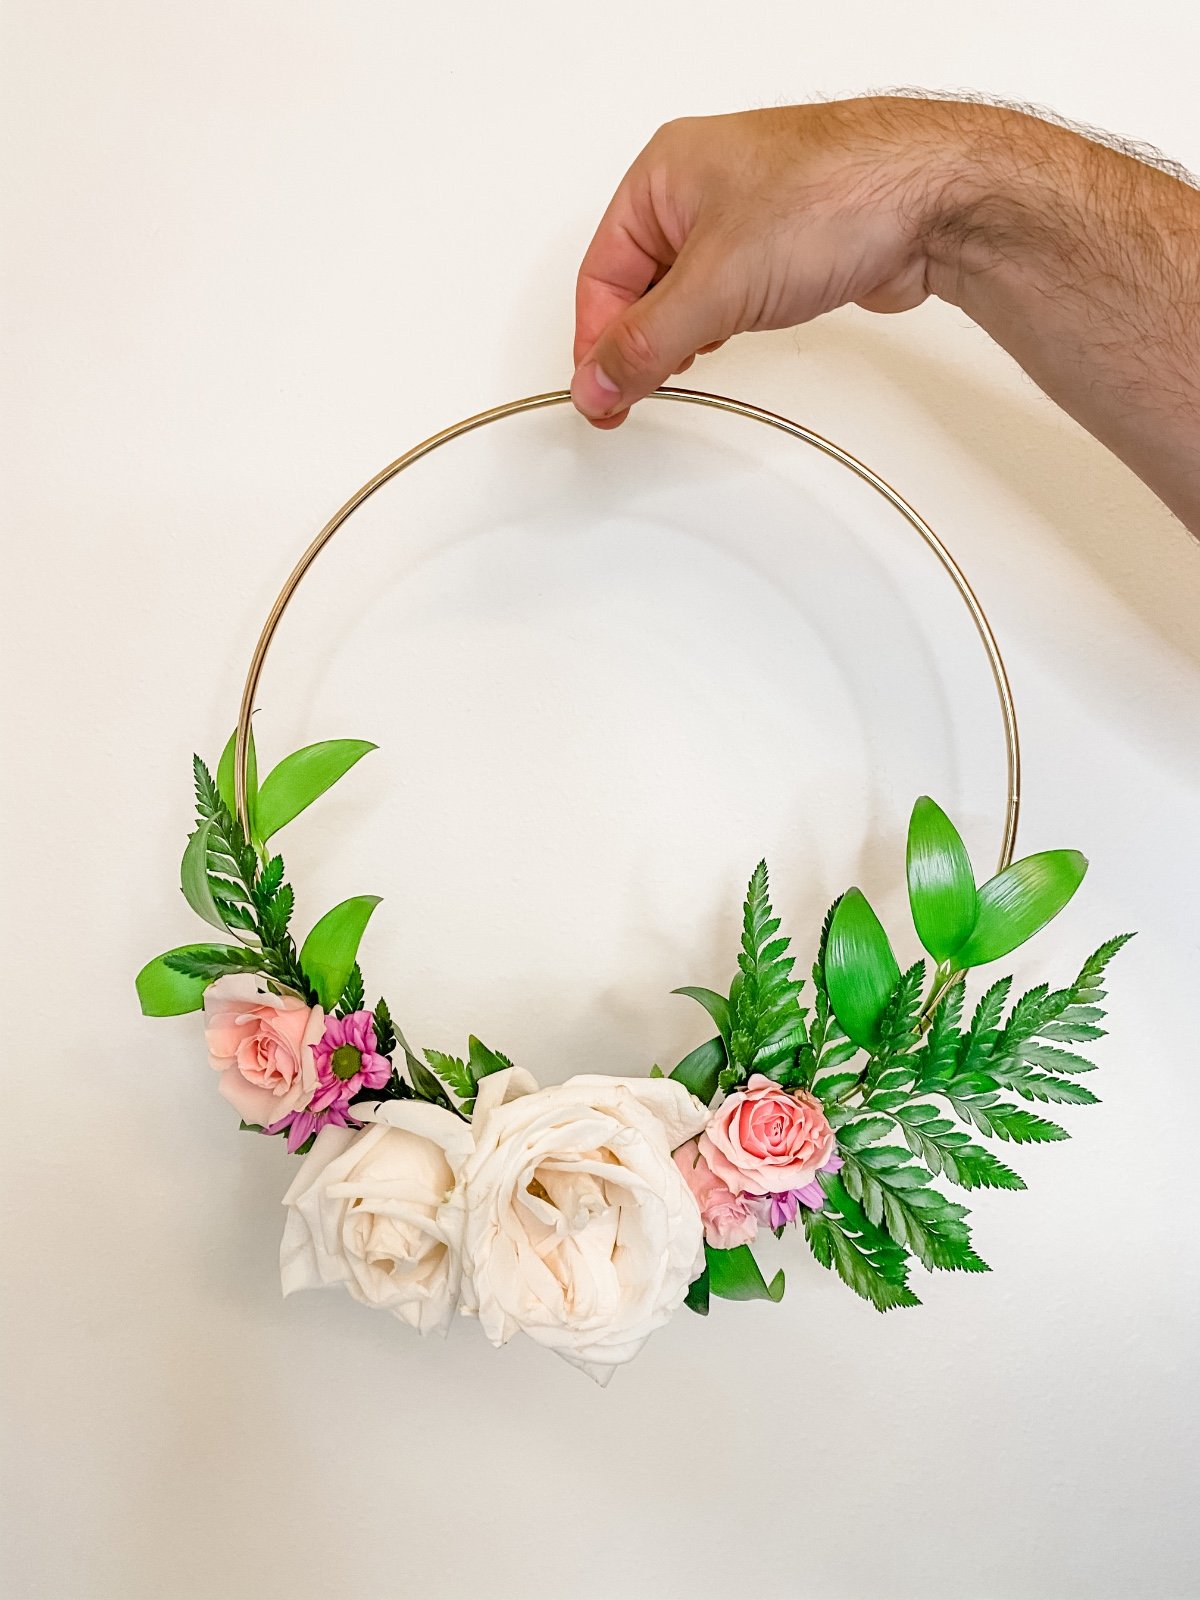
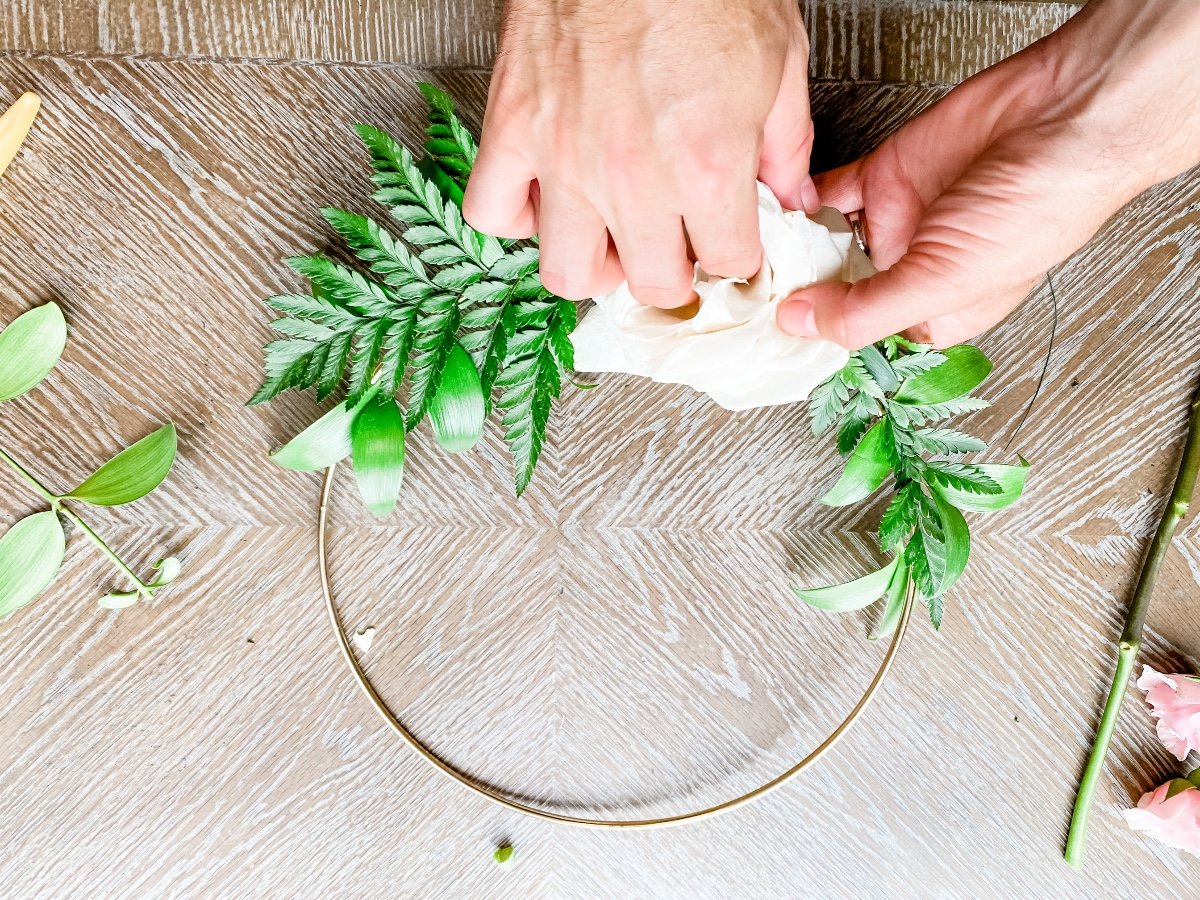
Add smaller flowers around your large flowers to complete your design. It’s a good idea to play with color or texture so they look beautiful too! Follow the same steps as before to glue your flowers to the ring.
Step 5: Add the extras (optional)
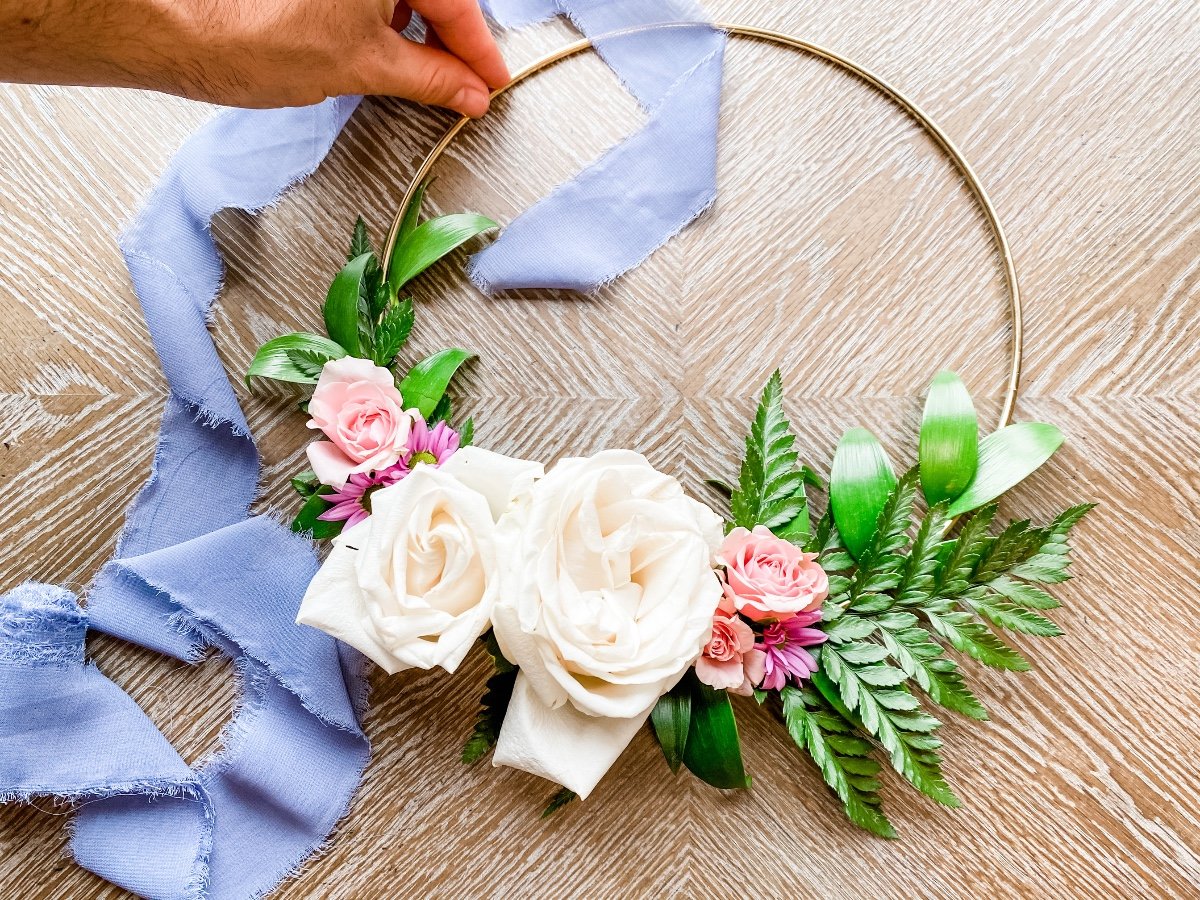
Want even more on your bouquet? Add a high quality ribbon that moves in the wind for stunning photos. Or add a brooch, charm, or locket to remember loved ones. Feather and pampas grass also make a statement!
Follow @TheBrideCandy on Instagram to see more beautiful work.
View All Images- Flowers: The Bride Candy
