Do It Yourself Pretty Patterned Fabric Envelopes
Do It Yourself, or DIY, wedding projects allow you to create your own personalized favors and touches that can be applied in any way you can imagine on your special day, for a shower, a party or whenever. All you need are some basic items and a little creativity.
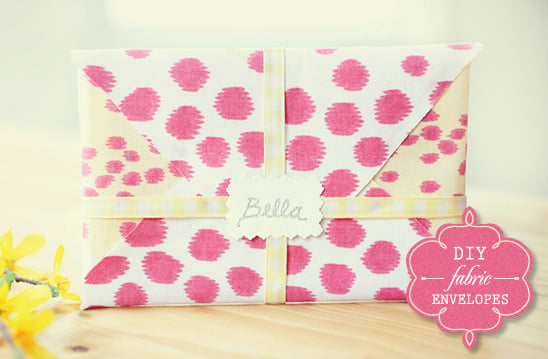
These Do It Yourself Pretty Patterned Fabric Envelopes are the perfect little touch to your invites. Use your own special fabric and a lovely, patterned paper. Your guests will be amazed. See more clever do-it-yourself wedding projects here.
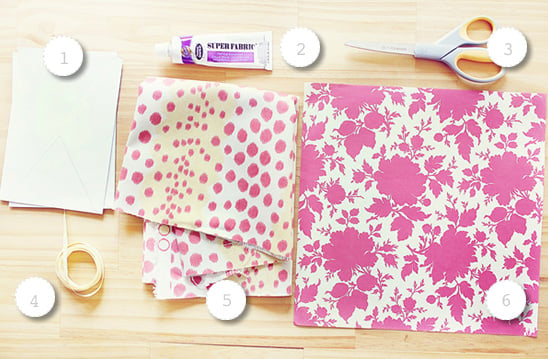
Supplies
1. Plain envelopes (5"x 7")
2. Fabric glue
3. Pencil, Scissors, Ruler (optional)
4. Ribbon
5. A piece of square fabric (8"x 8")
6. Patterned paper
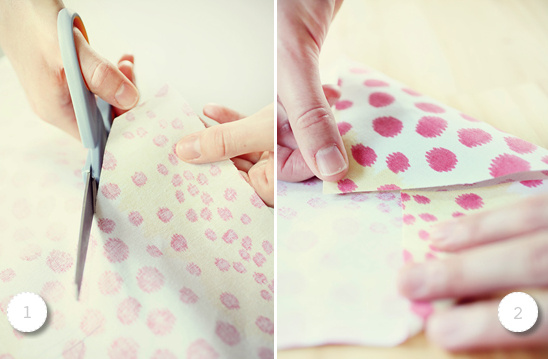
To make cloth inner envelope:
1. Cut a square piece of fabric (8"x 8") and lightly mark the center of fabric (on the un-patterned side).
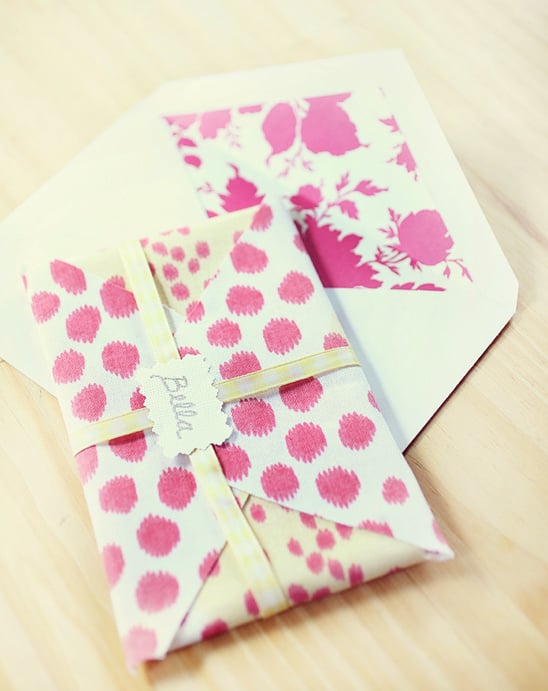
2. Fold two opposing sides into center of the square and make a good crisp crease and be sure to fold the bottom point so that the tip is half an inch above the center point and make a good crisp crease.
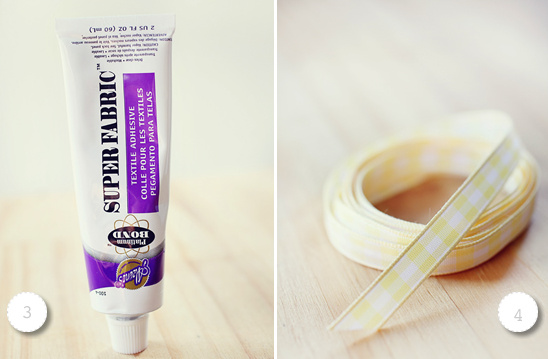
3. Use fabric glue to attach the edges of the two sides and bottom point together.
4. Once the 8"x8" piece of fabric is folded, wrap it in ribbon for a special touch of detail. It will fit perfectly into the 5x7 outer envelope.
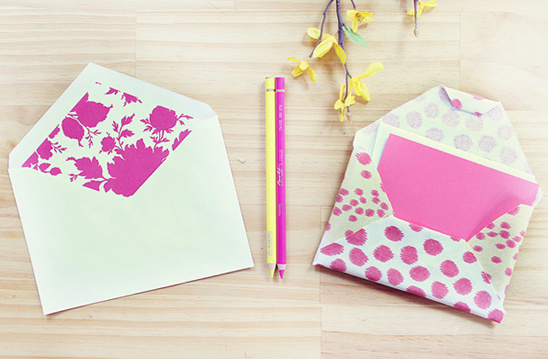
To decorate the plain outer envelope, simply cut a diamond shape out of patterned paper (measuring 5" on each side), lift envelope flap and glue diamond cut-out horizontally onto inside of envelope. If you love the fabric that Hilton Pittman Photography used, it's this pretty "Spot on Azalea" fabric from, Printer's Alley.
Special thanks to our North Carolina Photographers, Hilton Pittman Photography for this crafty DIY!