DIY Wedding Arbor From FiftyFlowers.com
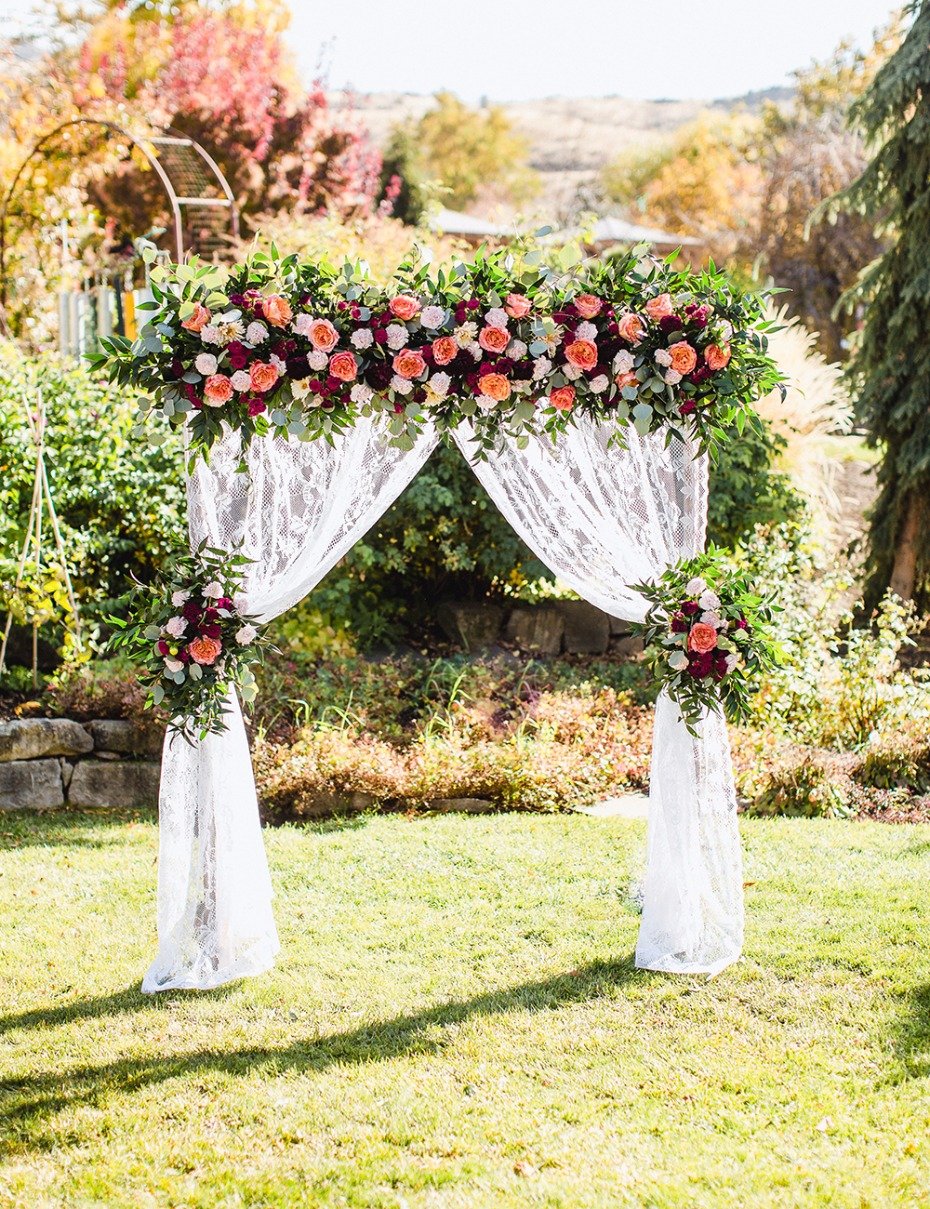
We know you want a gorgeous and personalized wedding backdrop for your wedding ceremony. With the help of FiftyFlowers.com, we're going to show you exactly how you can make your own.
If you aren't familiar with FiftyFlowers.com, they are the customer-centric, online destination for wholesale wedding flowers, shipped fresh from the farm straight to your door! Inspired by the DIY bride, they offer an extensive selection of fresh flowers, greenery, and floral accessories. All the flowers used in this DIY Wedding Arbor are from FiftyFlowers.com
So, let's get this DIY party started, but first see our video.
supplies
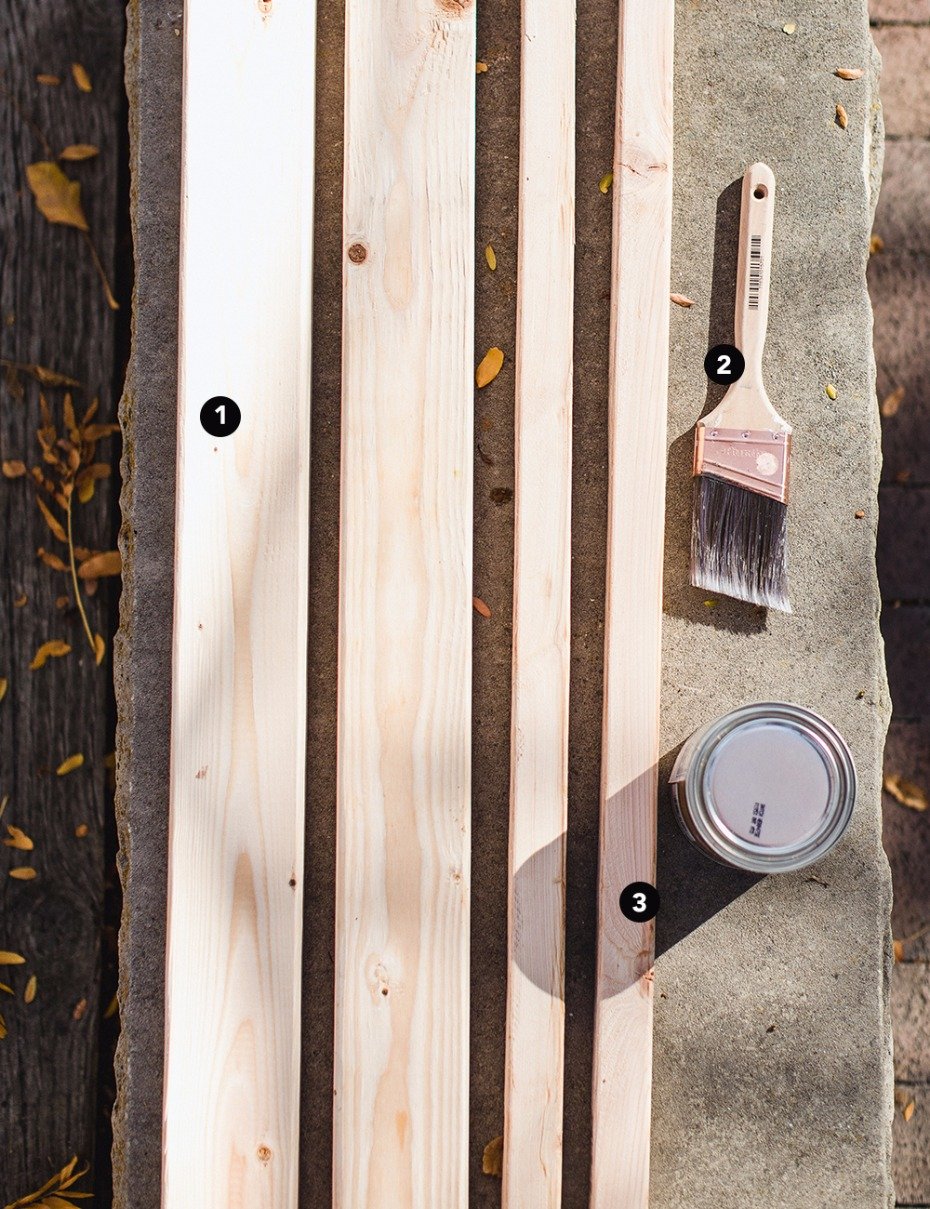
1. 2 pieces of 2 X 4 X 12 wood & 2 pieces of 2 X 4 X 8 wood
2. Stain (personal preference depending on how light or dark you'd like the wood to be)
3. Paintbrush to paint the stain

1. Screws
2. Staple Gun
3. Leveler
4. Measuring Tape
5. Gloves (protector yourself from splinters)
6. Nails (make sure they are 2 1/2")
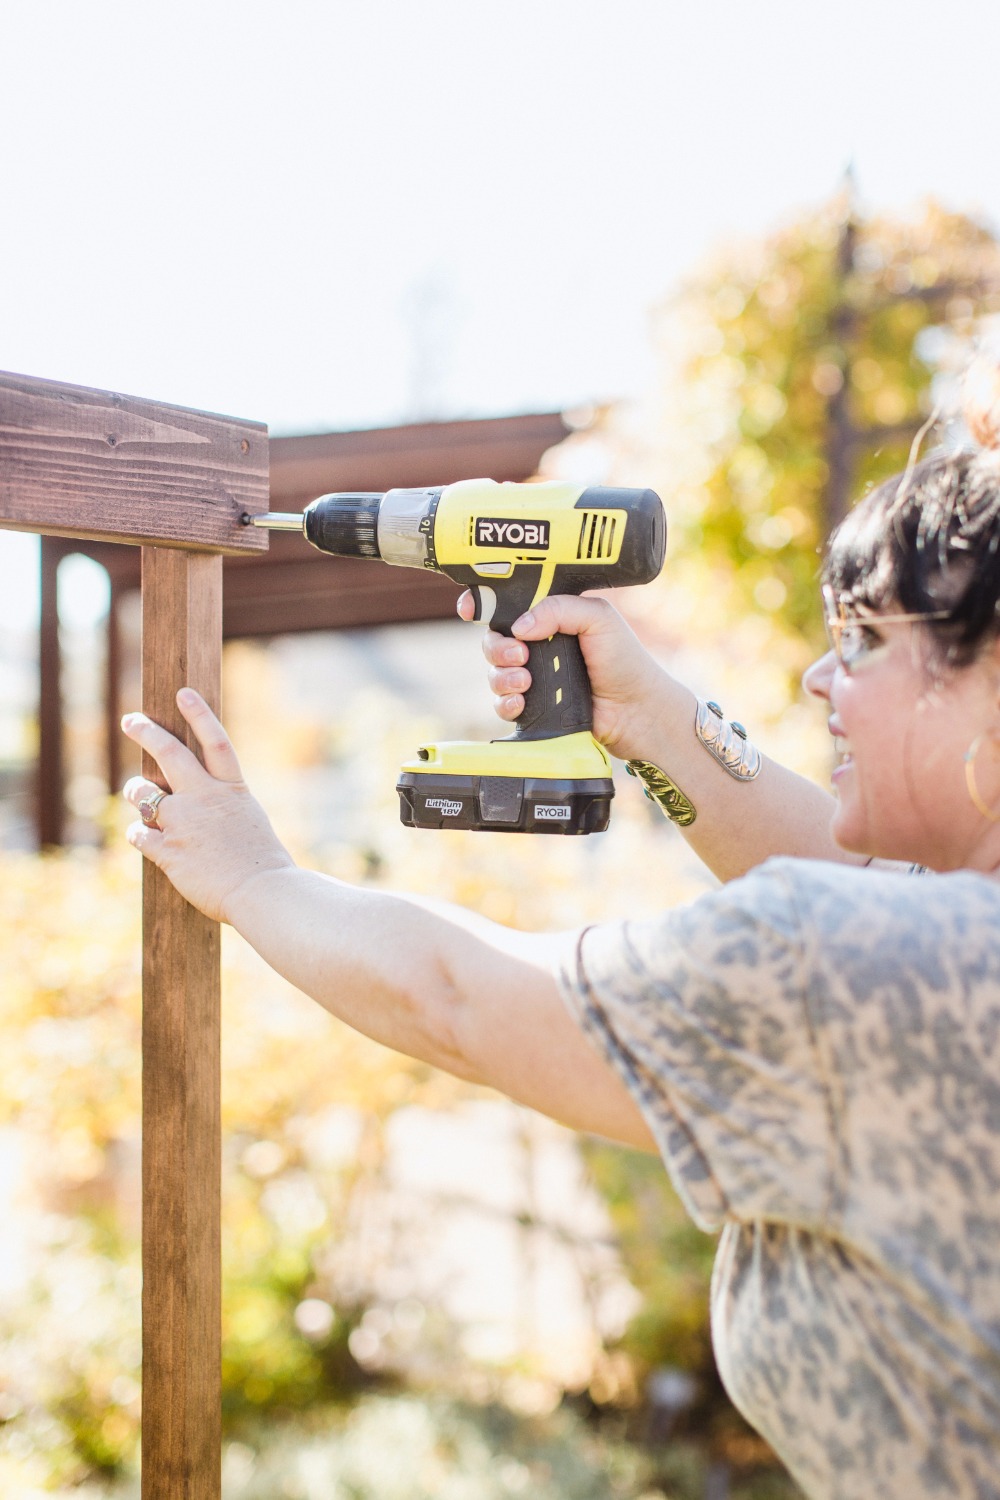
7. Drill
8. Step Ladder (not shown)
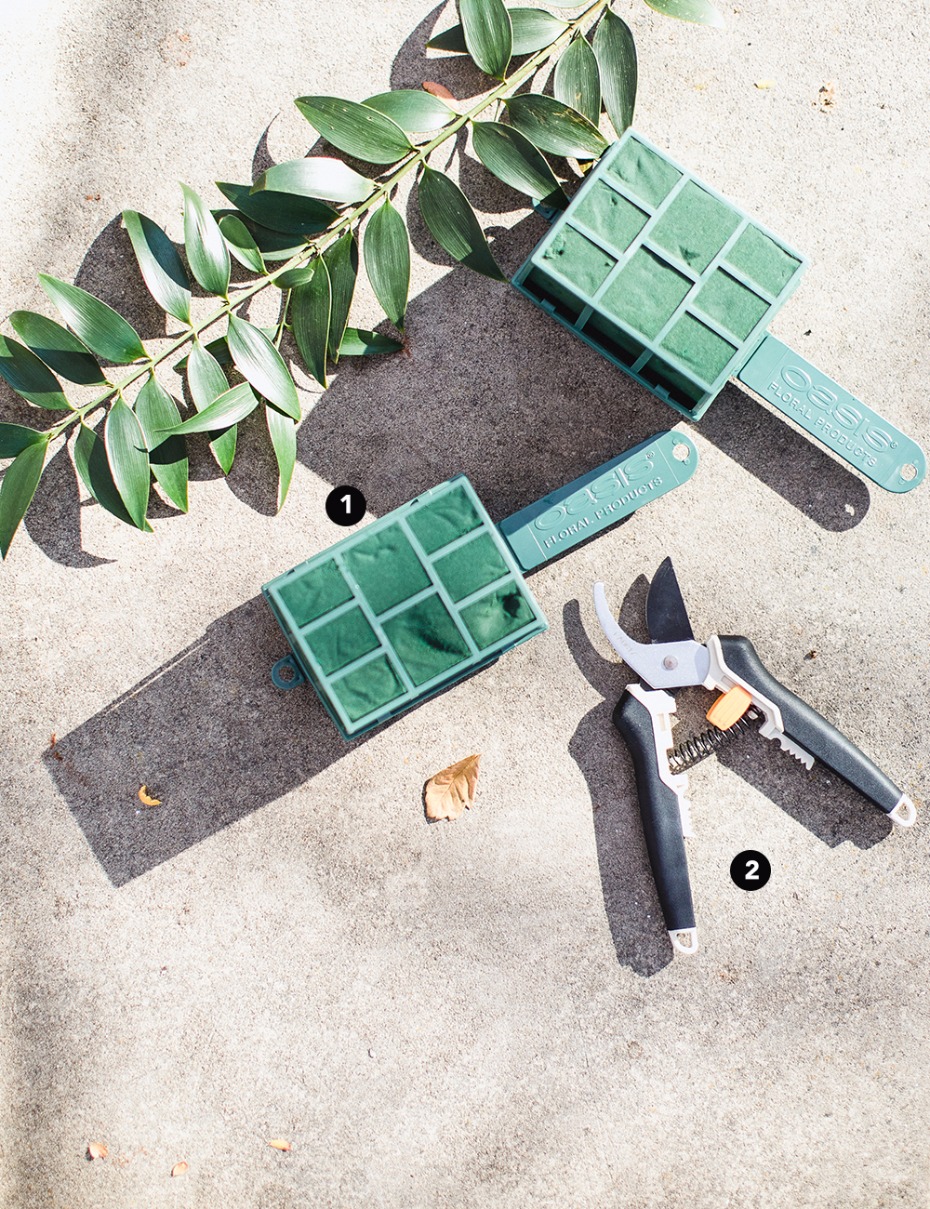
1. 12 Floral Cage Holders
2. Floral and Branch Cutters
3. Lace curtains (not shown) You're going to want to make sure they are extra long so that you have enough room to drape the curtains. We recommend 95-108." You could even use fabric as well if you would like it extra long.
flowers for your diy wedding arbor
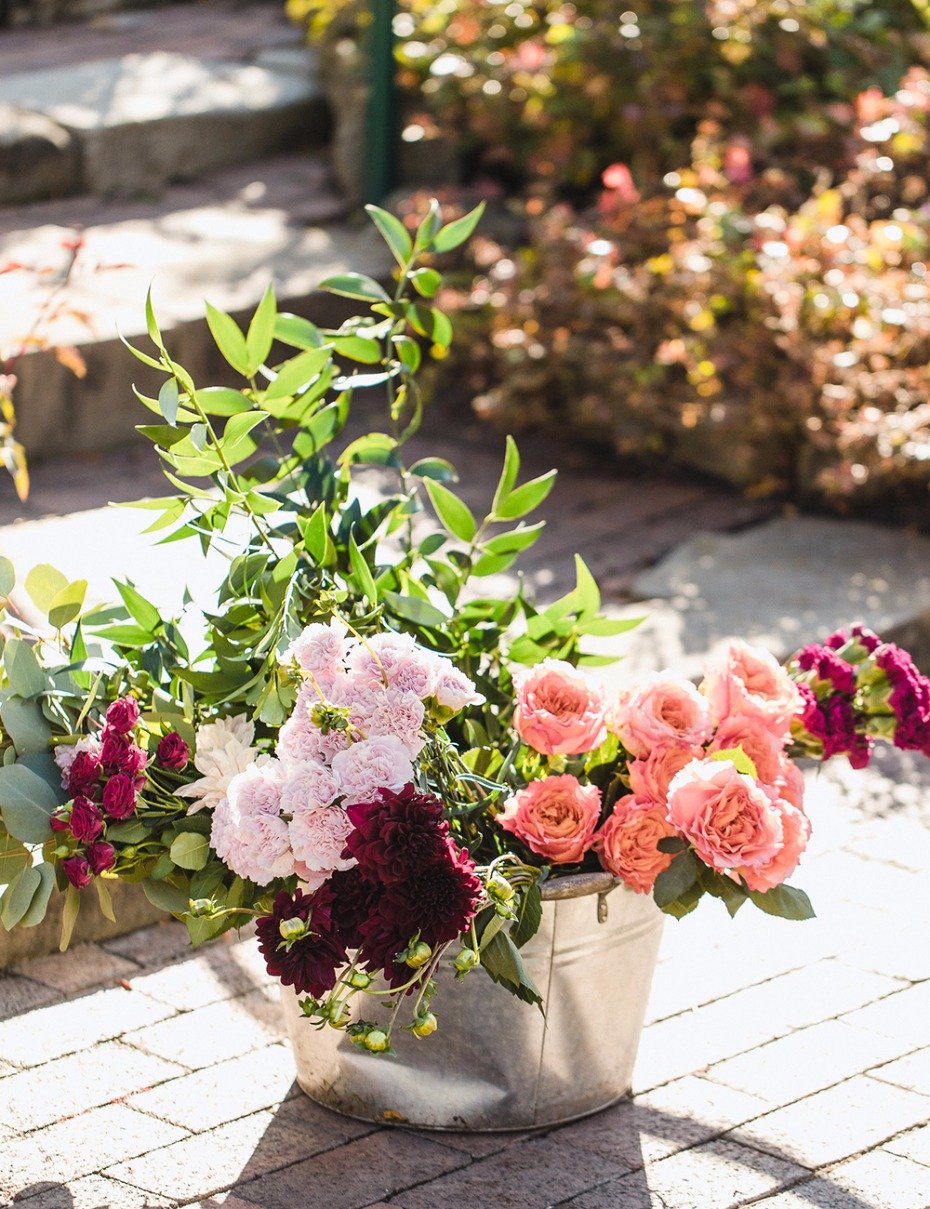
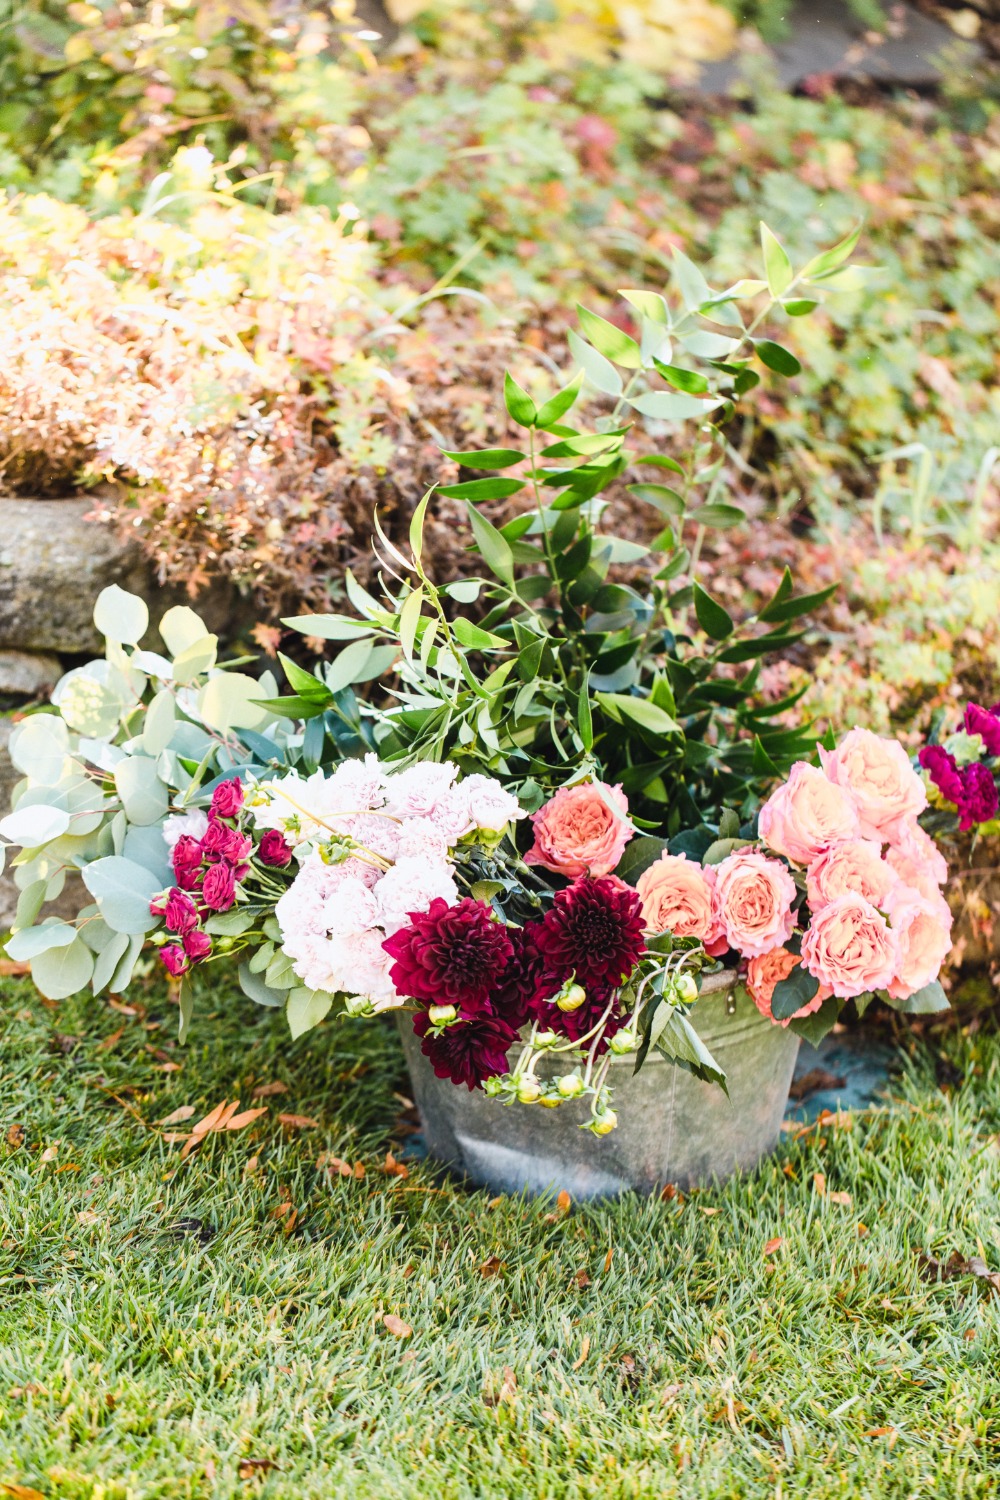
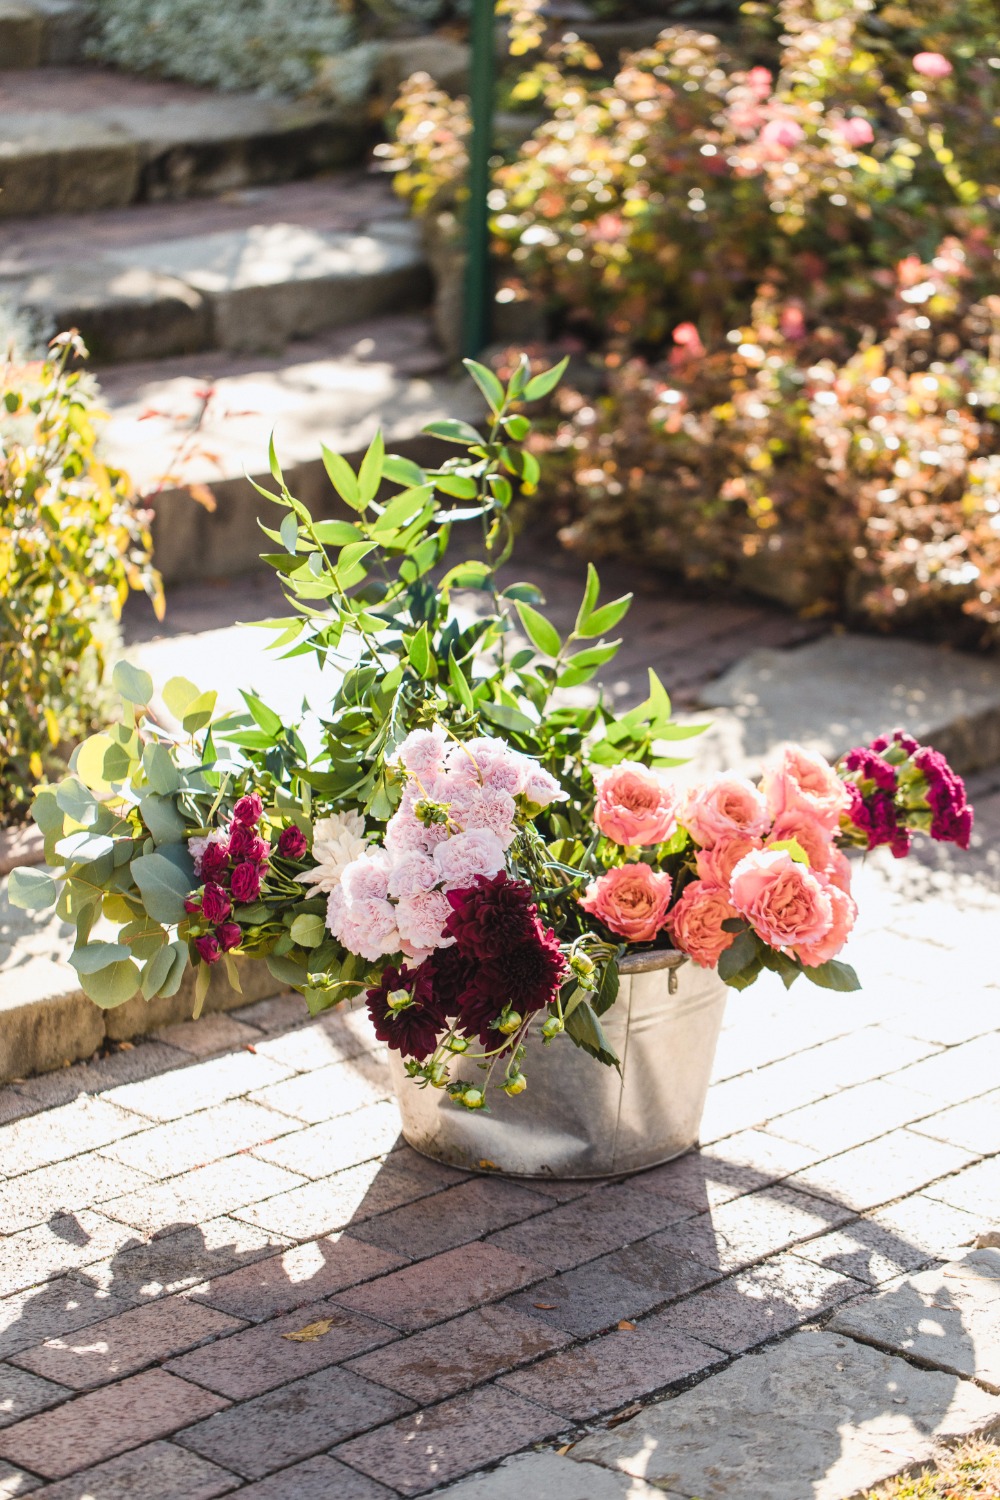
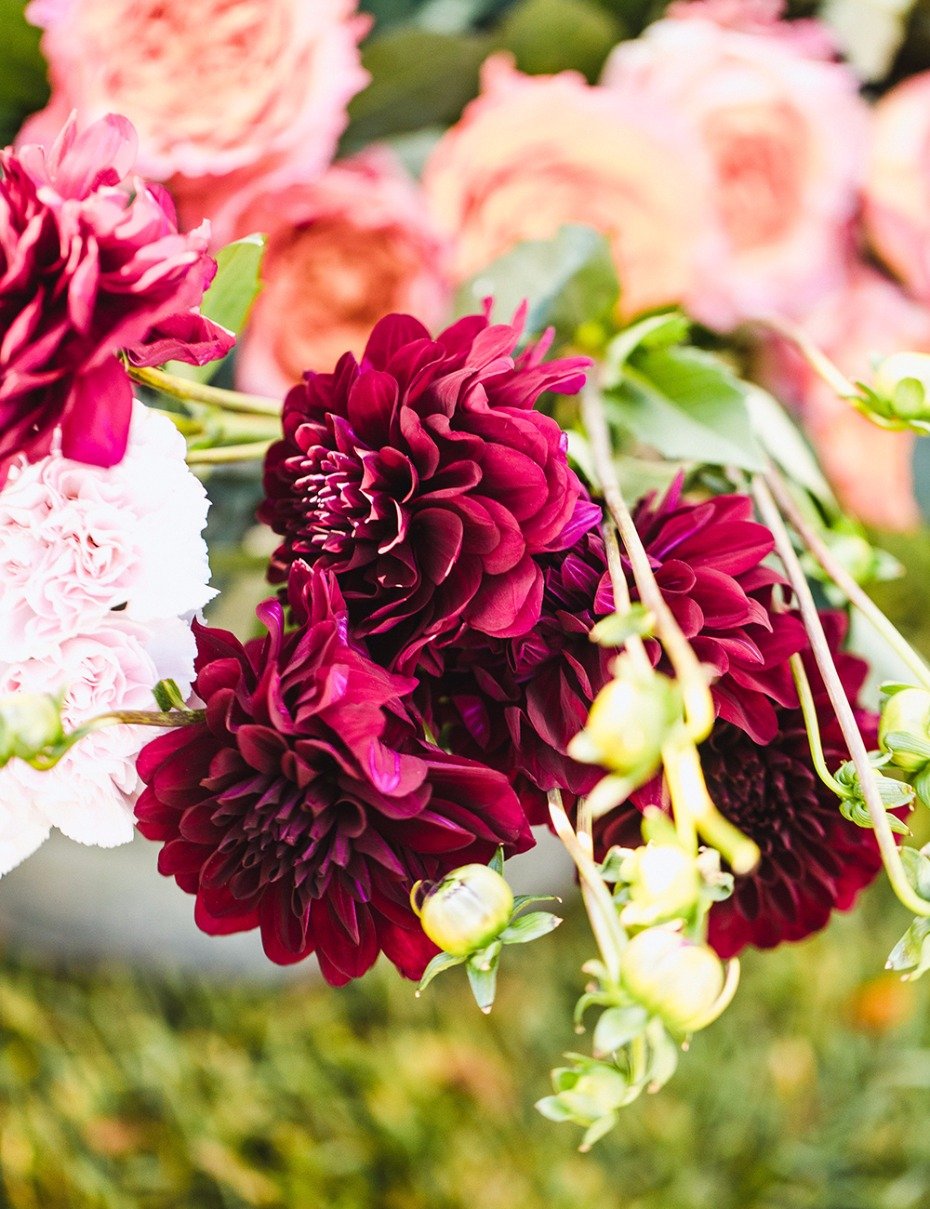
Of course, you're going to need flowers and you can get every flower you need from FiftyFlowers.com Here's a list of all the flowers we bought, but you can go through and pick and choose flowers that match your look and feel.
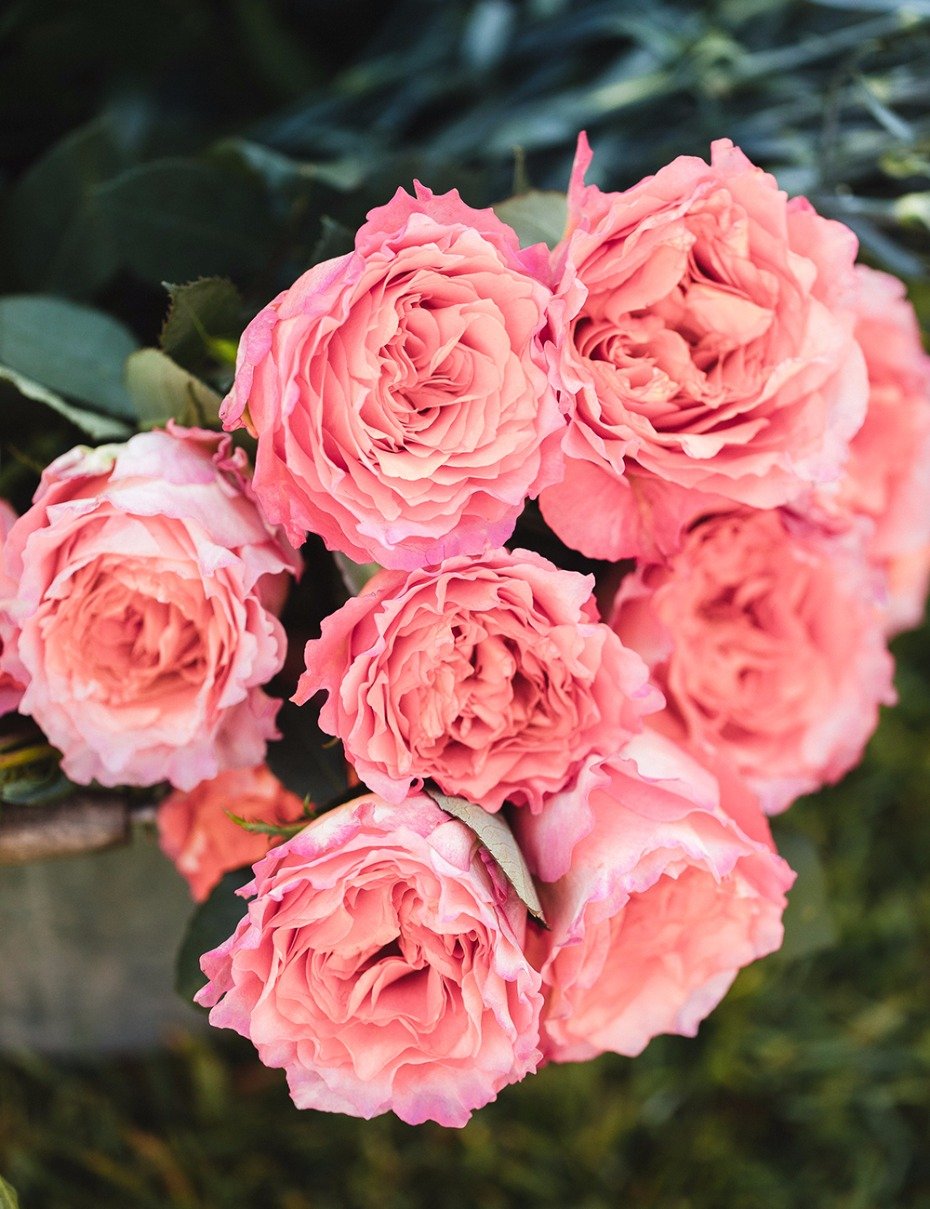
When purchasing your flowers, we suggest picking out your "signature flower" like the Evening Sun Dinner Plate and then add in filler flowers and greenery.

buy everything for the arbor here
GREENERY
Silver Dollar Eucalyptus
FLORALS
Evening Sun Dinner Plate
Cabbage Garden Rose, Antique Pink
HOW To Building Your Wedding Arbor
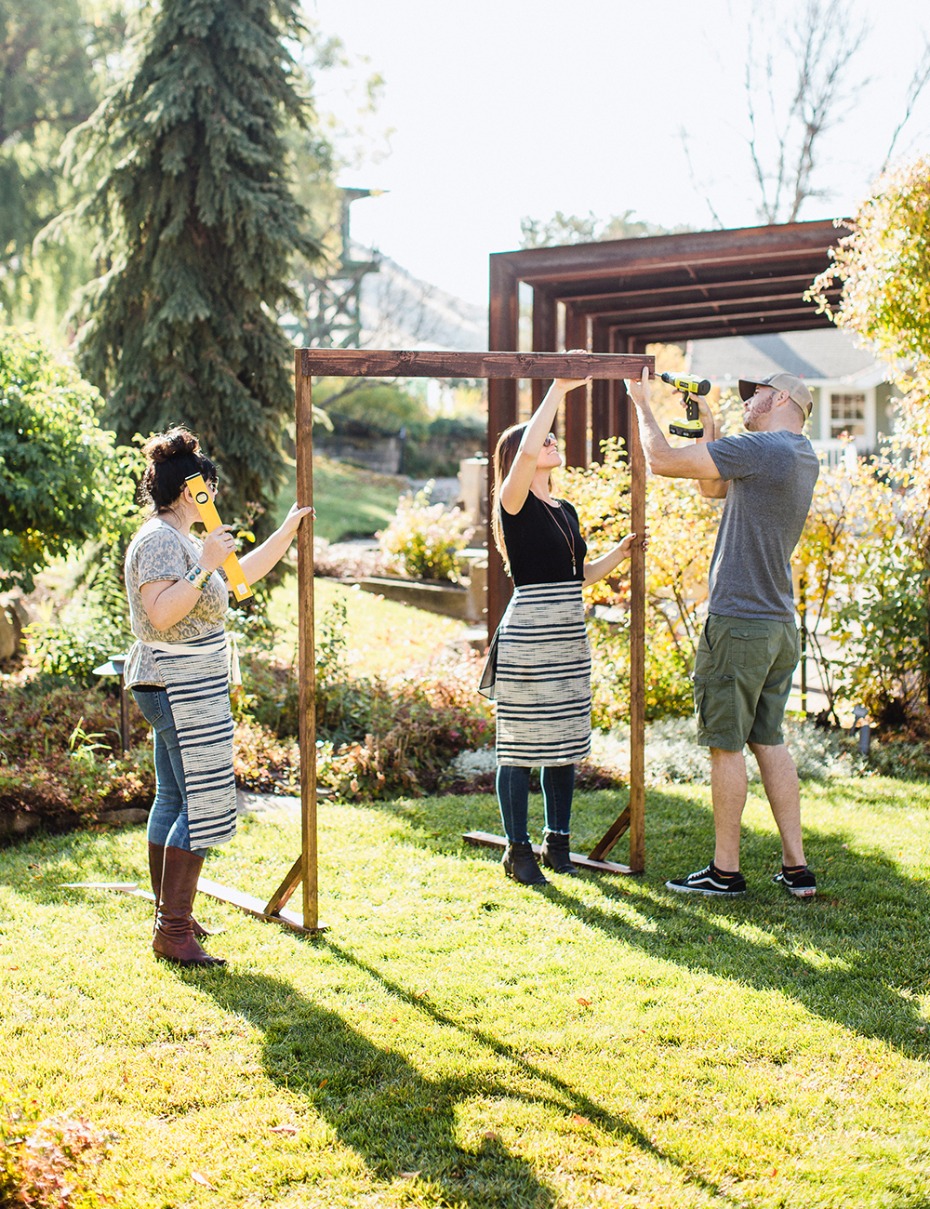
Step 1: Cut all your wood using a miter saw. You're going to need 7 pieces of cut wood with the following measurements.
2 - 80" pieces (those will be your side pieces)
1 - 60" piece that will be your top piece
2 - 36" pieces (those will be your bottom base pieces
2 - 12" pieces (those are the pieces that secure the bottom and the side pieces)
Step2: Stain your wood and let dry overnight.
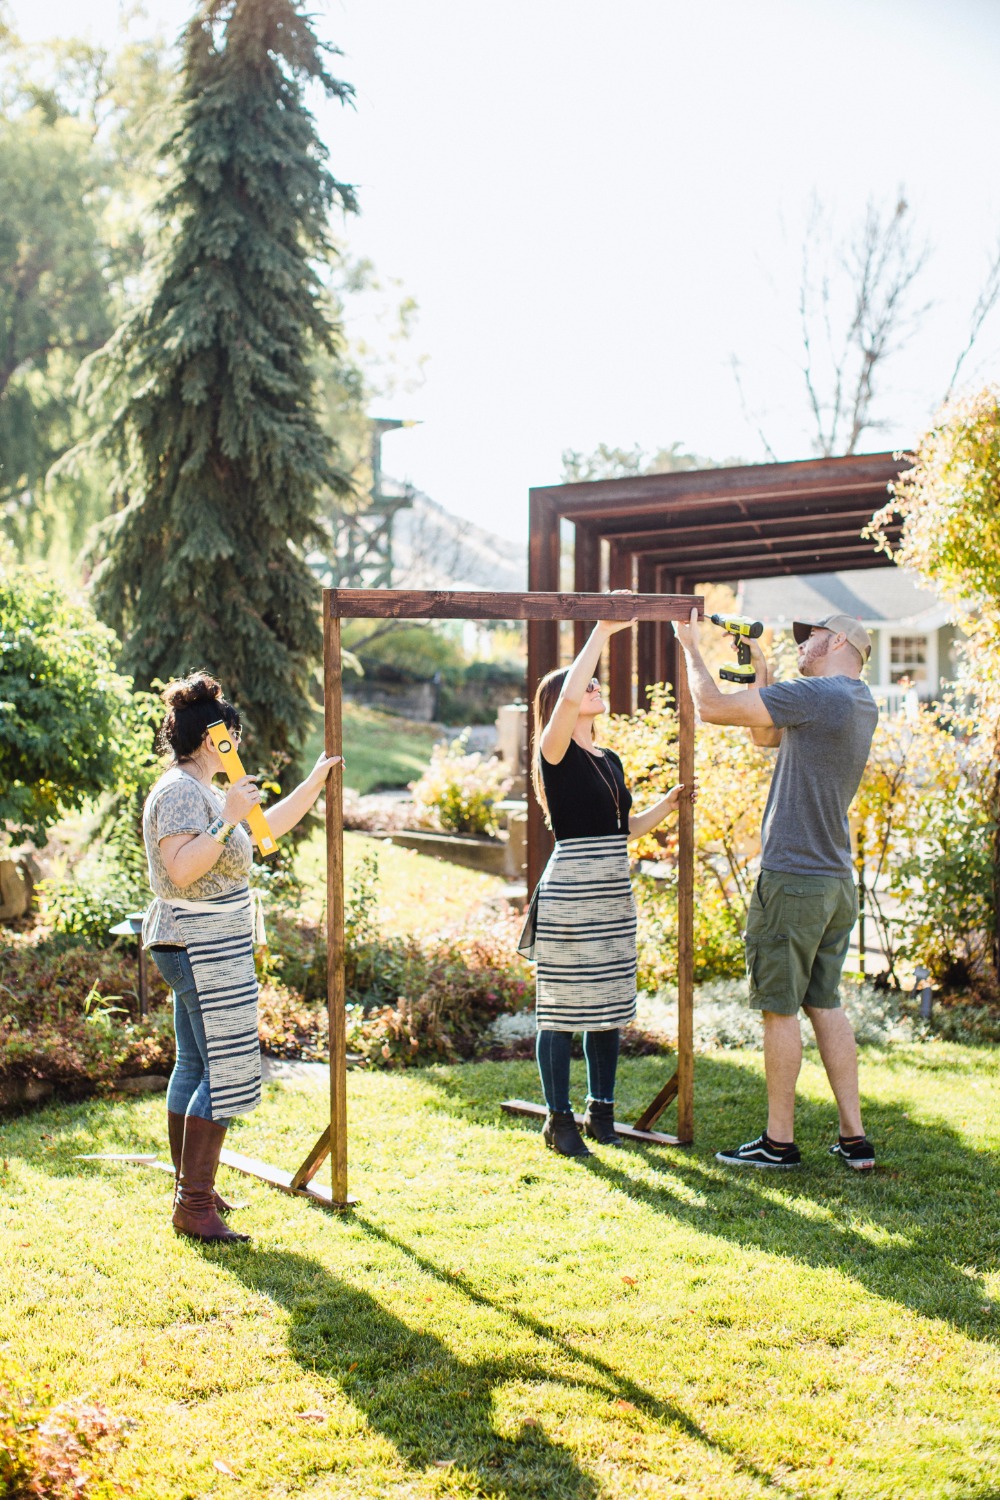
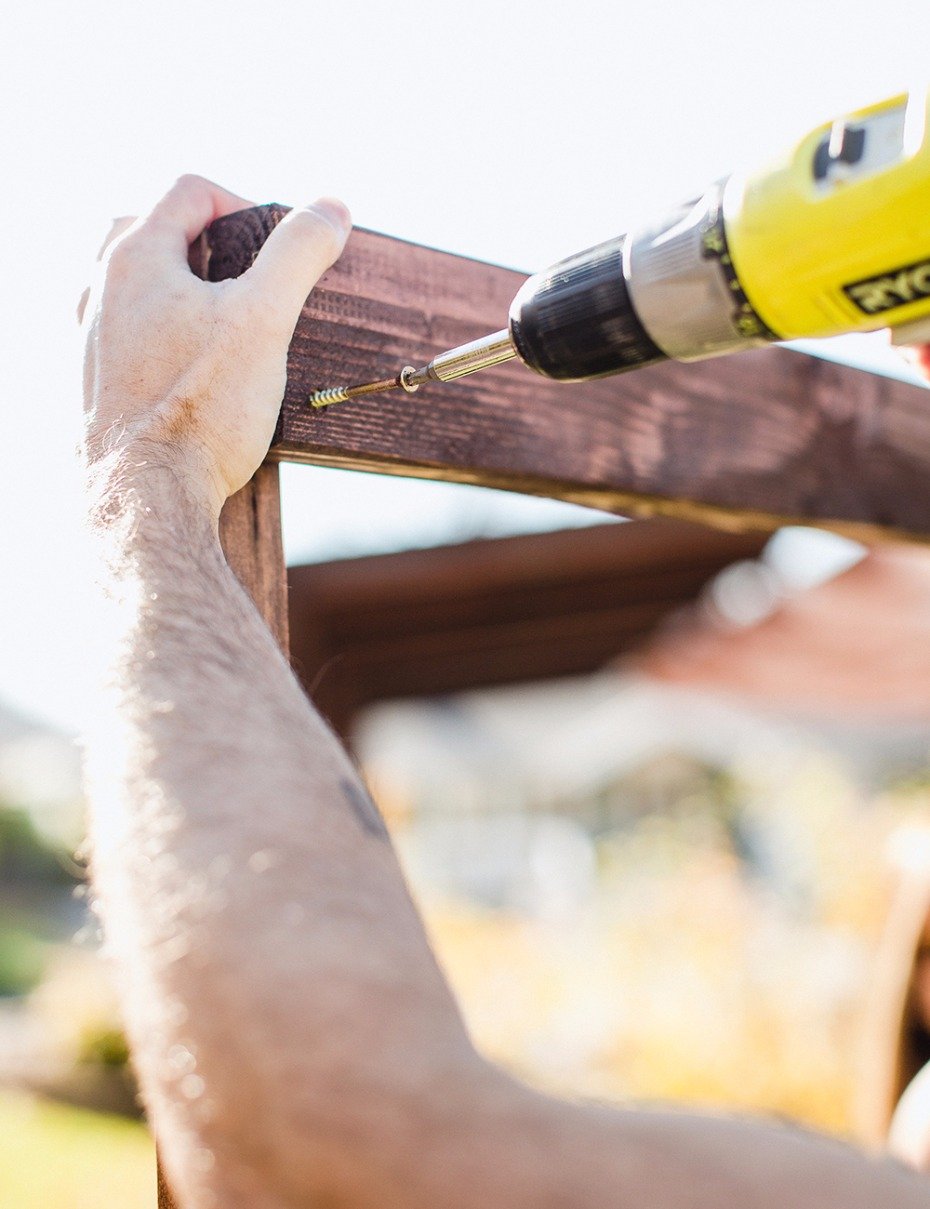
Step 3: Start assembling your arch.
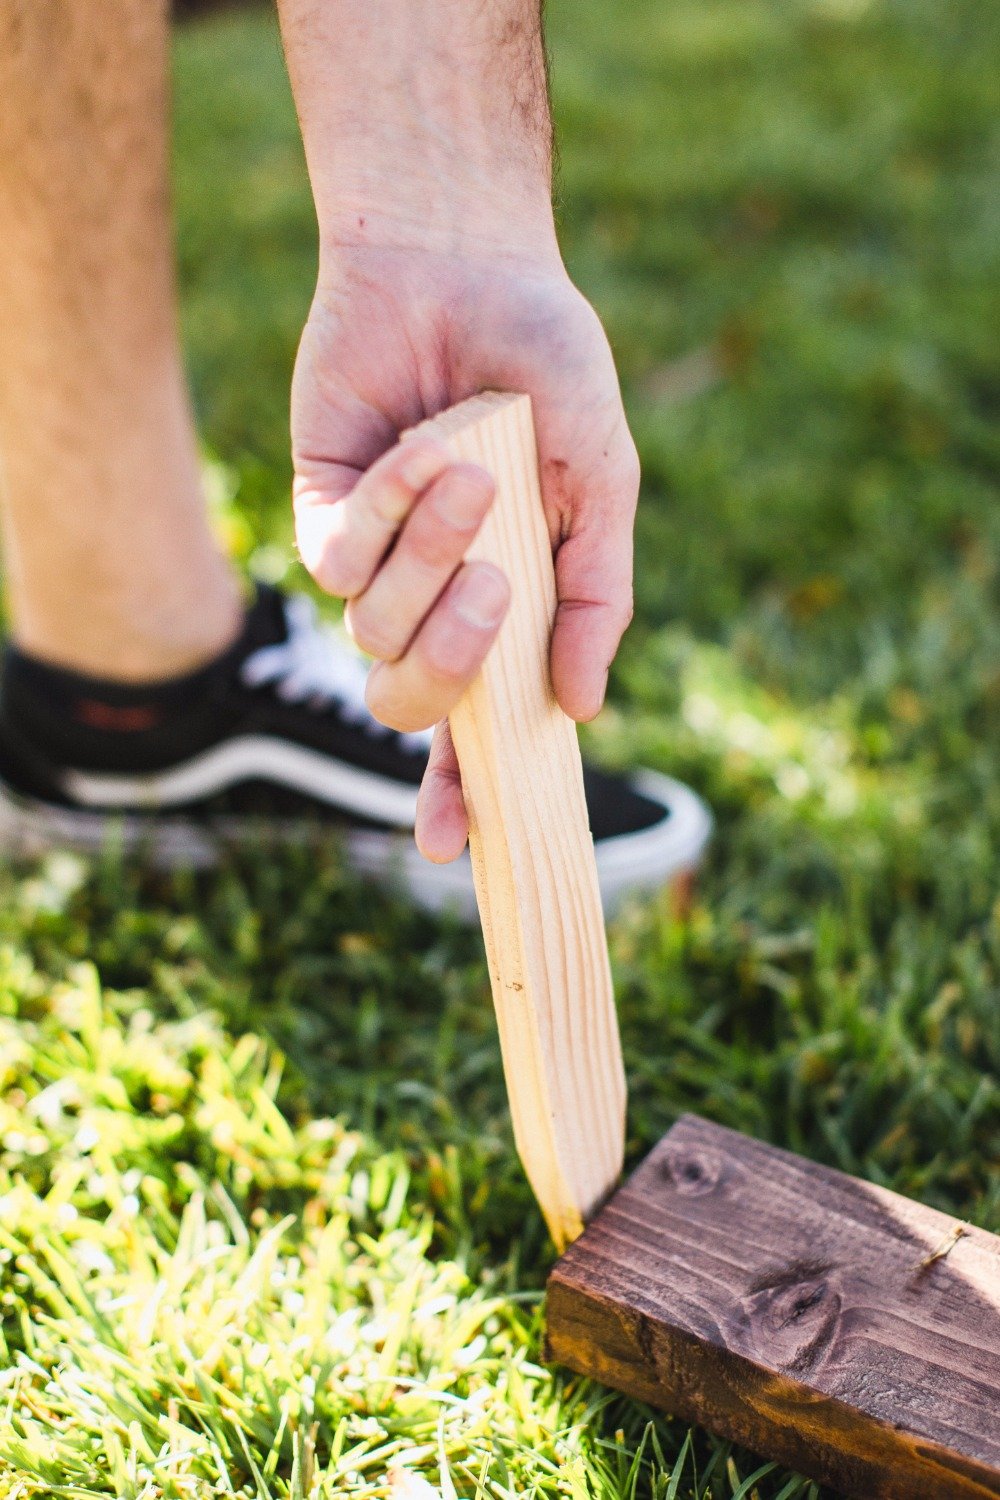
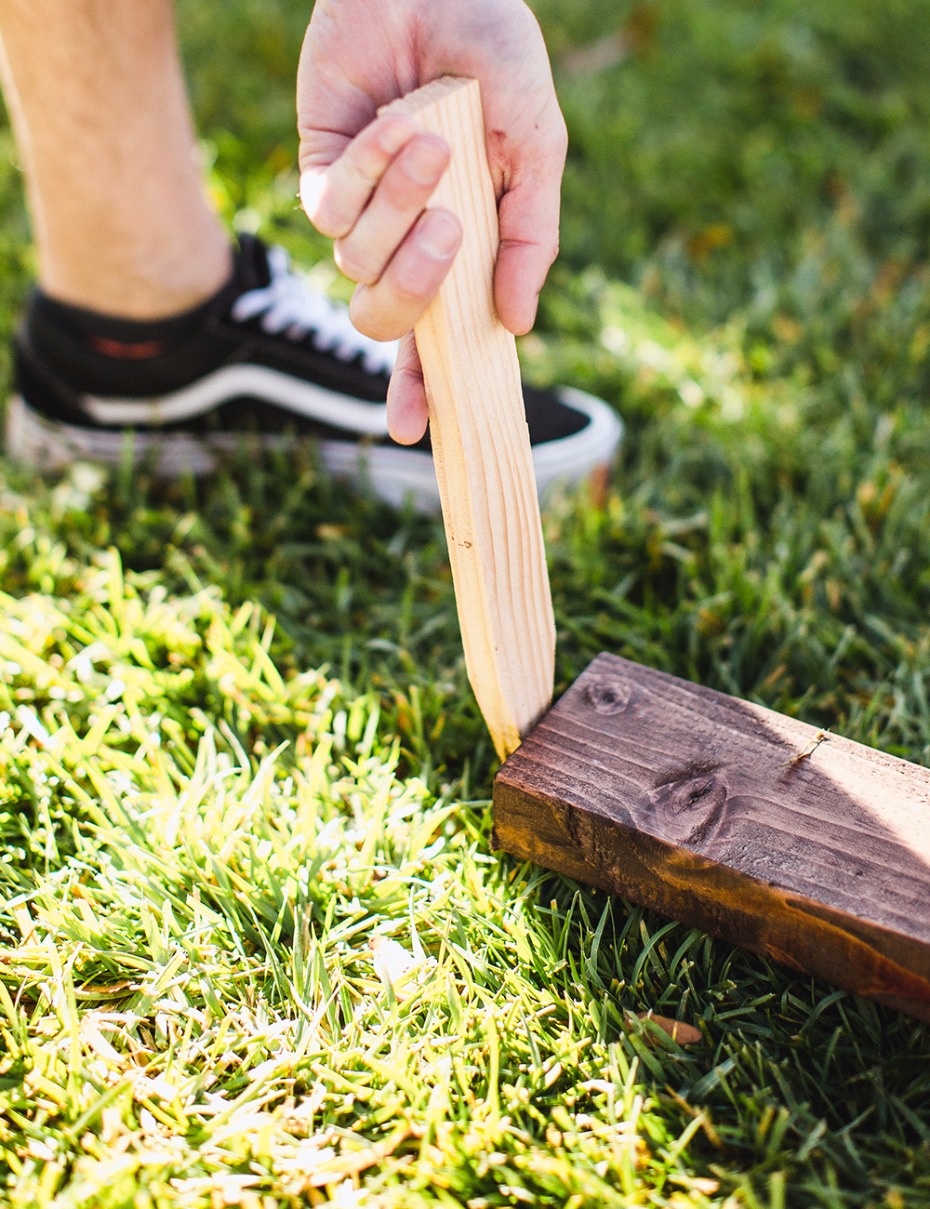
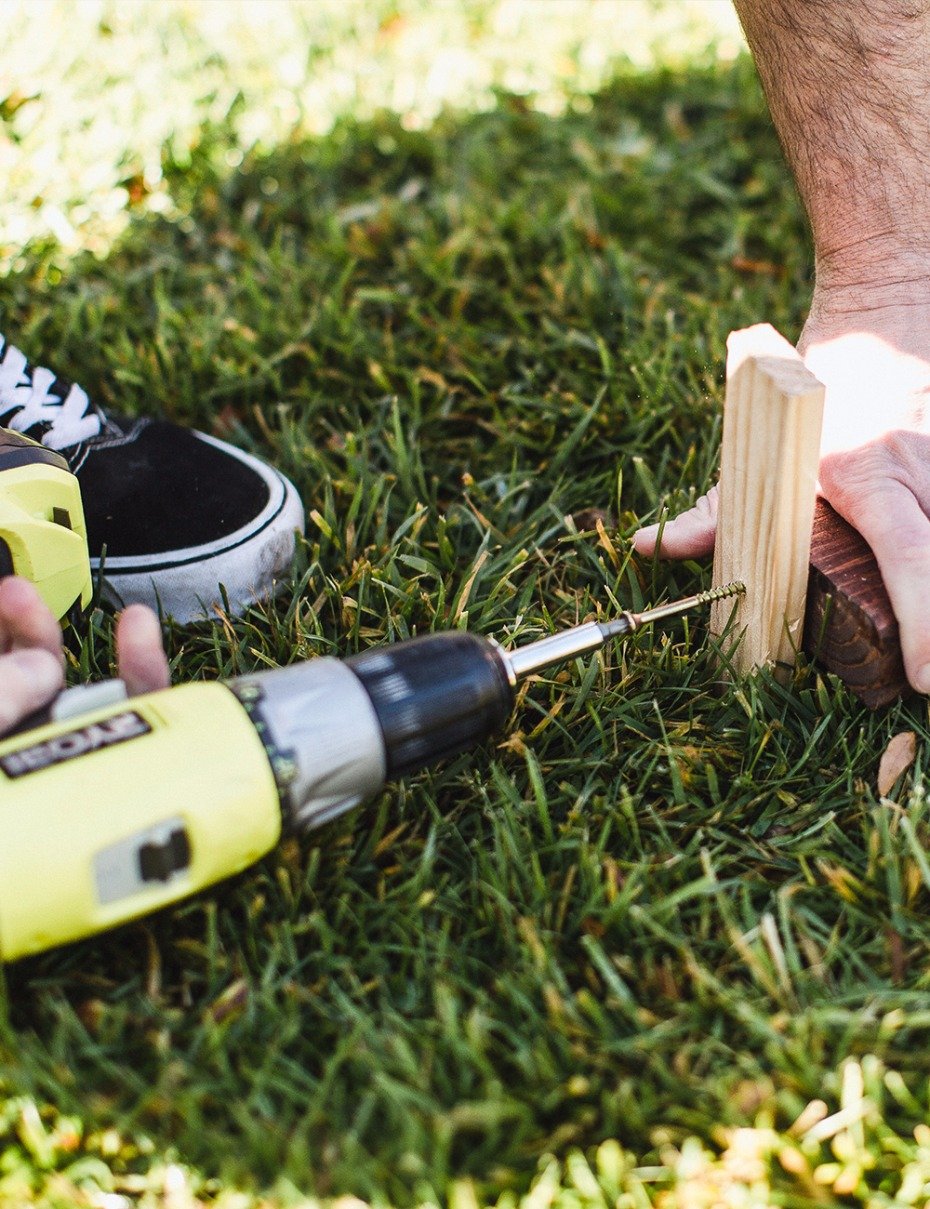
Step 4: Hammer stakes into each side. This will ensure that once your wedding arch becomes top heavy it will not topple over
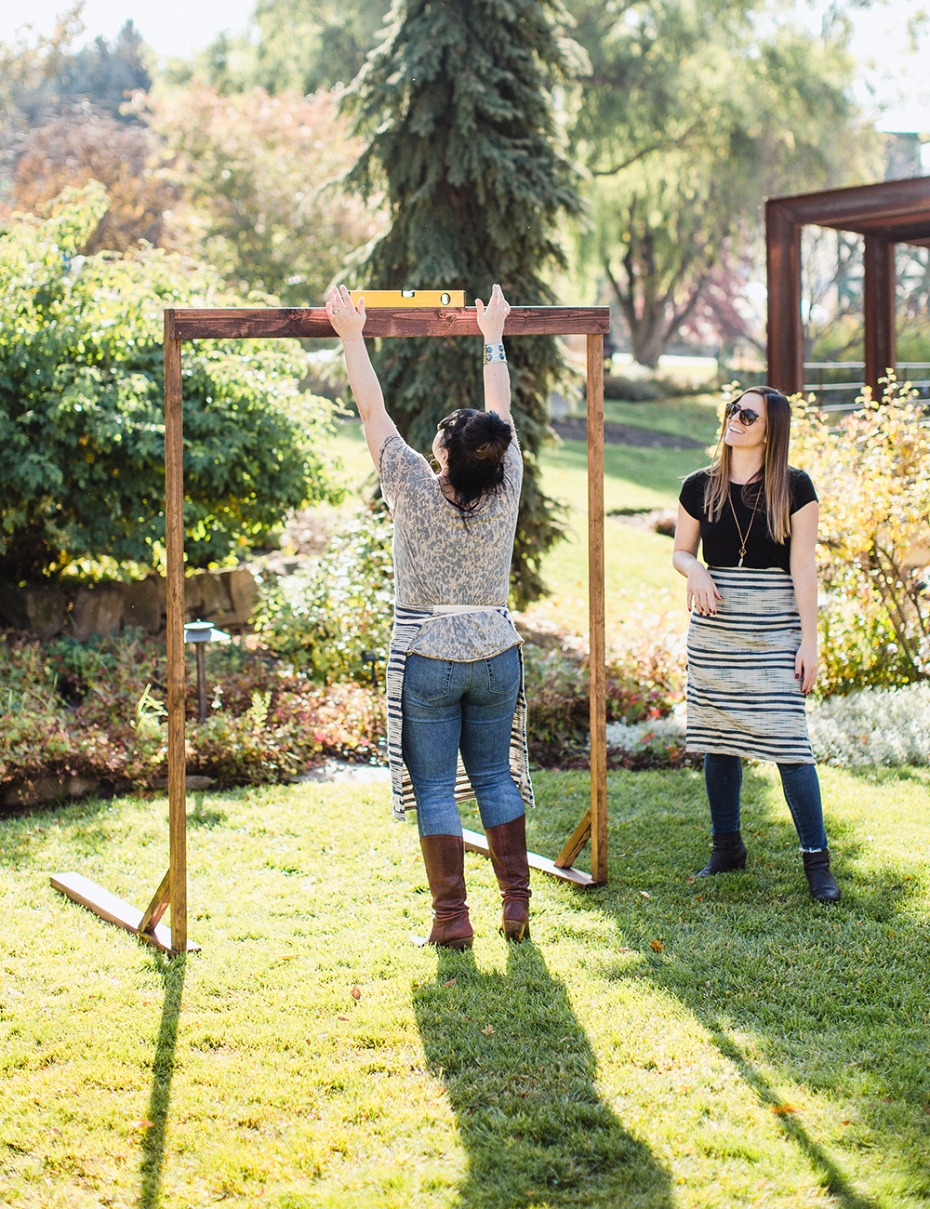
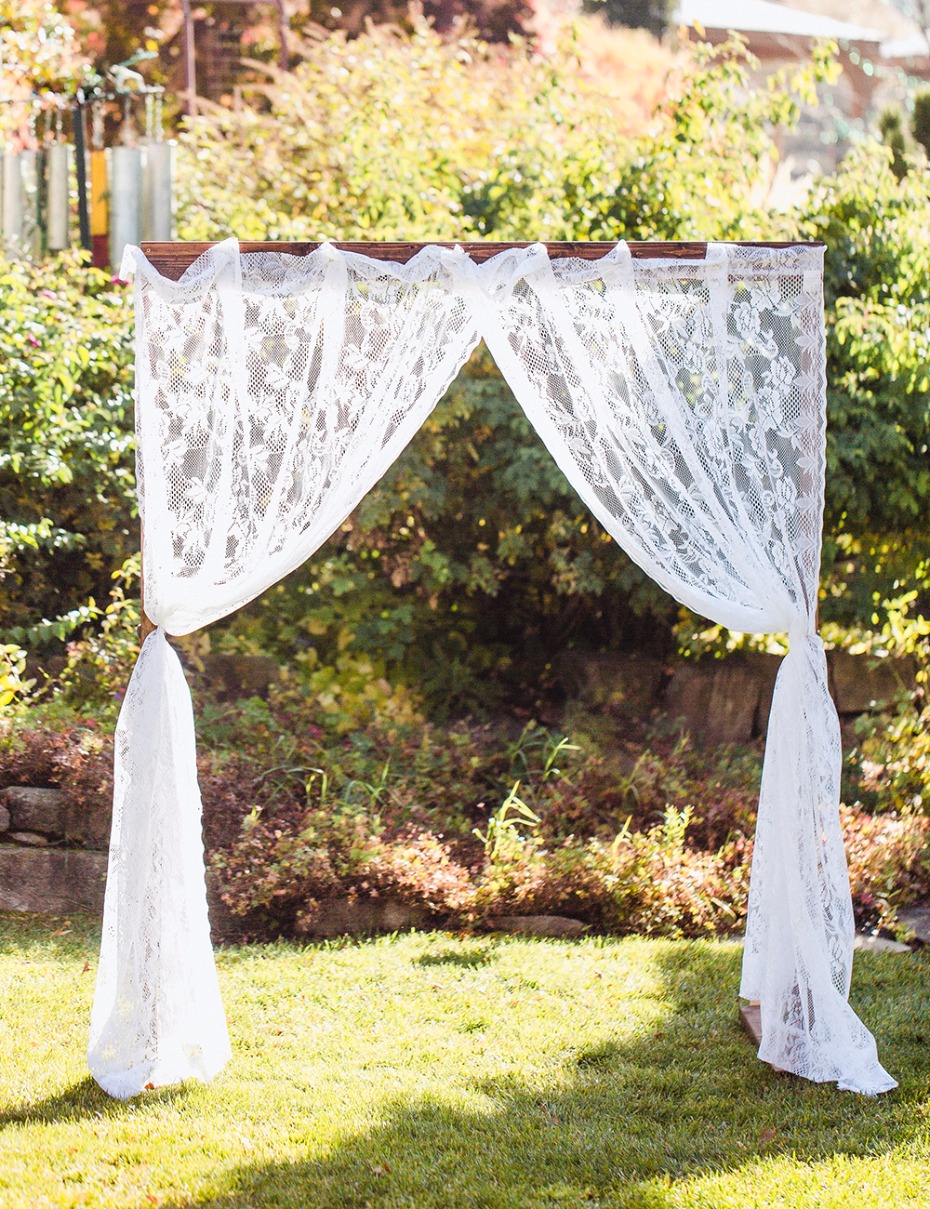
Step 5: After you assembled your arch make sure that it is level. After you've assembled the arbor it should look ours below.
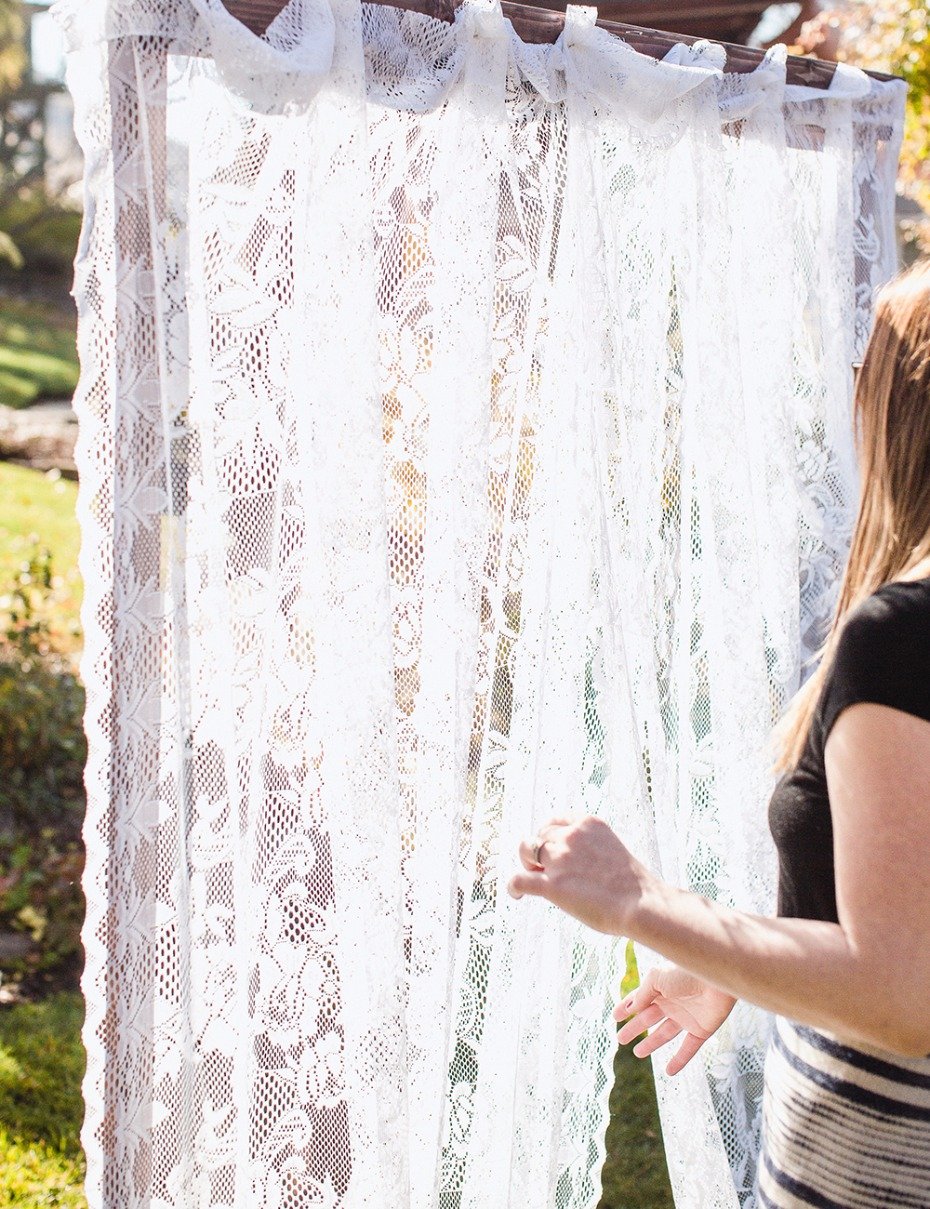
Step 6: Use your staple gun and hang up your curtains.
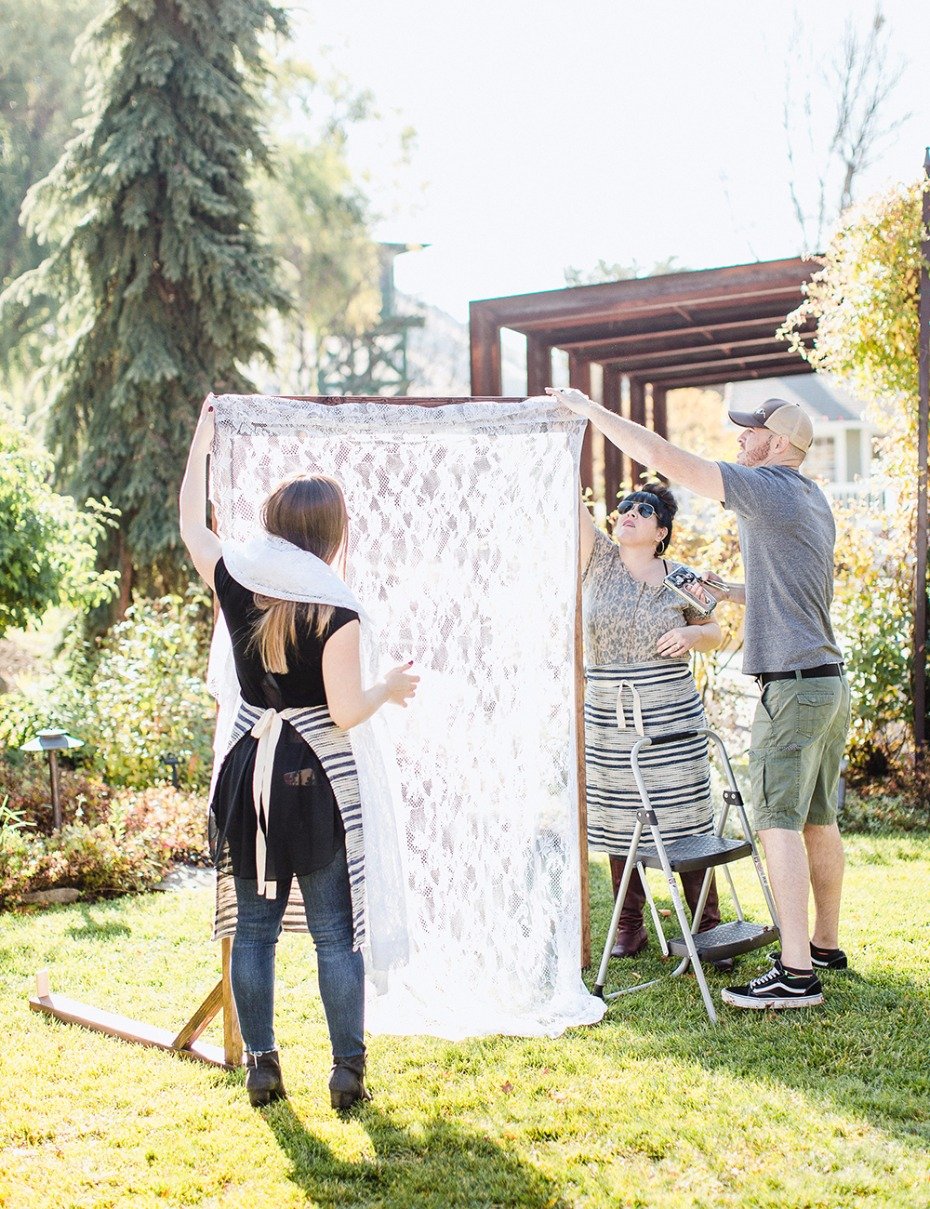
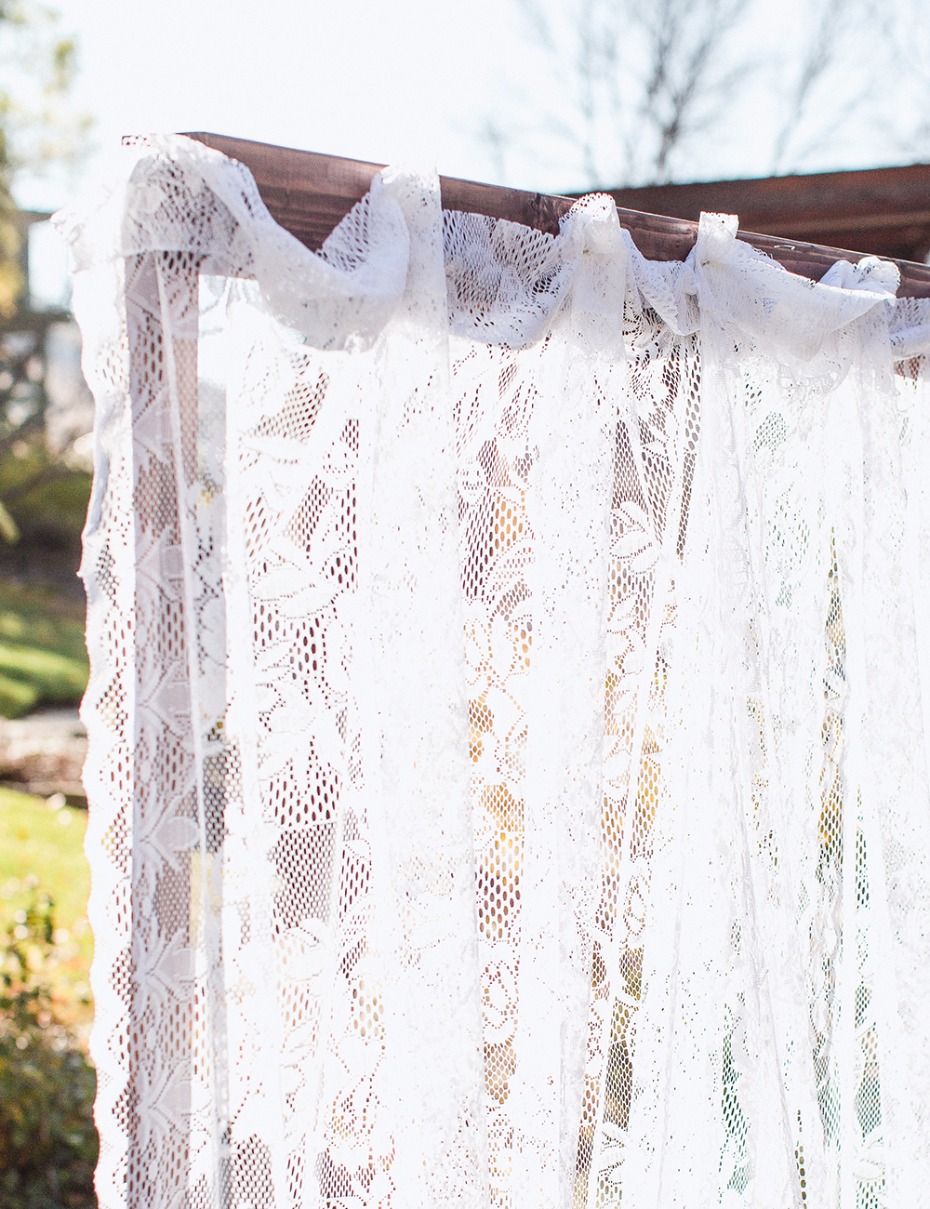
We overlapped the curtains to create a more draped effect. Be sure that you like the placement of the curtains. Once you start placing the floral cages, it will be hard to rearrange the curtains.
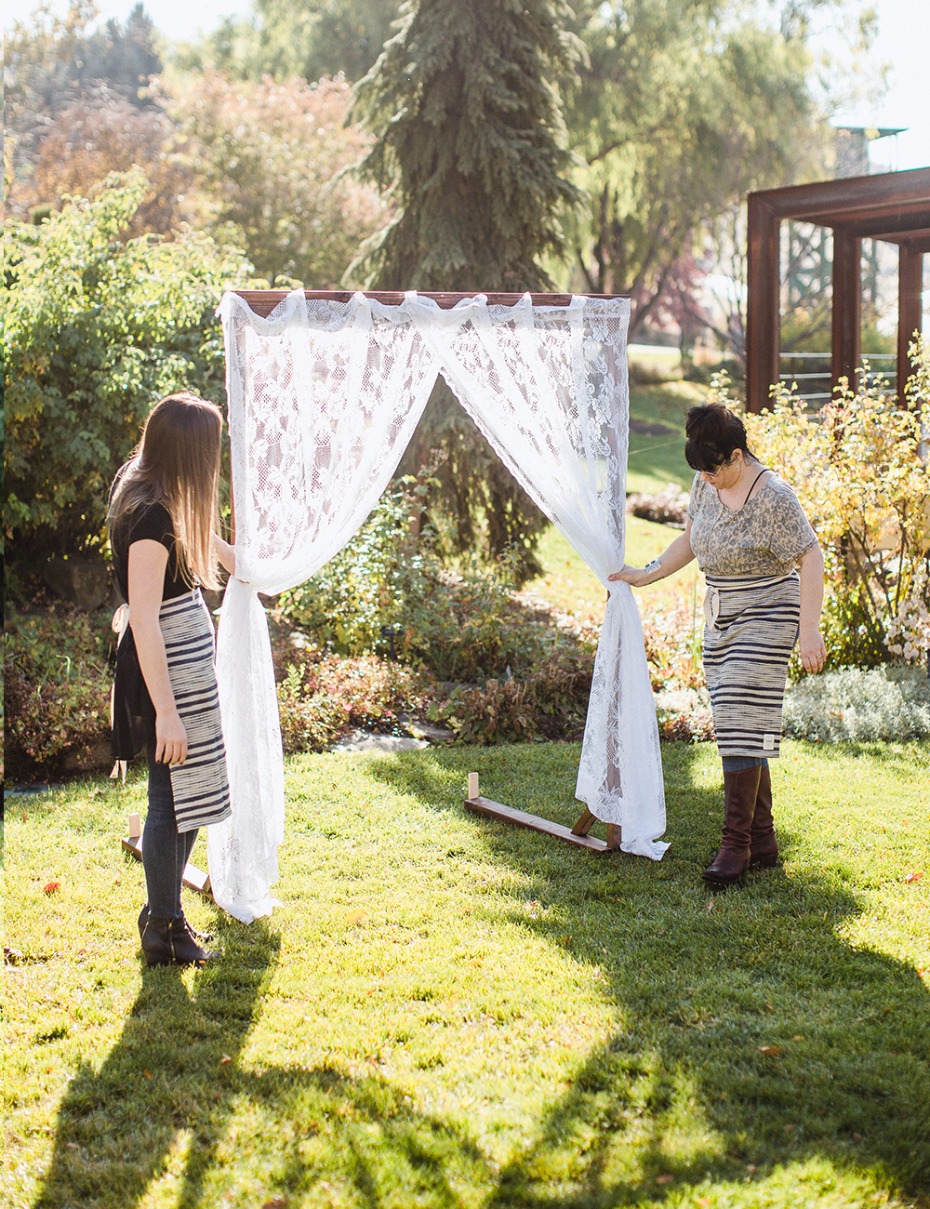
Step 7: Hang your Floral Cage Holders. You're going to want to place them equidistant apart from each other.
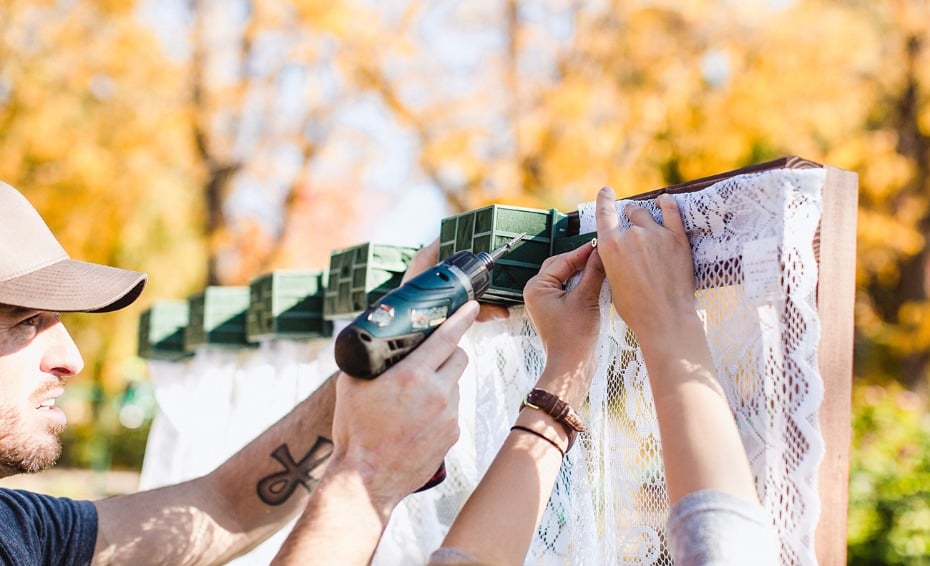
* Be sure to soak your Floral Cage Holders the night before your wedding. Don't push them down into the water. Simply throw them in a large bucket over water and let it soak and they'll be ready to go the next day.
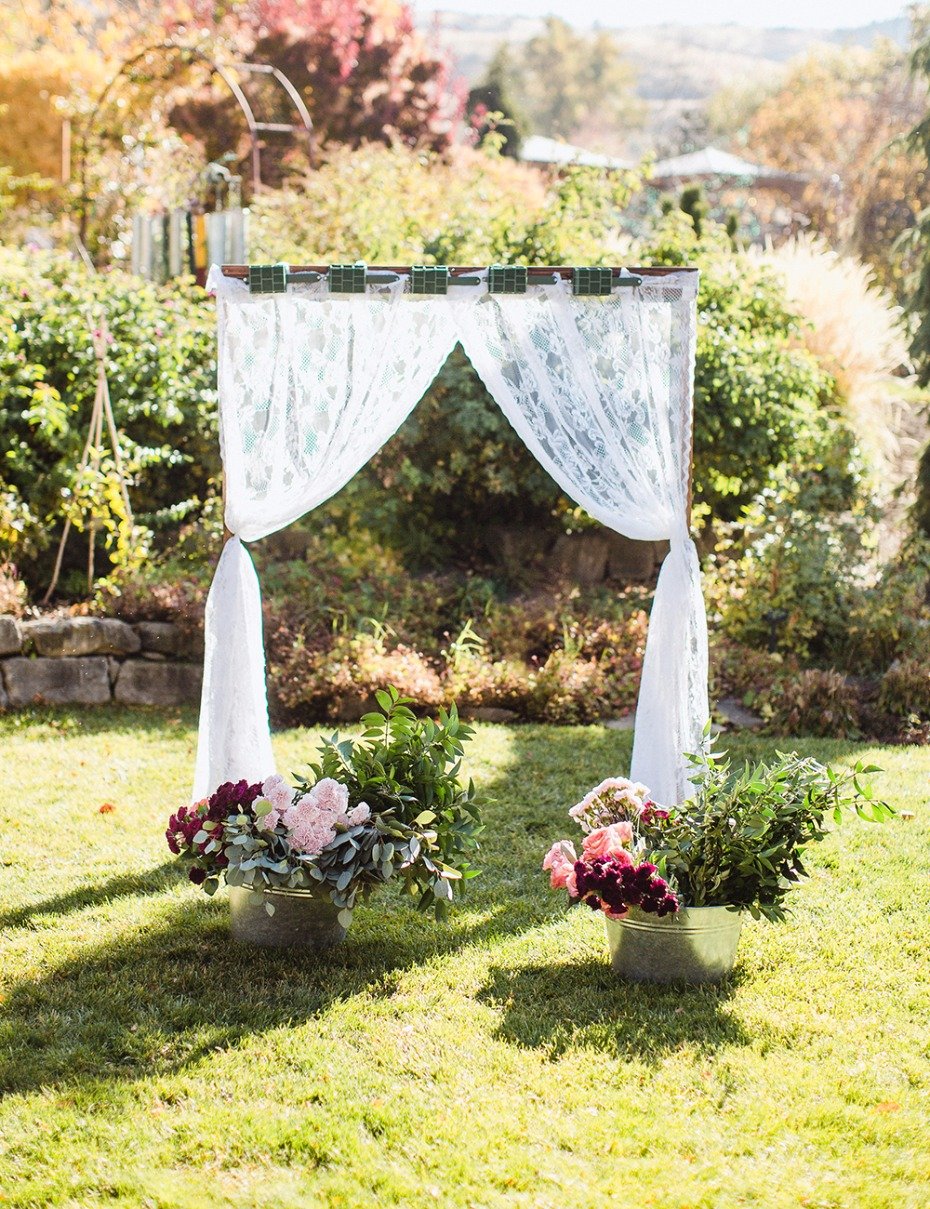
Now it's time to start adding flowers! Make sure your flowers are close by so that you're not running back and forth to add flowers.
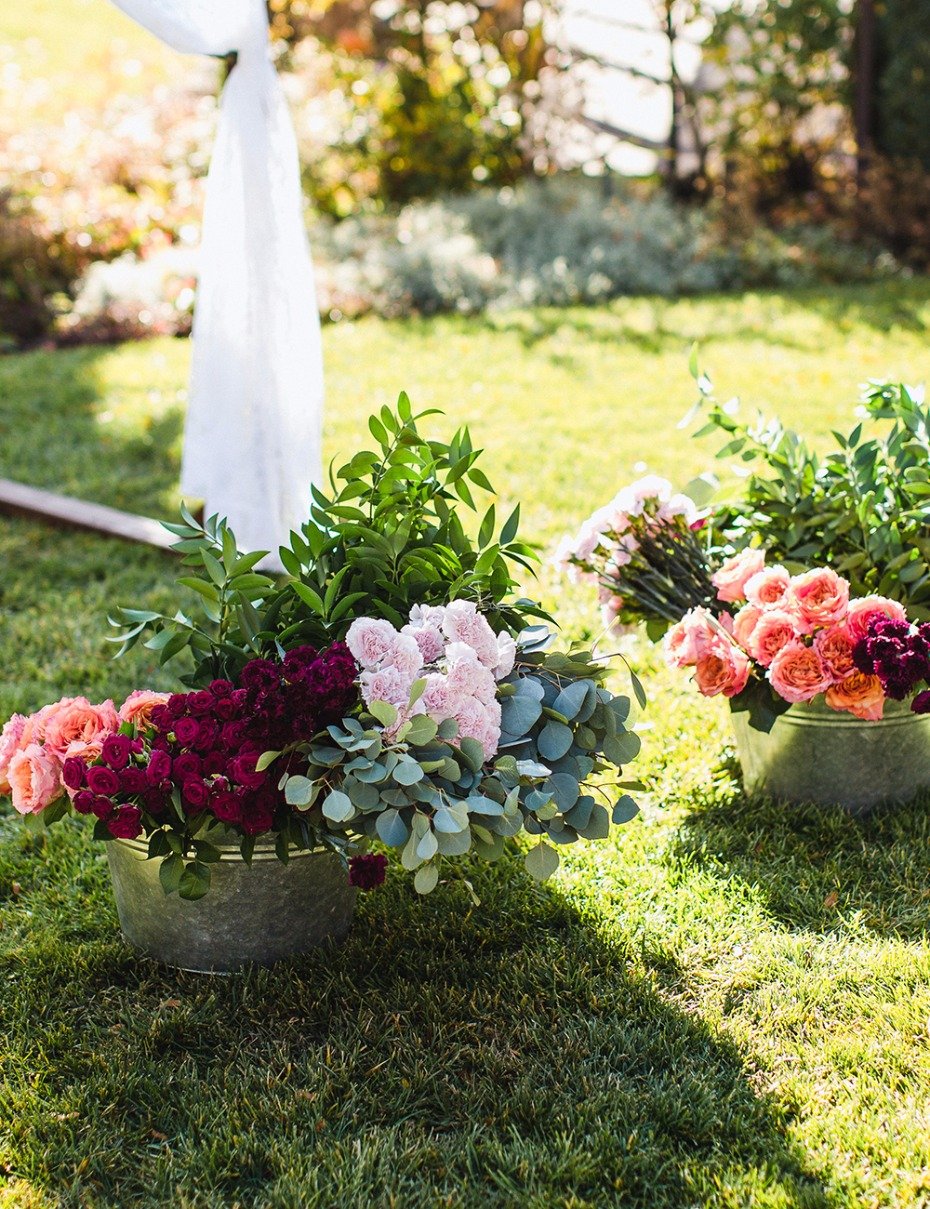
Step 8: Add all of your greenery. Start with the Nagi Greenery. You're going to want to fill the top and bottom of the floral baskets, as well as the end sides. It will look like the greenery is flaring out from all the sides. Almost like a fan.
You're then going to want to repeat this step with the Eucalyptus.
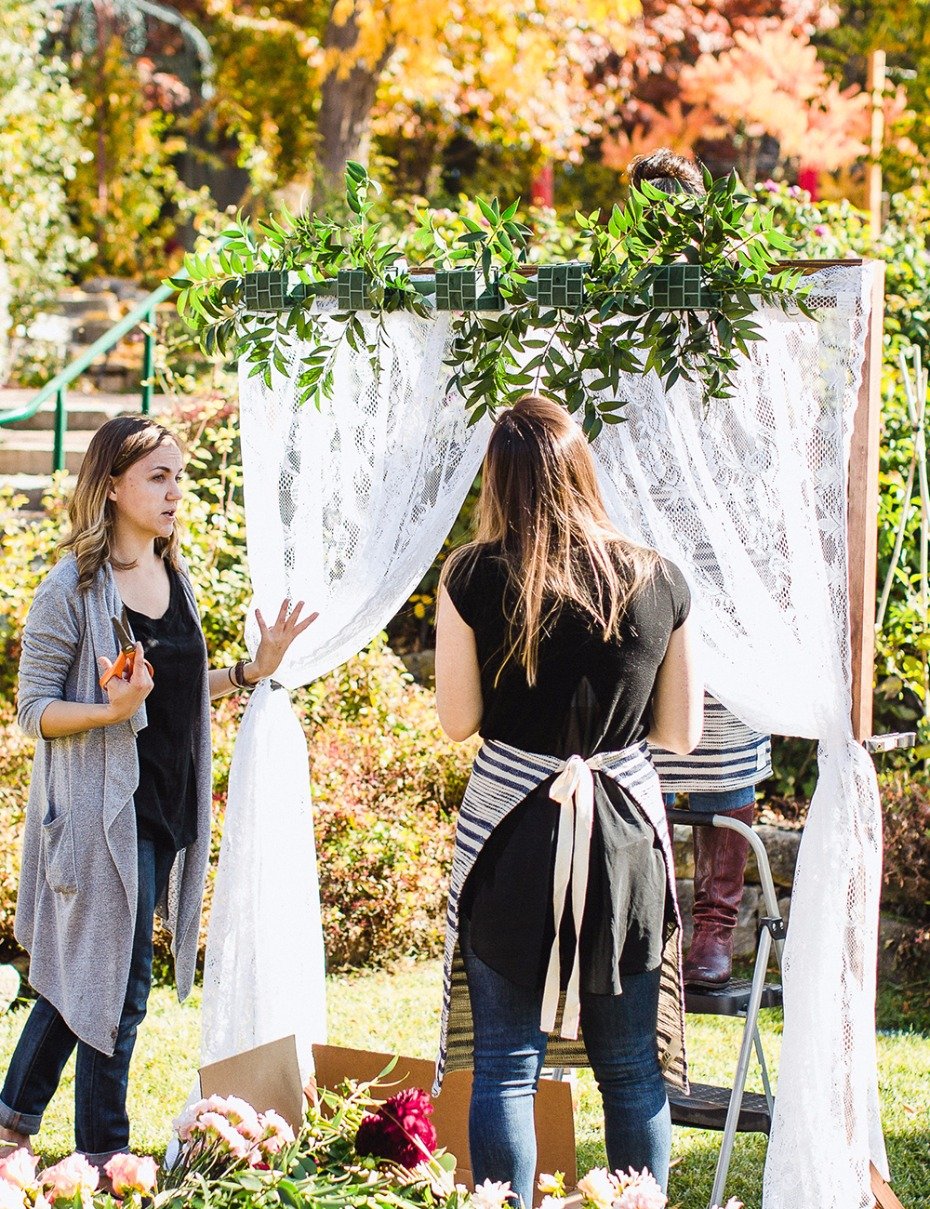
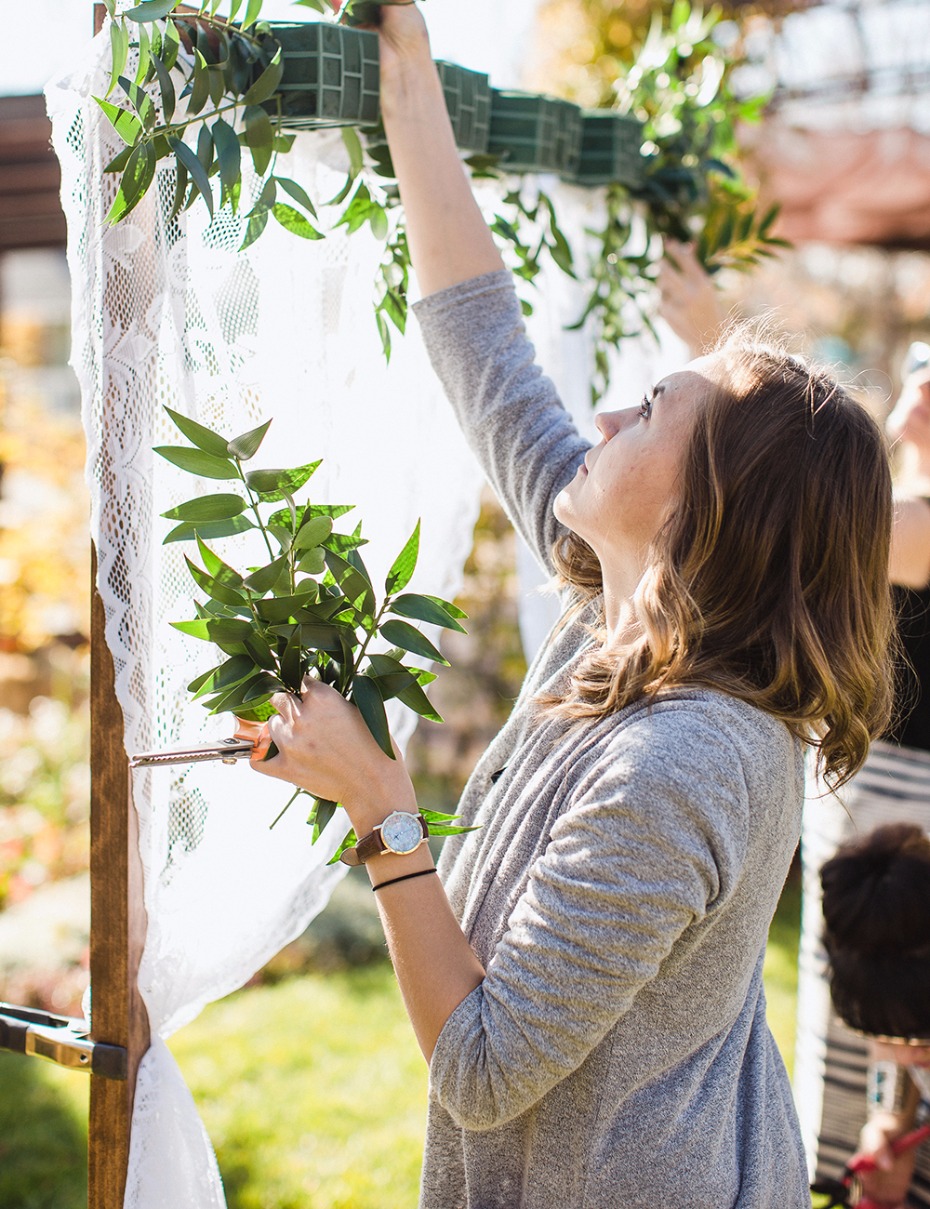
Step 9: After you've added all the greenery start with your filler flower - like carnations. Disperse the flowers evenly throughout the boxes. We used three carnations for each floral cage.
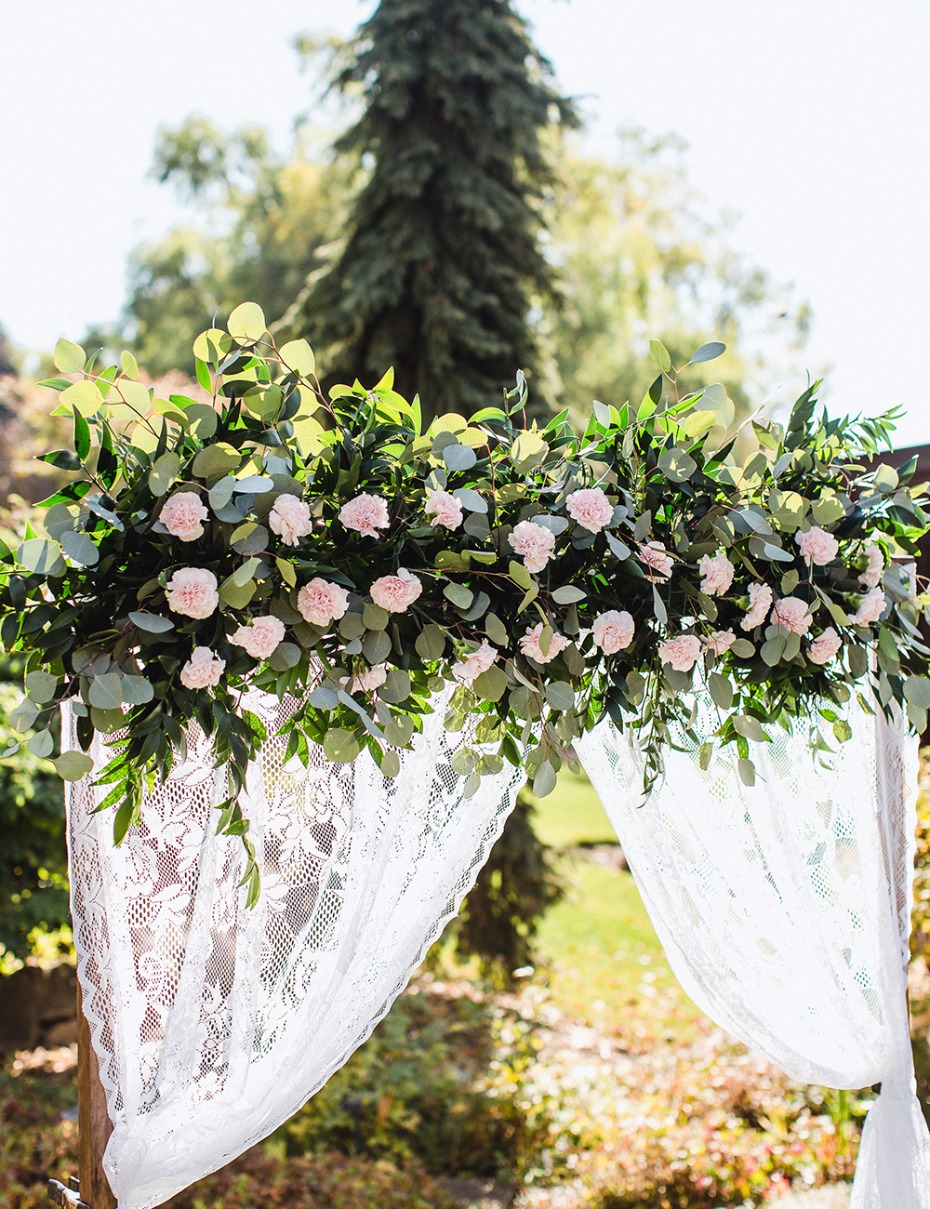
Step 10: After we were pleased with our light pink carnation placement, we moved on and added the deep magenta carnations that are a bit smaller, but definitely added a pop up of color. We then followed with the spray roses. The key is adding one type of flower at a time.
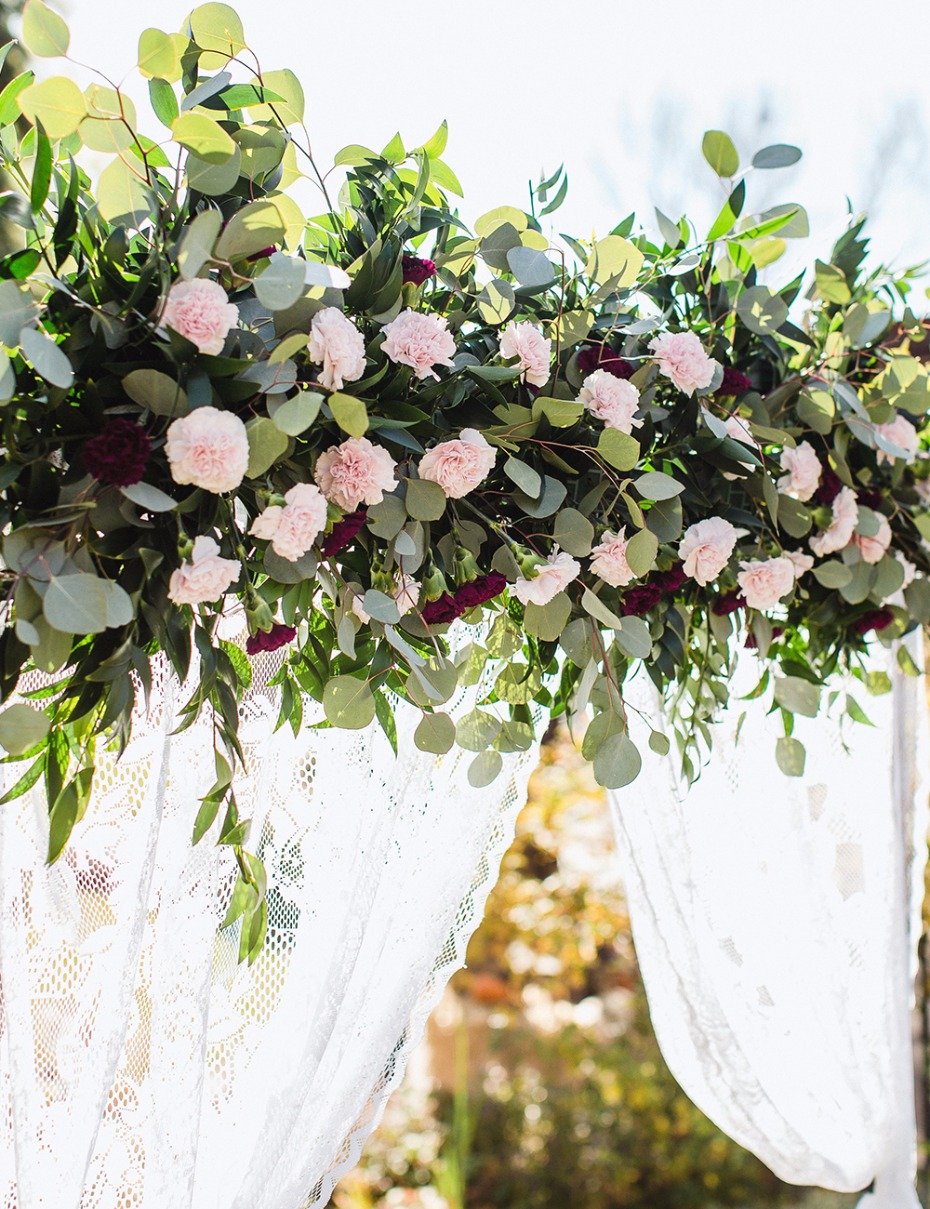
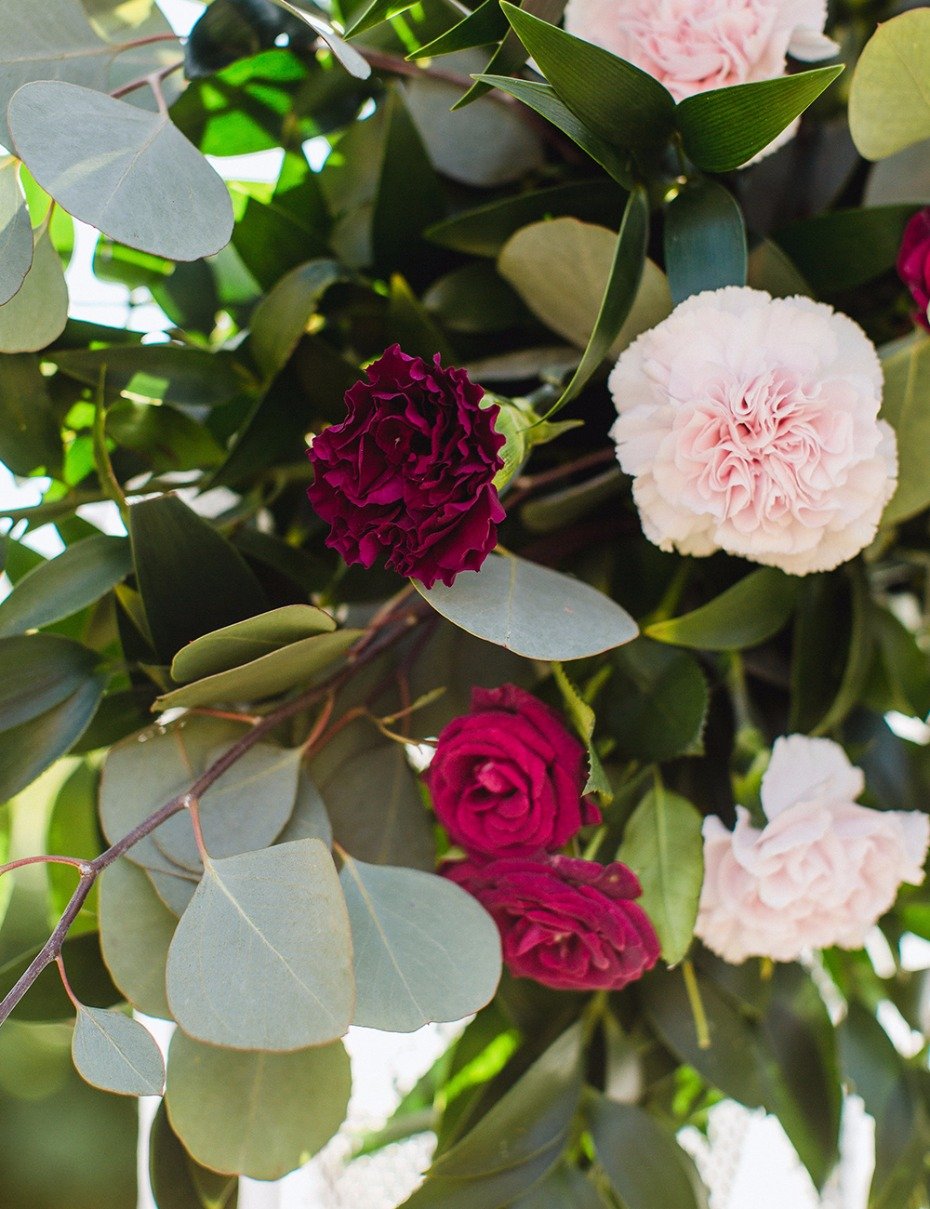
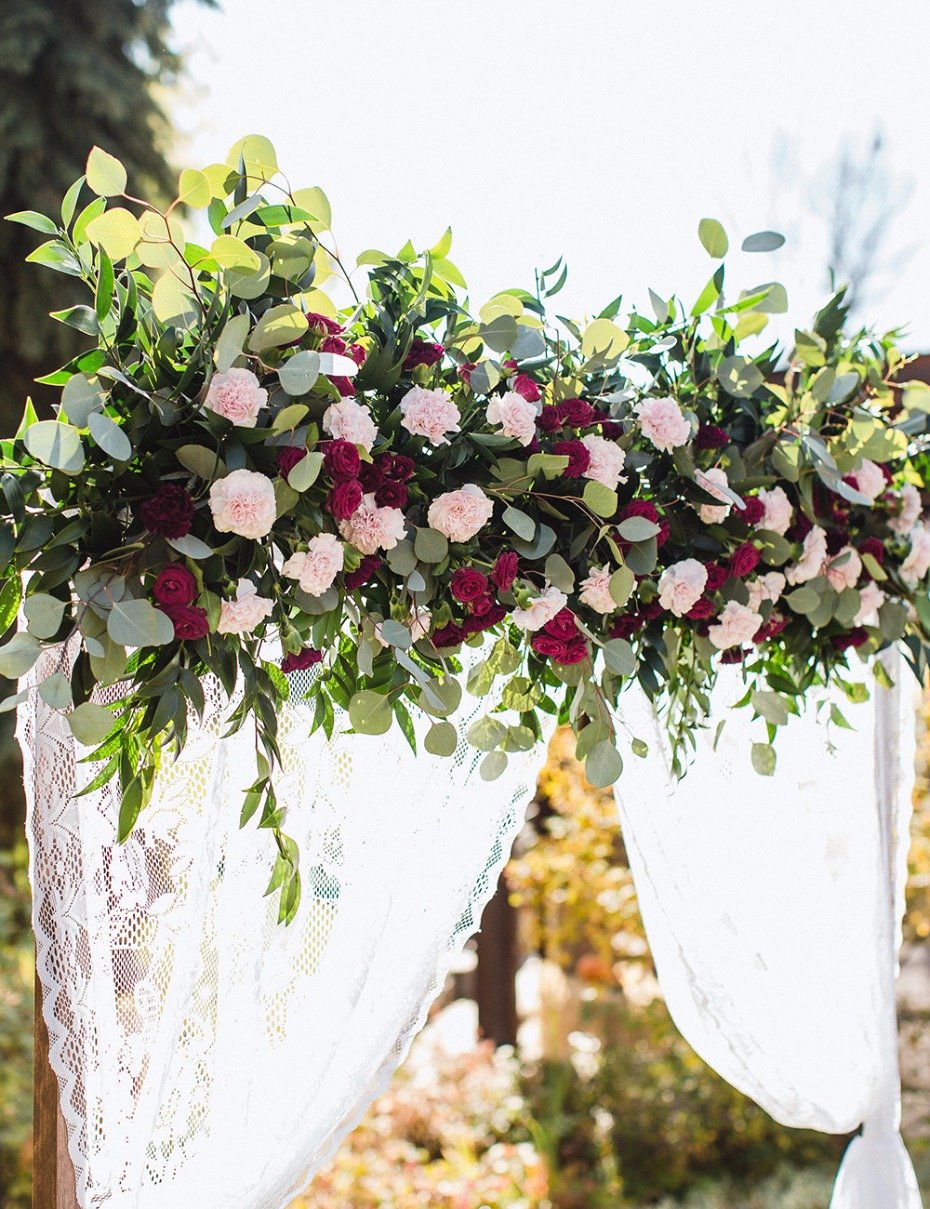
Step 11: Finally start adding your "signature flower" this is your stand-out flower. In our case, it was the Cabbage Garden Rose in Antique Pink.
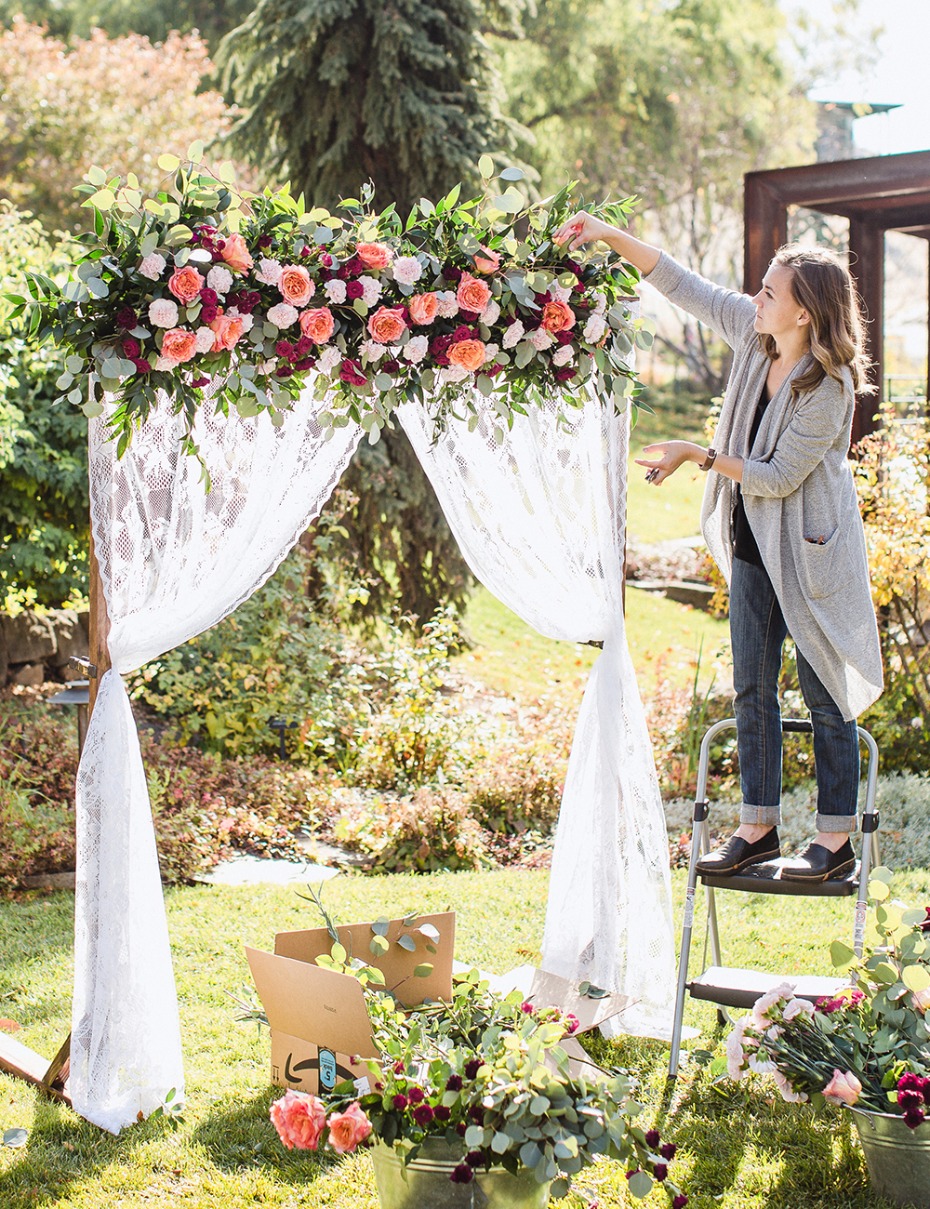
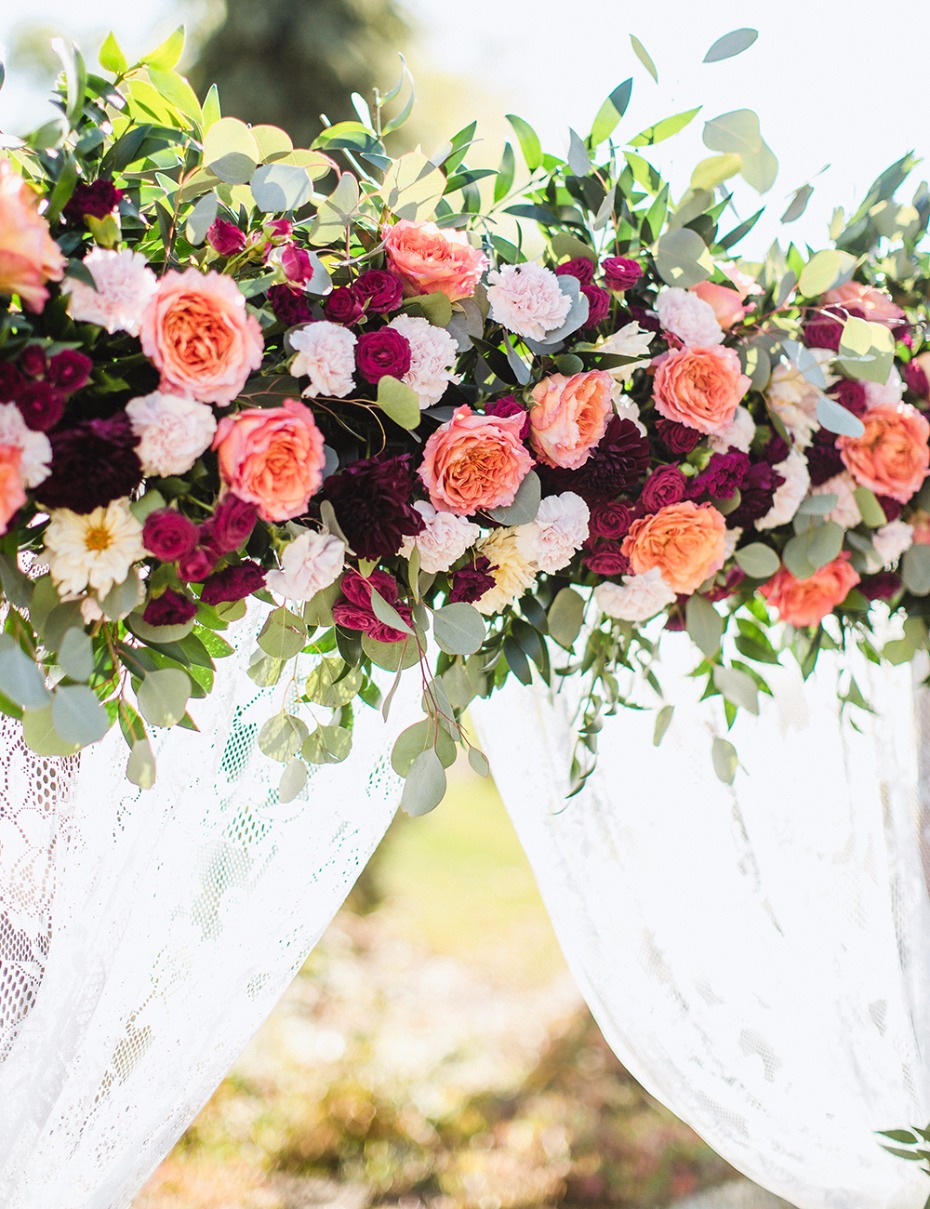
Step 12: Last but not least, it's time to make the side arrangements. You'll want to drill in one of green Floral Cage Holders on the right and left-hand side and follow the same steps as you did above.
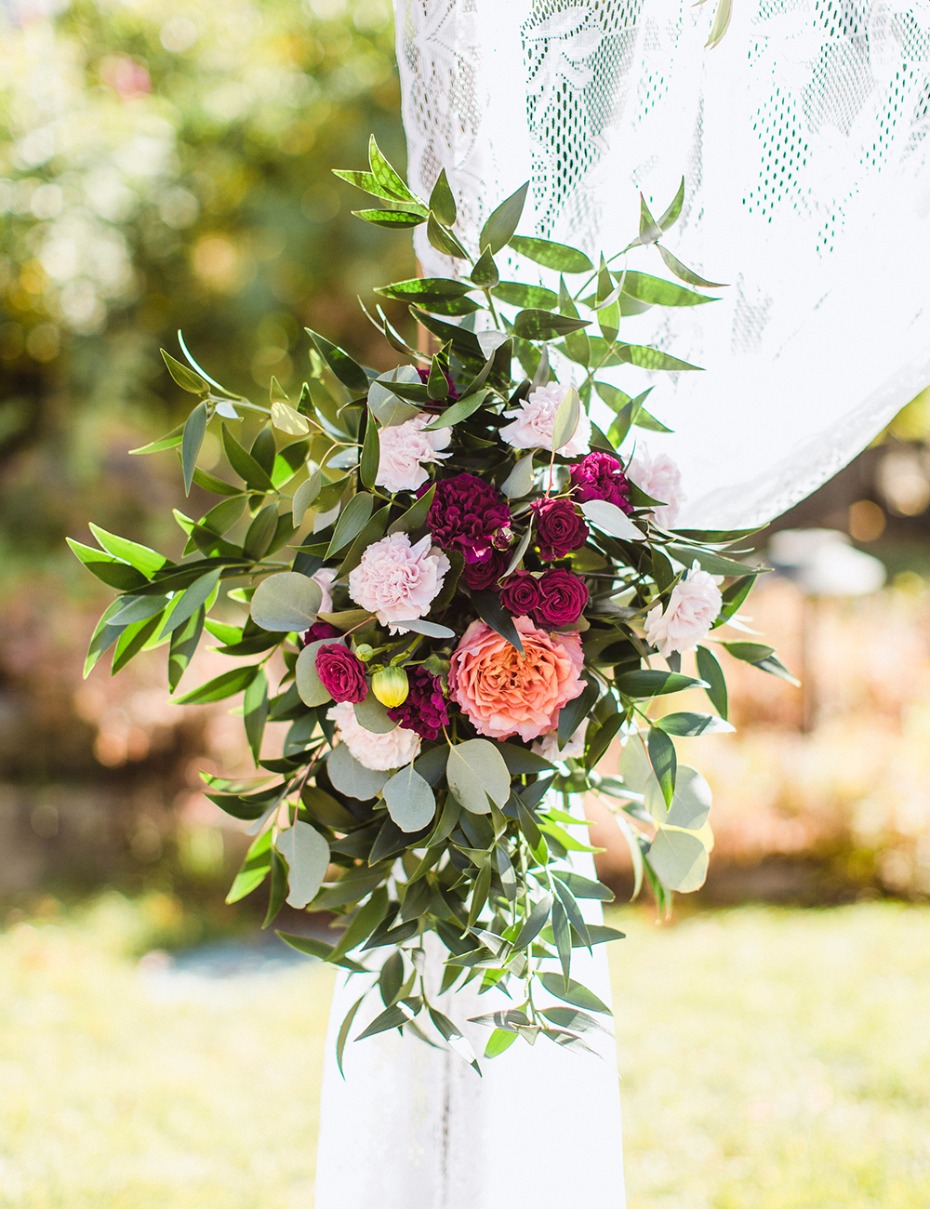
So pretty! Thanks to Jewels Florals for showing us exactly how to put this together, Radion Photography and for all the pretty photos and of course a special thanks to FiftyFlowers.com for sending us all the beautiful blooms. For even more photos of our DIY arbor check out the entire gallery here.
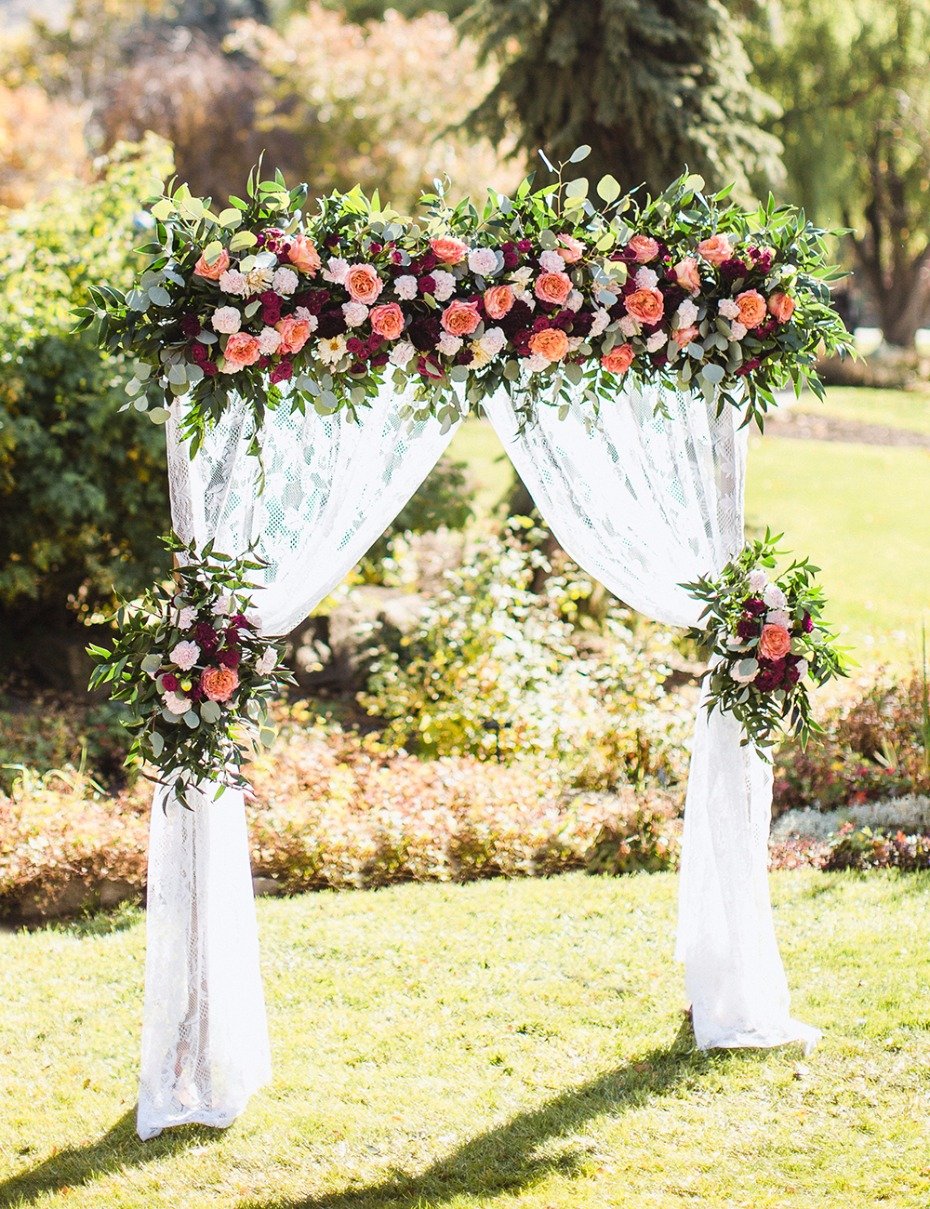
- Flowers: Wholesale Flowers by FiftyFlowers.com
- Wedding Photographers: Radion Photography & Cinema
- Flowers: Jewels Florals
