DIY Heart Wedding Favors: Easy & Cute Handmade Gifts

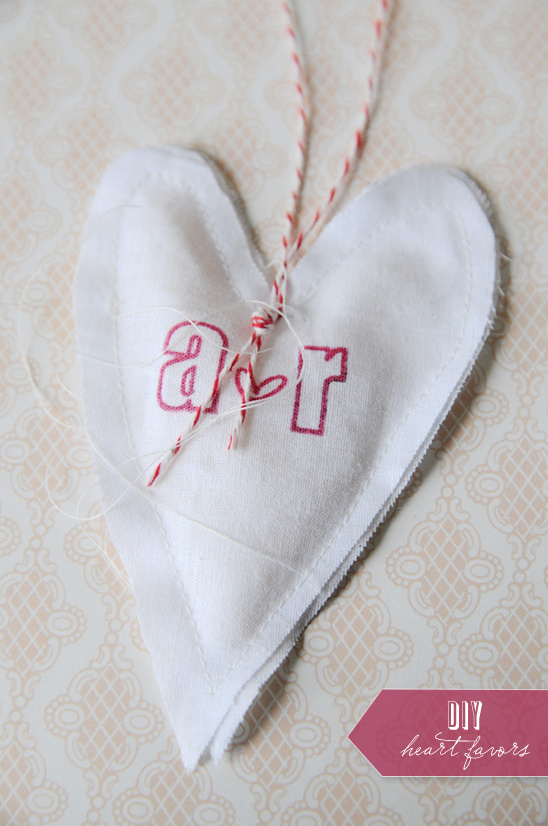
These creative and easy DIY heart wedding favors were put together and beautifully photographed by Rahel Menig Photography. Pretty cute huh? They will be even cuter when you realize just how simple these are to make.
You can easily change up the look of your heart wedding favors by choosing colored or patterned fabric, a stamp that fits your wedding theme, and twine or string that ties it all together. Follow these simple steps to create your own! Read on to learn how to make these simple yet stylish wedding favors.

Thanks again to Rahel Menig Photography for this great DIY. If you would like to make this too, read on for more details about how to make your own!
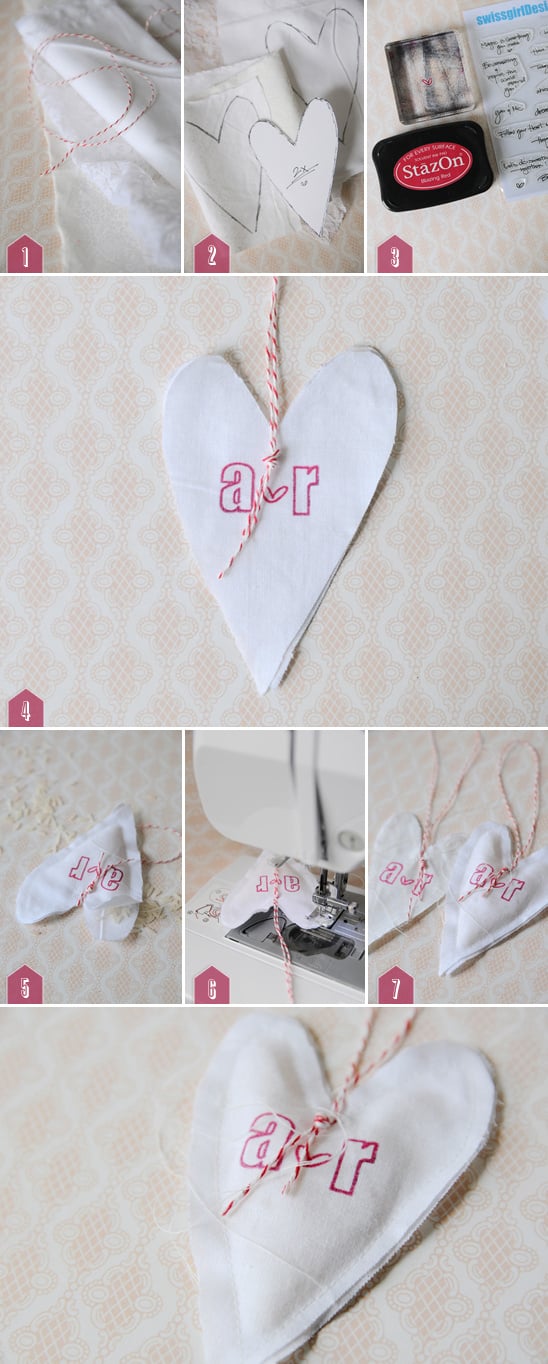
Supplies Bakers Twine Stamps of your choice & StazOn Ink Pad Rice (For the Filling)
Sewing Machine Instructions from Rachel:
1. Gather up a few cute fabrics. (Anything white or cream works best for stamping the fabric later on)
2. Hand draw a heart shape you like on a piece of paper. You will use this as a pattern. The heart pictured is about 4x3", but if you prefer a different size - go for it! For each heart you will need two pieces of fabric, so mark and cut the hearts.
3. Now we're coming to the fun part, stamping! I stamped initials and instead of a plus sign I used a little heart. Use StazOn Ink, as this ink is permanent and will work on fabric.
4. Cut a piece of Baker's Twine for some extra color (approx. 12") and make a double knot by the loose ends.
5. This next step can be done with a Sewing Machine or by hand. First attach the Baker's Twine by sewing over it a few times, then start to sew the edges of the heart together. Leave one top part open to be able to fill your heart.
6. Fill your heart with rice, lavender, dried flowers or any other product like that. Carefully take your heart back onto the sewing machine and close the gap and you are done! You can also leave the ends of the sewing thread as is to add some extra cuteness!