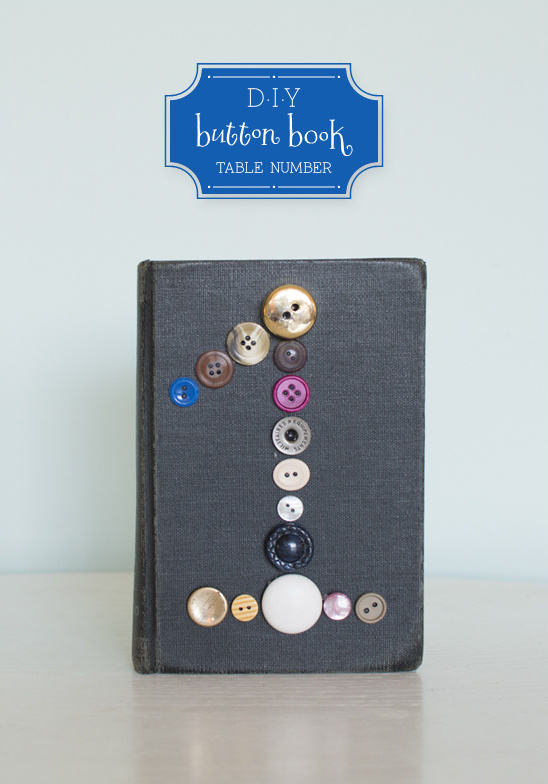
DIY Button Book Table Numbers for a School-Themed Wedding

Continuing with the school theme from the last wedding, we have a DIY Button Book Table Number project to share with you today! Dawn from Something Vintage Rentals teamed up with Sweet Tea Photography to create this project using re-purposed items. While we don't recommend using your old school text books for this project, we do like the studious vibe coming from the hardcover vintage books!

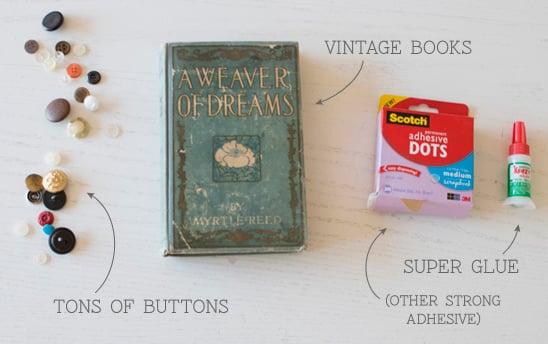
Supplies: For this project you really only need a few simple items — including vintage books, tons of buttons, super glue or another strong adhesive other than hot glue. Dawn was able to find her vintage books at estates sales and thrift stores.
Because she wanted buttons with a lot of detail, Dawn opted for old buttons — rather than new — which she found to be a bit more difficult but found success searching through vintage sewing supplies at estate sales and on eBay. You can also consider looking in your area for a small Mom & Pop fabrics store (which could have a whole assortment of never used vintage buttons) or searching thrift stores for clothes with cool buttons that you could remove.

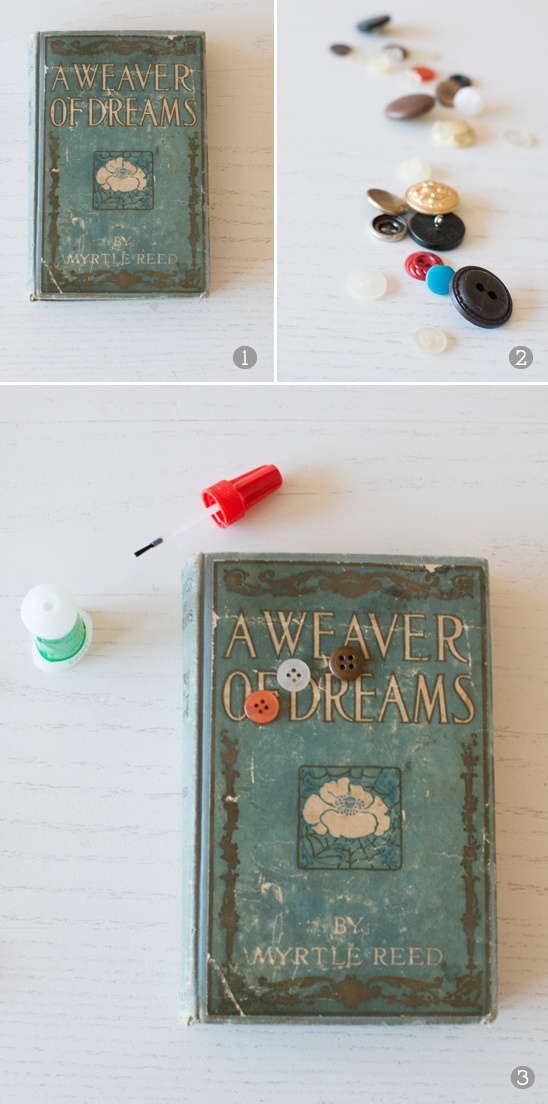
1. To start, choose the side of the book on which you would like the table numbers to go. Dawn picked the back of her book so the title was still visible on the opposite side.
2. Next, rummage through your button stash and select the buttons you want to use.
3. After choosing your buttons lay them out on the books how you want them to look in the end. Once you are happy with the way it looks, glue each button down. Do NOT use hot glue because it doesn't hold as well and often times you can see the hot glue strings in between the buttons.
After the books have thoroughly dried sit the books upright for a few days to make sure the buttons stick — such a great idea to avoid a huge amount of last minute repairs the day of.
Other Tips and Tricks: Some buttons have backs that stick out. We recommend cutting off/flattening the backs so that they lie flat on the books. Also, if you want buttons in a specific color, you can spray paint them easily.