DIY Bleach Pen Tank Tops: Fun Bridesmaid Gift Idea

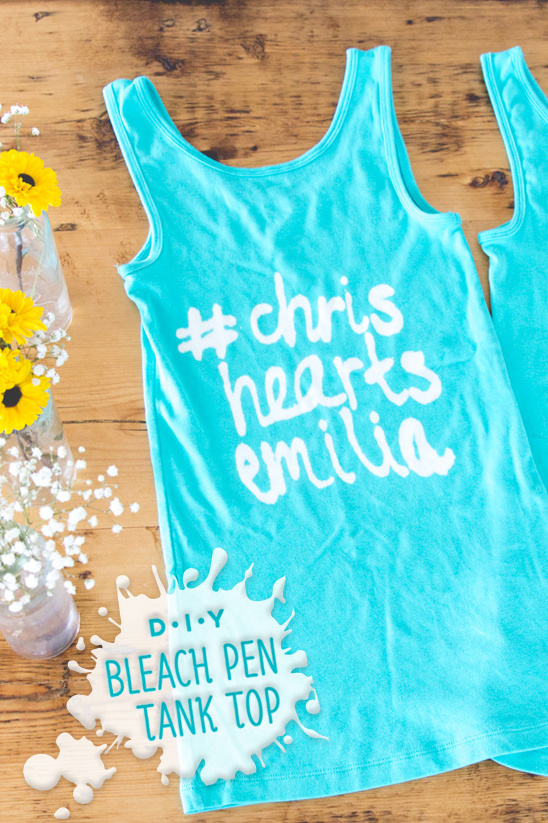
We love the idea of spending quality time with your bridesmaids before your big day — and what better way to spend that time than getting all crafty with a DIY project! This DIY Bleach Pen Tank Top, from Melissa Ryan of Marble Rye Photography, is the perfect project for you and your gals! These custom tanks make the perfect bridesmaid gift and would be such a cute detail at your upcoming bridal shower, bachelorette party and even while you're getting ready the day of the wedding. Check out the simple steps below to make this custom tank top at home!
Supplies:
For the DIY Bleach Pen Tank Top project you will need tank tops in a fun color, Clorox bleach pens, a cutting board, plastic bags, tape, a washer/dryer and great wine. Melissa got their tank tops at Target and recommends getting enough for your bridal party plus a few extras, just to be safe.

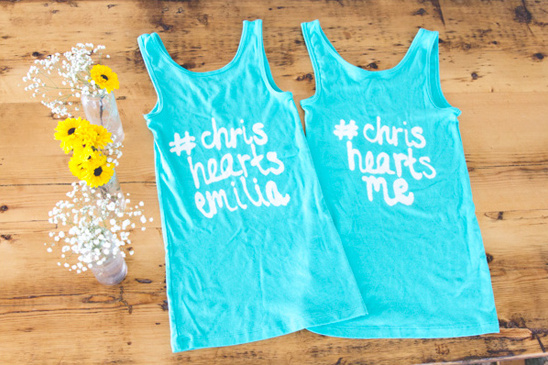
From Melissa of Marble Rye Photography:We wanted to make tank tops for the bridal party (affectionately named "Team Awesome"), and decided on this easy-to-do DIY. We chose to adorn the bridal party tank tops with the hashtag Emilia and Chris will encourage wedding guests to use throughout their wedding weekend. We'll be wearing these bright tanks while running last minute errands and getting ready on the Big Day!Step 1:
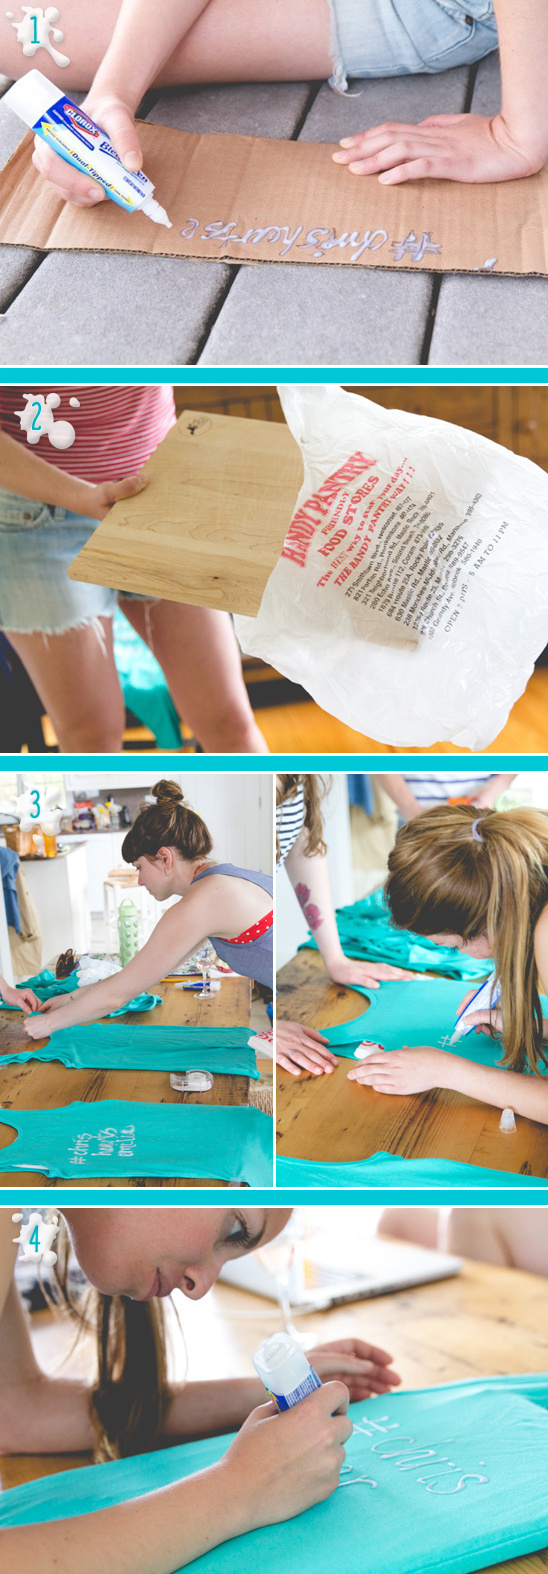
The first step in creating these tank tops is to determine which of your friends is the most artistic or has the best handwriting. It's also a good idea to figure out what you want the design to look like and practice with the bleach pens on some cardboard or an old shirt before attempting the tank tops. Leigh, who had been roped into writing way too many name tags for weddings, was the candidate chosen from "Team Awesome."
Step 2:
While your artist/calligrapher is busy practicing it's time to get everything else set up. Start by covering a cutting board with a plastic bag. According to Melissa a shopping bag or garbage bag will work perfectly.
Step 3:
Next, slide the covered cutting board into one of the tank tops. Lay tank on table, then hold down the straps of the tank by using tape or having someone hold them.
Step 4:
Now that you have a tank top ready and your appointed artist has practiced her technique, it's time to decorate! Using a bleach pen, carefully write your hashtag or draw your design across the chest or back of the tank top.

Step 5:
After your artist pal has finished drawing the design on the tank carefully pull the cutting board out of the plastic bag in the tank top. Make sure the plastic bag is left inside the tank so that the bleach doesn't bleed into the opposite side of the shirt.
Step 6:
Lay the tank out to dry for at least 1 hour. The bleach will turn from creamy to gel-like over time.
Step 7:
Repeat the process on each tank top!
Step 8:
Once all of your tanks are dry it's time to wash them. Start running your washing machine, letting the water fill to at least 4 inches. Then place the shirts in one at a time, letting each one soak. Run the washer's full cycle without detergent, then transfer to the dryer.
