3 Garden Rose DIYs You’ll Love From Blue Jar Events
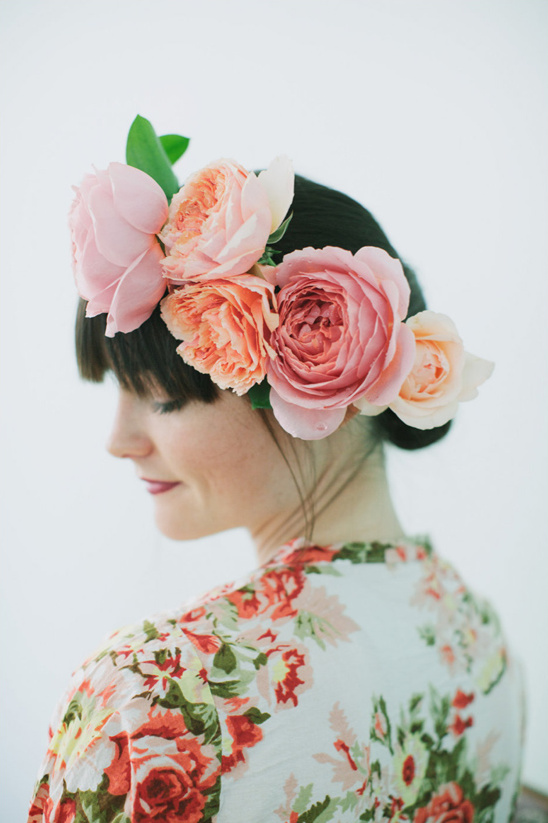
Are you a Do-It-Yourself Diva? Well today we have three DIY projects packed into one post just for you! That's right THREE gorgeous garden rose projects that are super easy and are sure to make your big day a floral masterpiece.
Created by Blue Jar Events, this floral crown, bouquet, and ombre rose chandelier are simply to die for. Captured by Lara Kimmerer with florals provided by Fiftyflowers.com.
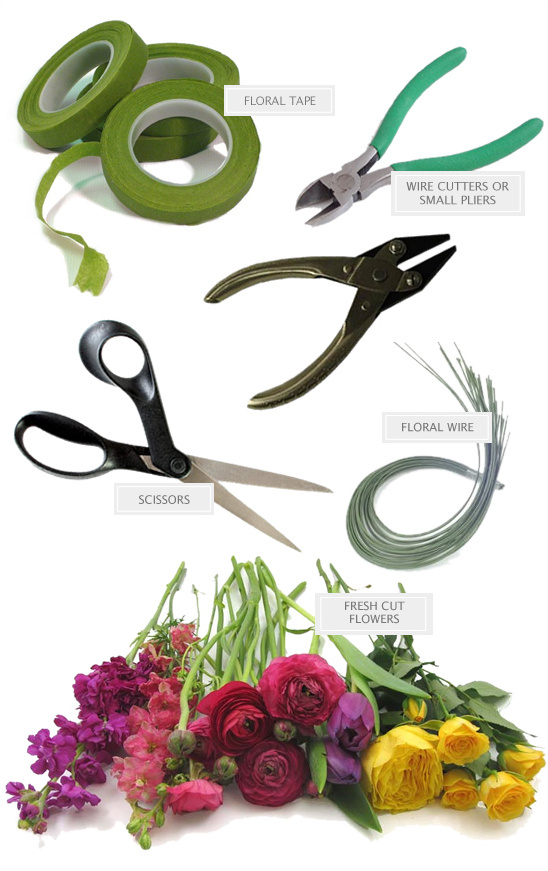
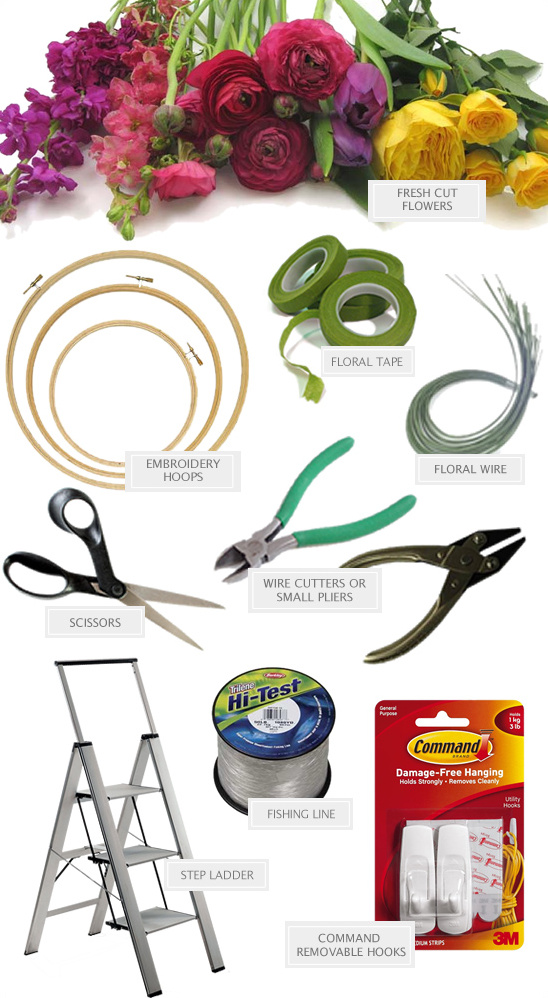
Floral Crown and Blooming Bouquet Materials:
-Floral tape
-Floral wire
-Wire cutters or small pliers
-Scissors
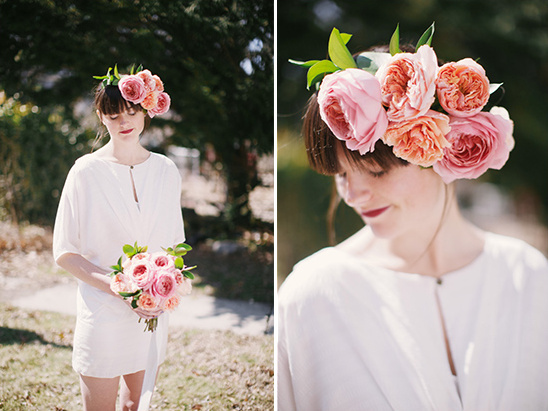
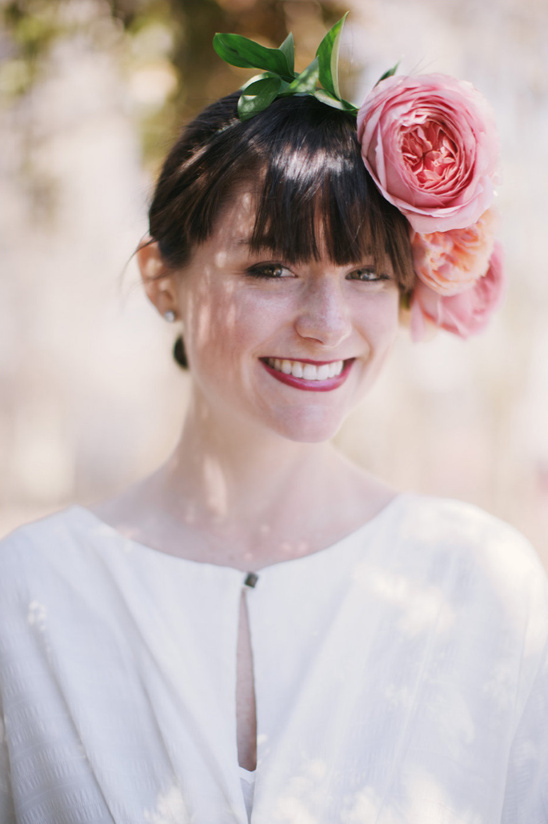
-Fresh flowers From Blue Jar Events:We love the flower crown trend, especially for spring weddings. For this look we used large roses and an asymmetrical arrangement to create a dramatic flower crown in vibrant pinks and soft shades of peach.
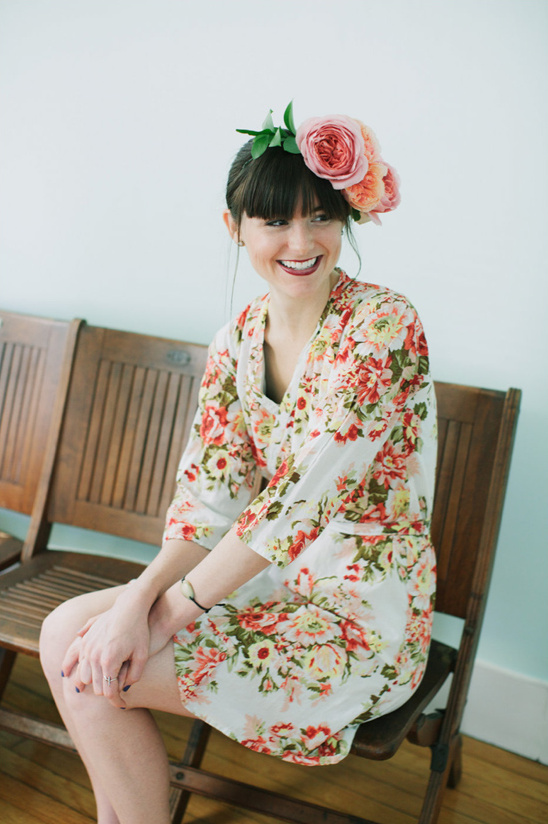
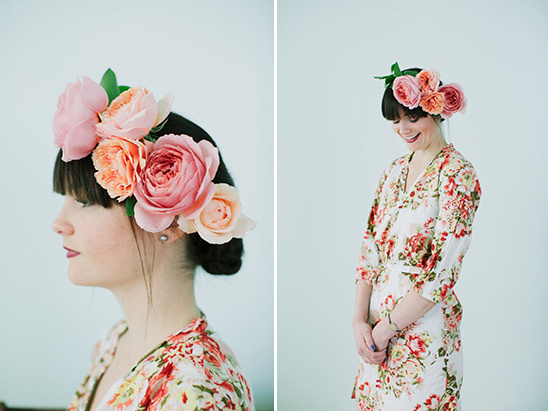
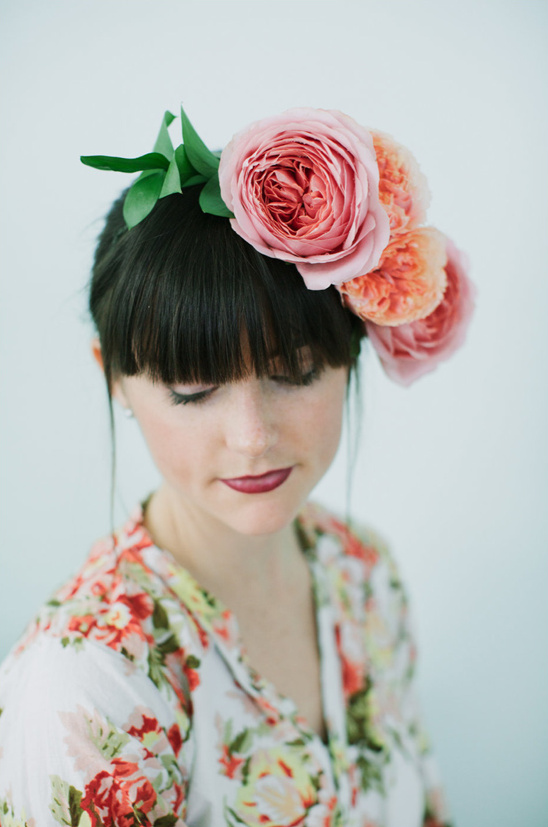

Floral Crown Steps:
1. Remove extra leaves and cut stems at an angle so that they’re 3-4 inches long.
2. Size wire to your head and leave a few extra inches, cut wire and twist ends together securely at size of head.
3. Attach the first flower to the wire by wrapping the floral tape around the stem.
4. Continue to add flowers, wrapping the floral tape as you go. Work all the way around, or attach flowers only at the center, or just on the side...you choose the look you want.
5. Once finished, continue wrapping the floral tape around the wire to the end.
6. Attach to the hair with a few bobby pins.
Hint: You can cover the floral tape in ribbon, or just add strands of ribbon at the back of the crown.
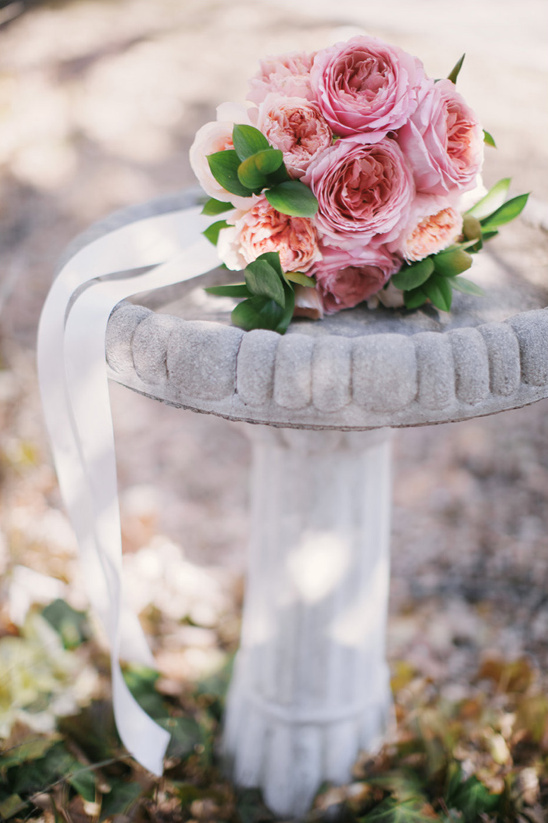
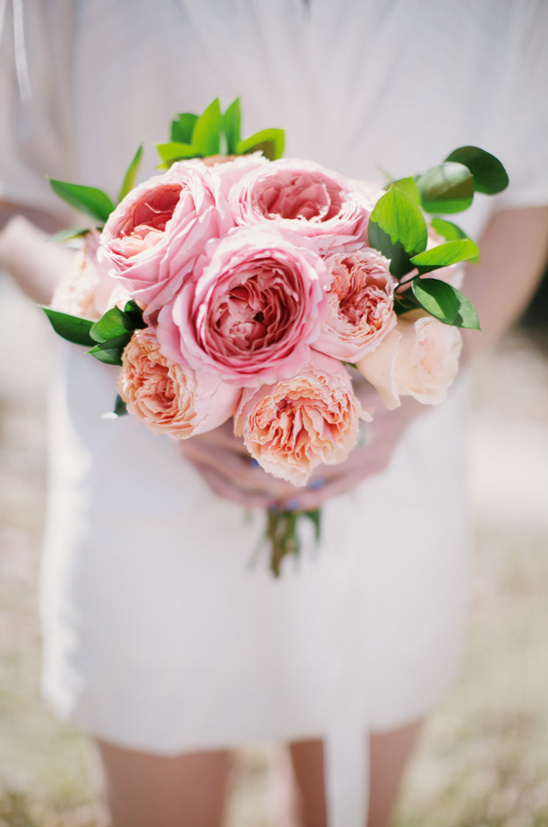

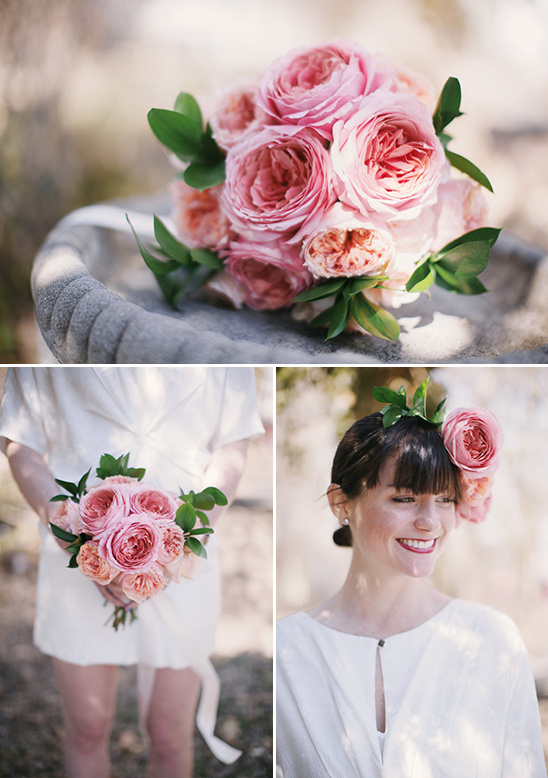
Roses offer such depth and variety in color, size, and texture. We wanted to create a simple bouquet that really highlighted the peony-like blooms of the Cabbage Garden Roses, the frilly petals of the Peachy Cantaloupe Garden Roses, and the delicate buds of the Perfumela Peach Spray Roses. The roses were offset by just a few sprigs of dark greenery.Blooming Bouquet Steps:
1. Pick out 3-4 large flowers to be the bouquet’s focal point and hold tightly in hand.
2. Carefully add more flowers, around focal flowers. Add 1-2 stems of greenery in between the roses. Continue until desired fullness and look is reached.
3. Wrap floral wire tightly a few inches away from the base of the bouquet, and work your way down the stems until secure.
4. Wrap floral tape tightly around the stems and wire so that all the wire is hidden.
5. Cut your stems evenly a few inches below the end of tape
6. Wrap stems with ribbon or lace and pin to keep in place.
Ombre Rose Halo Chandelier Materials:
- Three differently sized wooden embroidery hoops
- Floral wire
- Floral tape
- Wire cutters or small pliers
- Scissors
- Fishing line
- Fresh flowers
- Small cup hooks or removable hooks
- Ladder for hanging the finished chandelier, optional
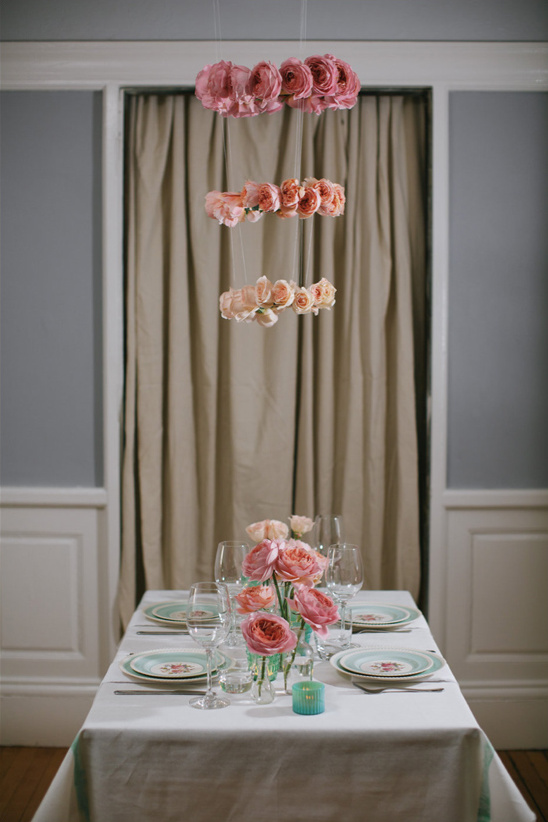
We constructed a three-tier fresh flower chandelier to give additional drama overhead. The chandelier made a strong visual statement and was surprisingly easy to make! There are endless possibilities for experimentation with different combinations of colors and textures for a fresh-flower chandelier. You can easily customize to fit your event’s look, color scheme, and season.
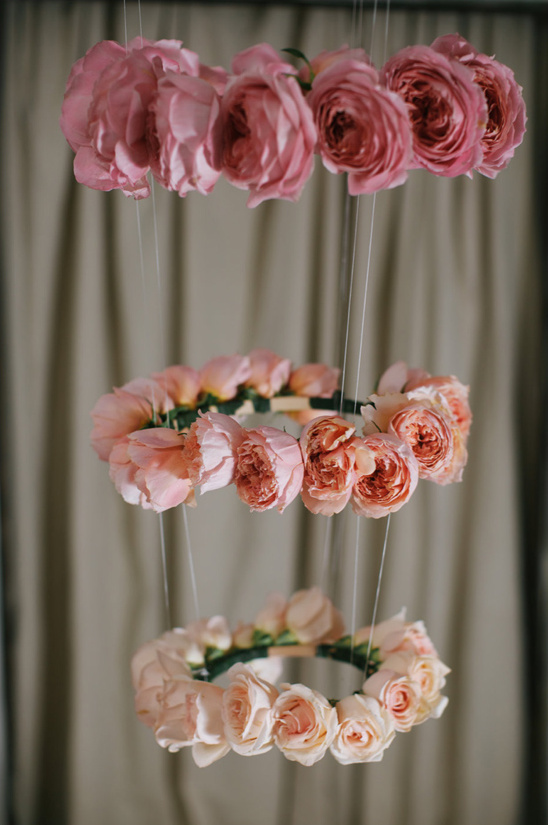
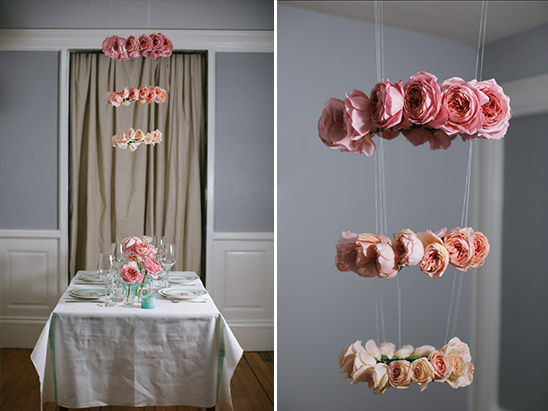

Floral Chandelier Steps:
1. Remove extra leaves on flowers and cut stems at an angle so they’re 3-4 inches long.
2. Attach first flower to the outside of the ring by wrapping a 2 inches piece of wire around the stem, close to the bloom.
3. Cover half of the stem with floral tape by wrapping it around the stem and ring.
4. Lay the next flower over the stem of the first and continue wrapping the floral tape around the first and second stem.
5. Repeat Steps 2 and 3
6. Cut and add fishing line to finished rings and attach three hoops together.
7. Attach removable hooks to the ceiling, congruently spaced with the fishing line on the top ring.
8. Hang this cute chandelier and you are ready for an adorable dinner party
Wholesale Flowers: Fiftyflowers.com
Event Styling & Floral Design: Blue Jar Events Photography: Lara Kimmerer