3 Easy DIYs for Your Wedding and Tips to Save While You’re Styling
One of the biggest misconceptions about DIY projects is that they’ll end up costing you even more than what you would pay a professional for. And you know what, that can certainly be true. If you don’t plan ahead and have some practice perfecting something like floral installations for your wedding, then you’re liable to run into execution issues, mess up, and require a whole new slew of supplies for round 2, pre-I Do. If you’re anything like me, too, you have grandiose visions that hardly ever turn out as reality, and in the last minute, you have to on-board an expert to come in and fix what you (and only you, if you’re incredibly critical on yourself) think you failed at. We’ll tell you something though, if you have stellar materials to work with, which means real-touch, botanically-accurate faux flowers a la Afloral, and a game plan that’s golden for even greenhorn floral enthusiasts, then you’ll keep costs low and love what you turn out.
Granted, when it comes to weddings, fresh flowers do tend to get fawned over first, but for statement installations poised to put out a vibe in the reception space, dress up a dull decor situation, and make amazing impressions, there’s no need to use real flowers. In fact, you’ll want to go with faux alternatives, because they’ll keep their shape, their look, their beauty all party long AND appear perfect in photos forever (I’ll be the first to admit that I’ve zeroed in on dying, lifeless blooms in ambiance pictures before - and a bride doesn’t need that, she needs flawless - and she’ll get it with Afloral). The company believes that floral decorating for events or home should never be costly. So, they offer the highest quality silk flowers and trendy, discerning decor at exceptionally-low prices. They also give their clients the tools and the confidence to pull off their own DIYs, without overly complicated instructions or beyond ambitious floral aspirations.
Seriously, if you’re daydreaming about DIY-ing some aspect of your wedding, indulge yourself! Afloral has an endless, scrolling page of DIYs from cylinder vase centerpieces to festive flower hats - and each project comes with supply call-outs and step-by-step instructions to ensure you’re thrilled with the final result. ((Here’s a little secret, the DIY and crafting community only ever wants you to succeed, because with success comes happy brides, with happy brides come beautiful pictures, with beautiful pictures come lots of social shares, and with lots of social love comes inspiration - and inspiration is everything to couples planning weddings)).
We were inspired by a number of the DIYs we saw featured, so we used Afloral’s blueprints to come up with three super fun DIY installations that can absolutely game-change your wedding. Remember, we’re novices at nuptial floral design, so take it from us: you can do this and have so much fun in the process.
Hanging Installation
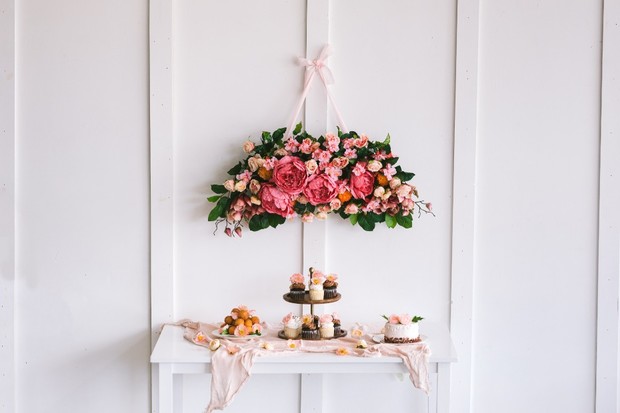
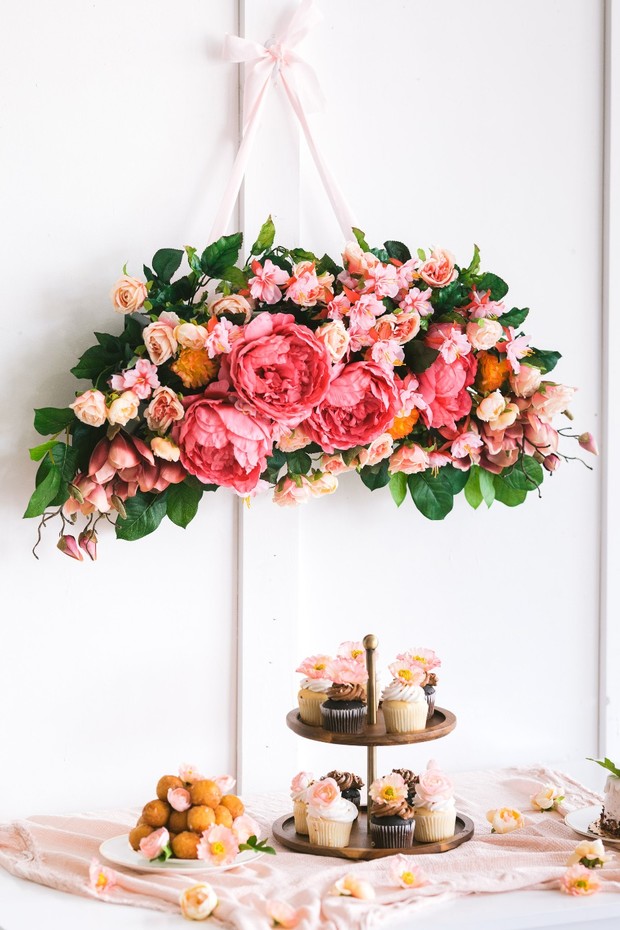
Say hello to what’ll look darling and completely decadent above your dessert table or like an arrow ushering your guests over to a vintage bar cart decked with signature cocktails (floral-adorned or flavored, for sure).
Pretty great, right? Well, full disclosure, it took us a total of maybe 10 minutes to get this up and looking gorgeous. It’s simple and effortless and will make such a sweet impact on something like your dessert or drinks table.
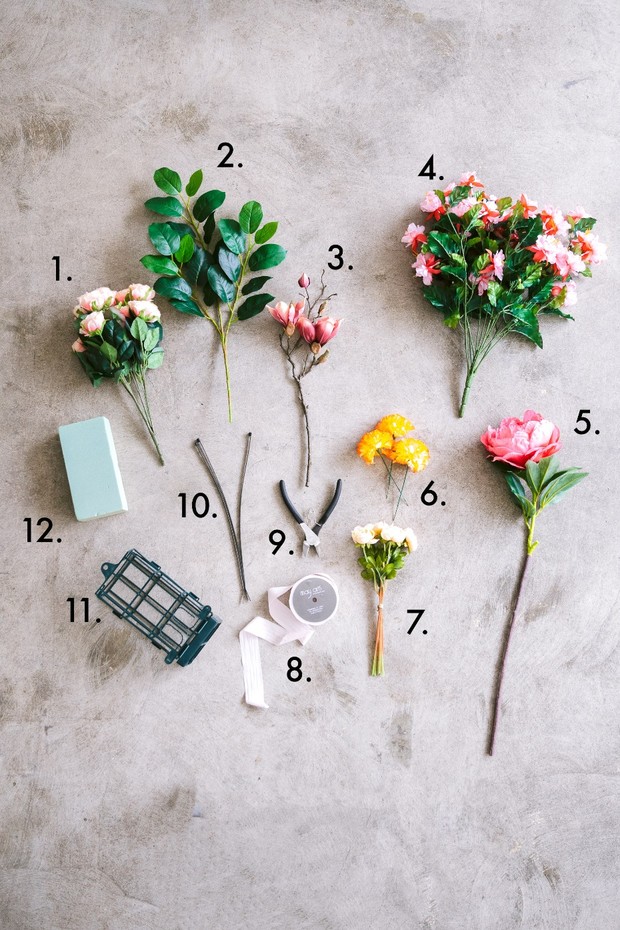
What we used
- Artificial Cabbage Rose Bush in Pink with Blush Undertones
- Artificial Lemon Leaf Branch
- Silk Magnolia Branch in Rose Pink
- Silk Flower Hanging Bush in Pink Fuchsia
- Silk Peony Flower in Hot Pink
- Orange Yellow Carnation Bulk Silk Flower Pack
- Blush Pink Ranunculus Artificial Flower Bundle
- Blush Pink Ribbon
- Wire Cutters
- Zip Ties
- Floral Cage
- Foam Cube
**Items 10-12 were bought from a craft store.
How we did it
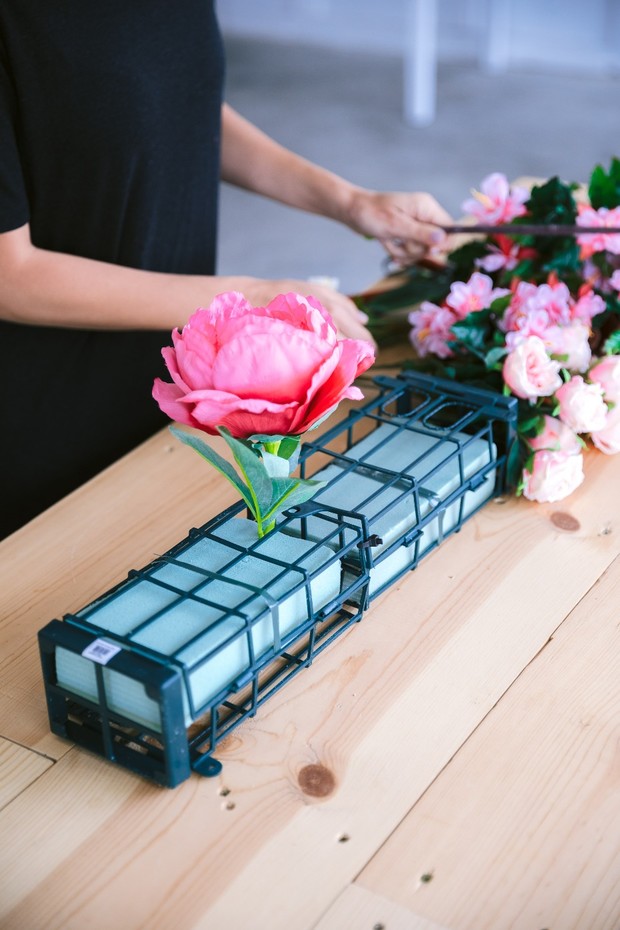
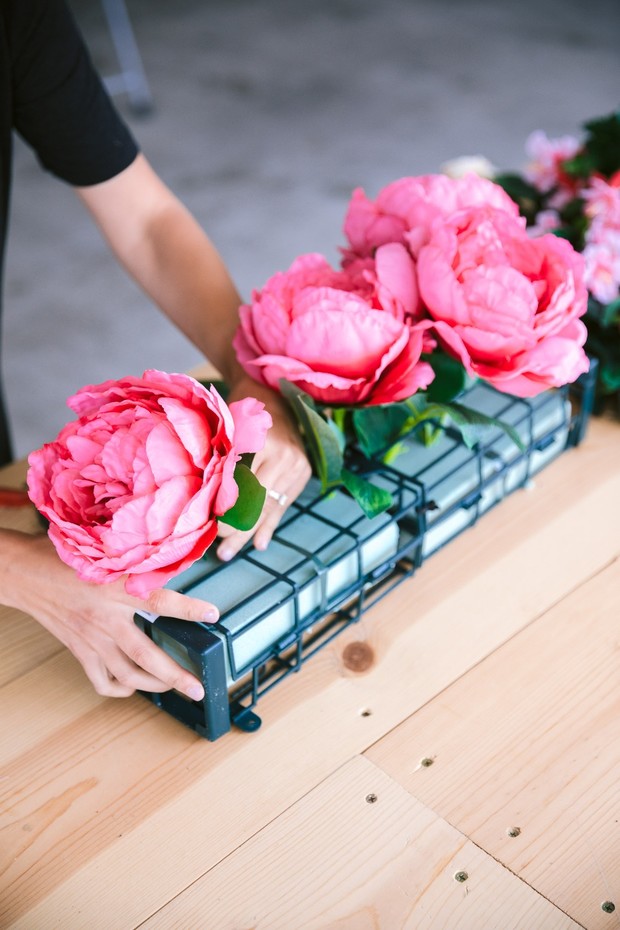
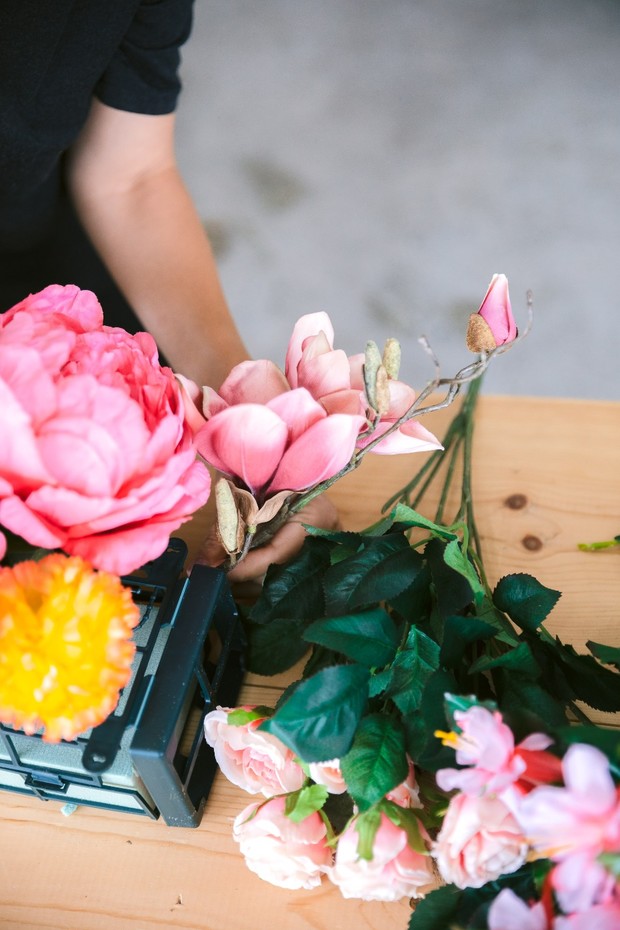
Put your floral foam in the floral cages and zip tie your cages together
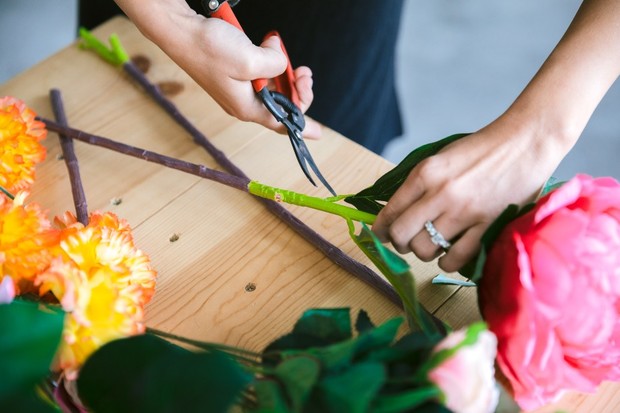
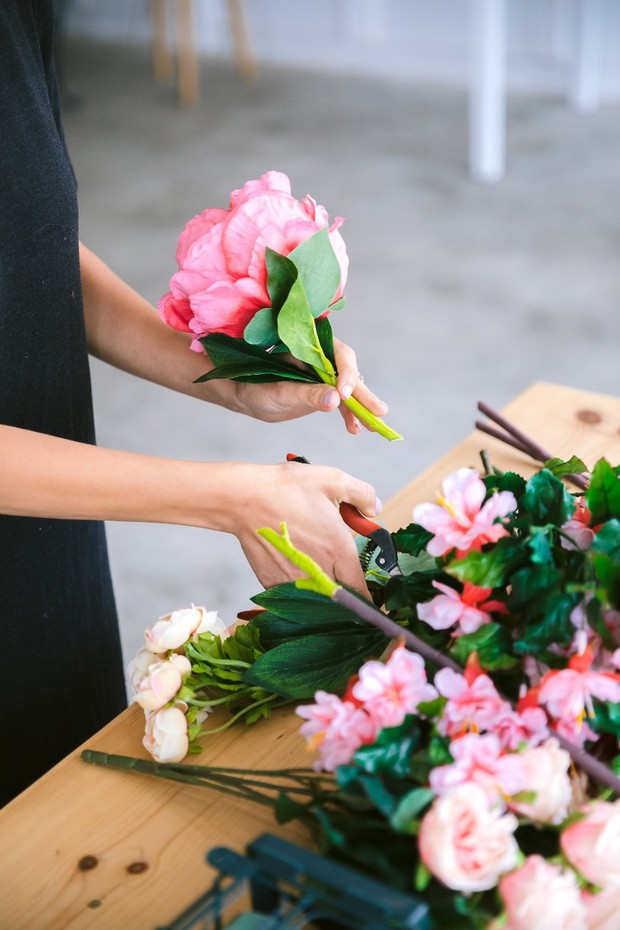
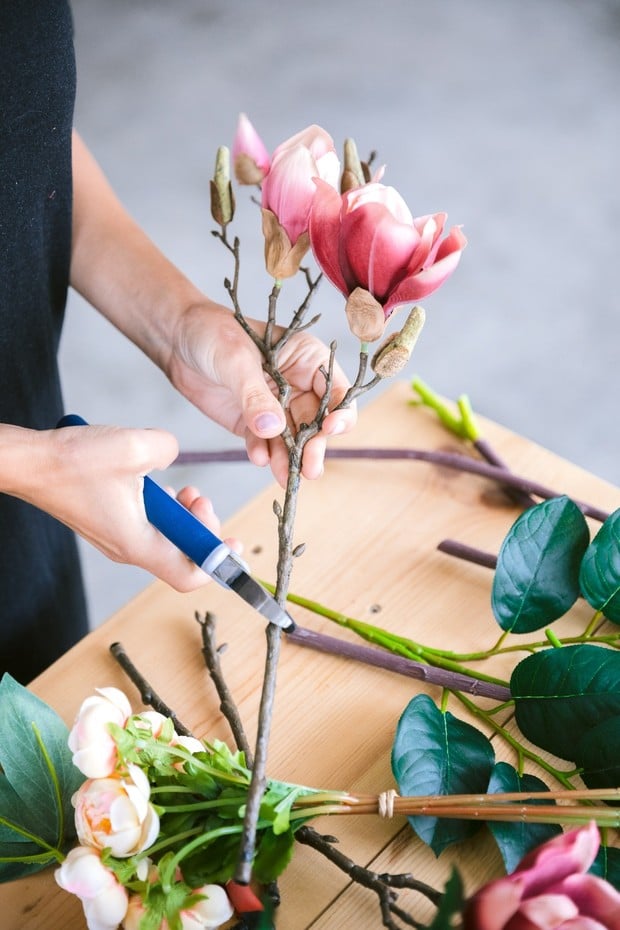
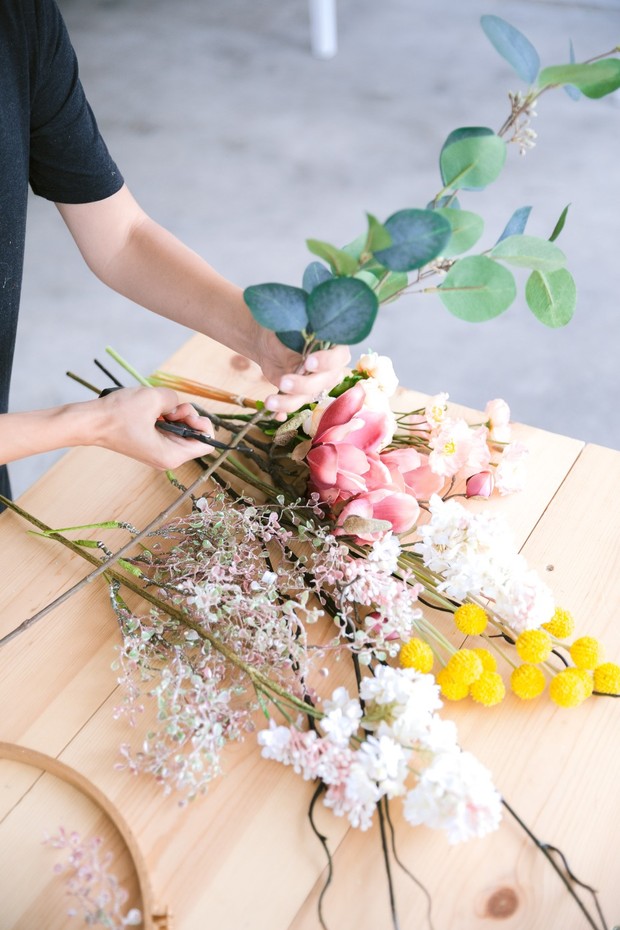
Start placing with your biggest flowers first, and have your wire cutters handy as you’ll need to cut the stems down.
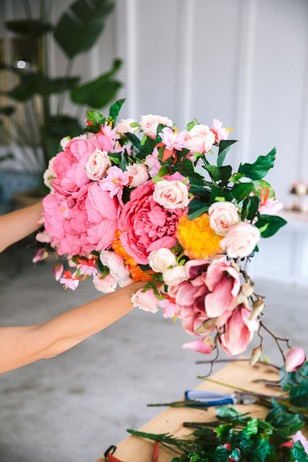
Continue placing flowers as you descend in size, doing your best to evenly distribute each flower type in the foam.
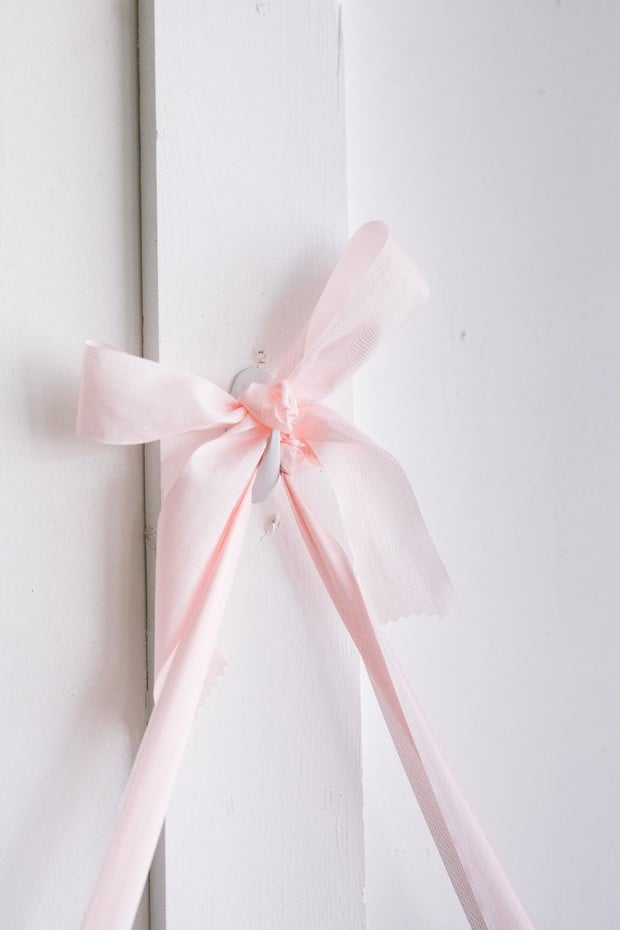
Using some ribbon (Afloral has tons of ribbon options available), tie knots to the outer edges of your floral cages.
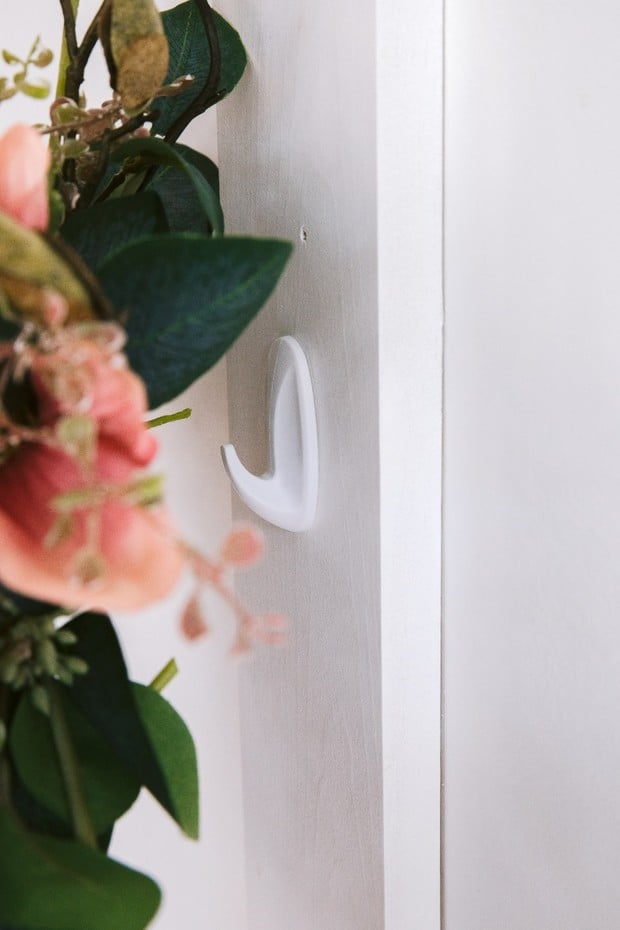
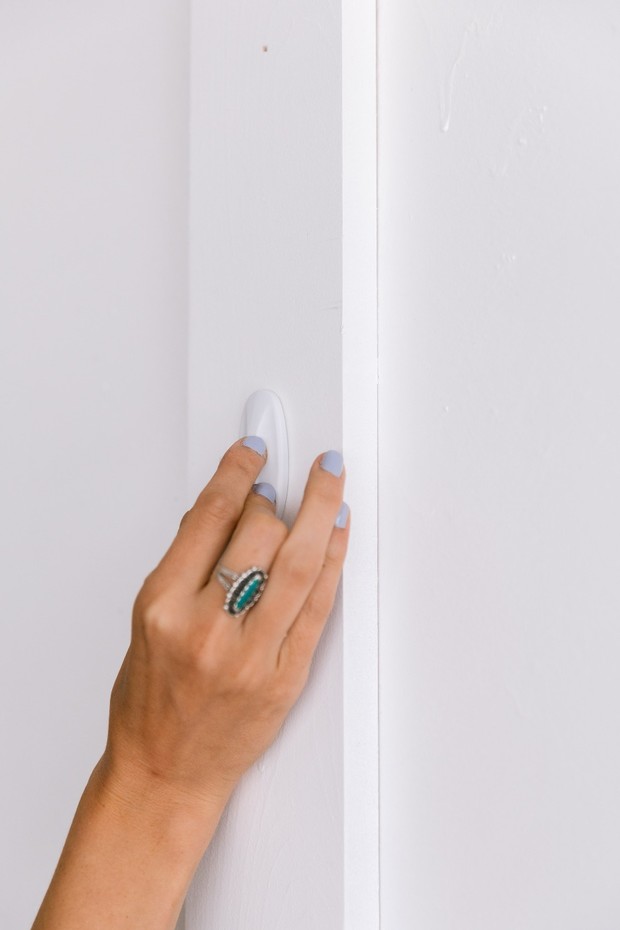
Gently secure the top of the ribbon on a hook. You’ll also want a second hook to fasten the floral cage against: this will prevent your installation from moving too much or slouching forward/down.
If you have any extra flowers, work them into the display! Nothing looks better on desserts or drinks than some vivacious blooms.
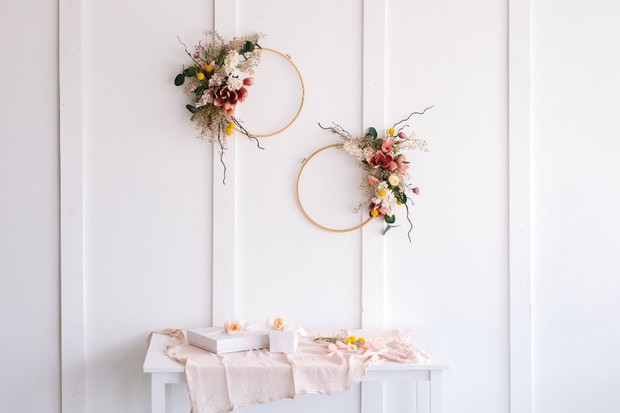
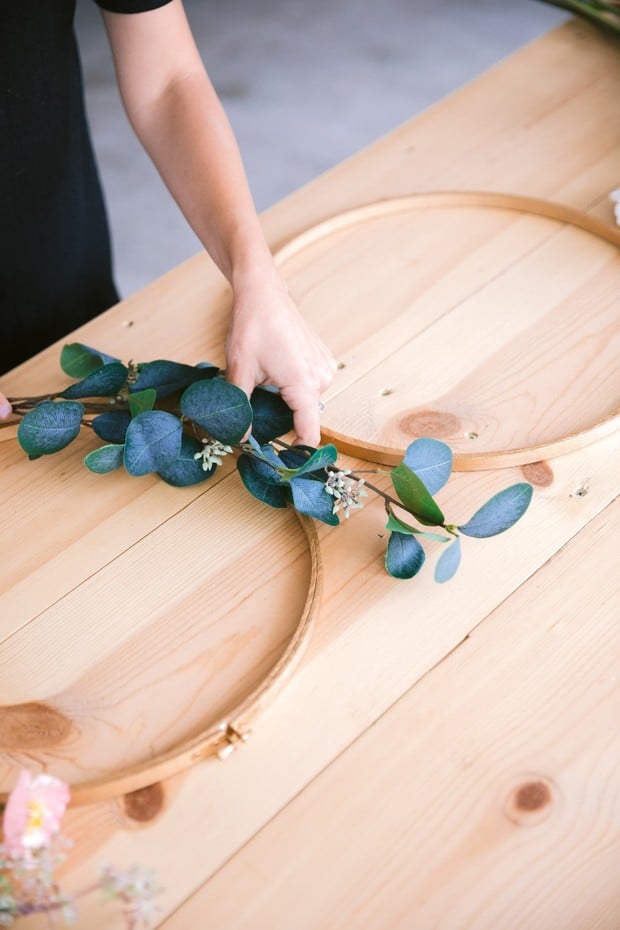
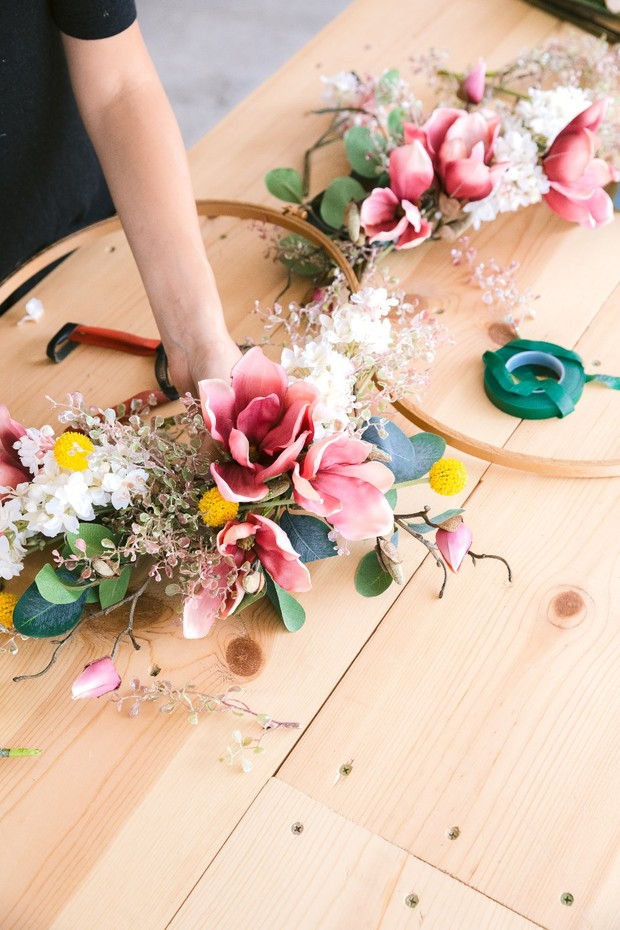
Hoops
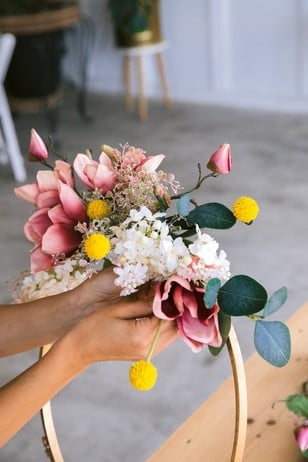
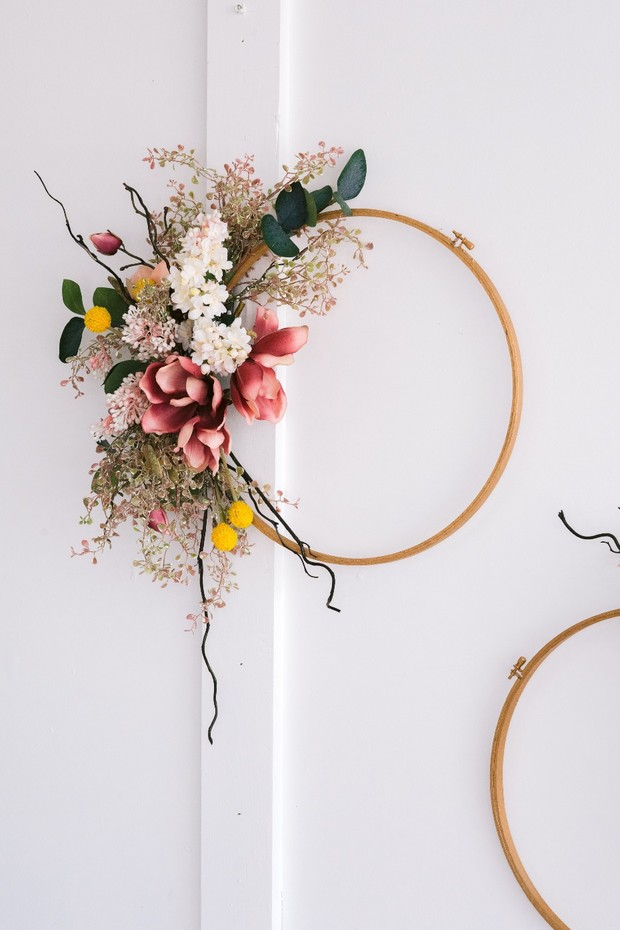
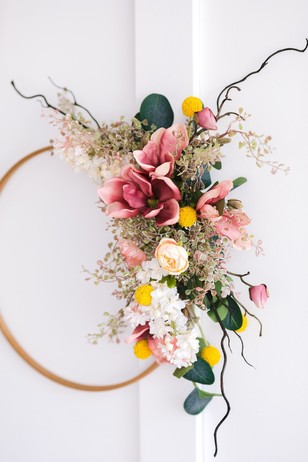
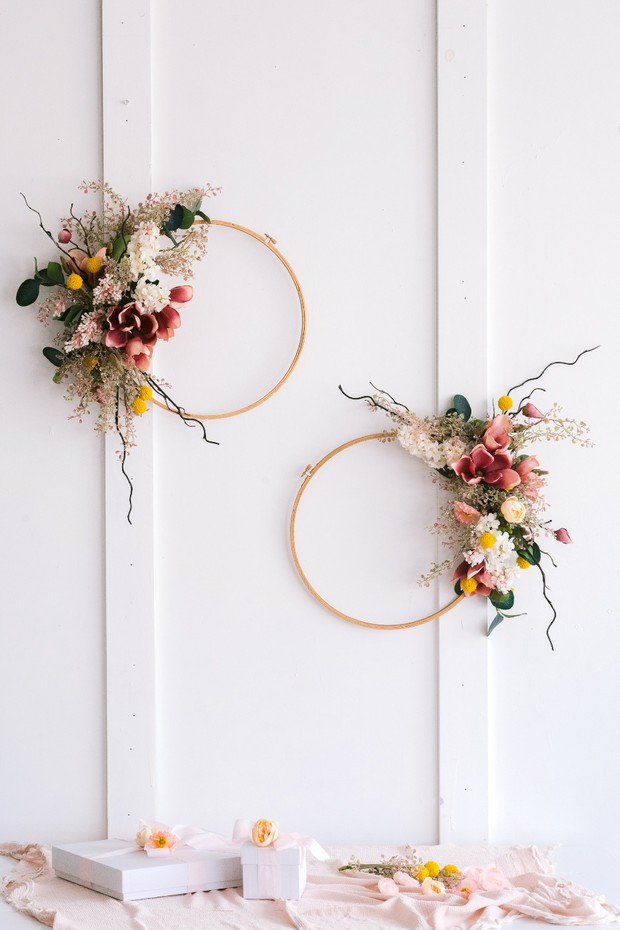
Looking for a way to glam up your gift table or get more foot traffic over to your guest book? Do it with these haute decorative hoops. Afloral has them in a number of sizes, too, so if you wanted to, you could even set up a Polaroid station, have guests take fun insta pix, and then use colored washi tape to tape their snaps up on the hoops (where the flowers aren’t). Just a thought…
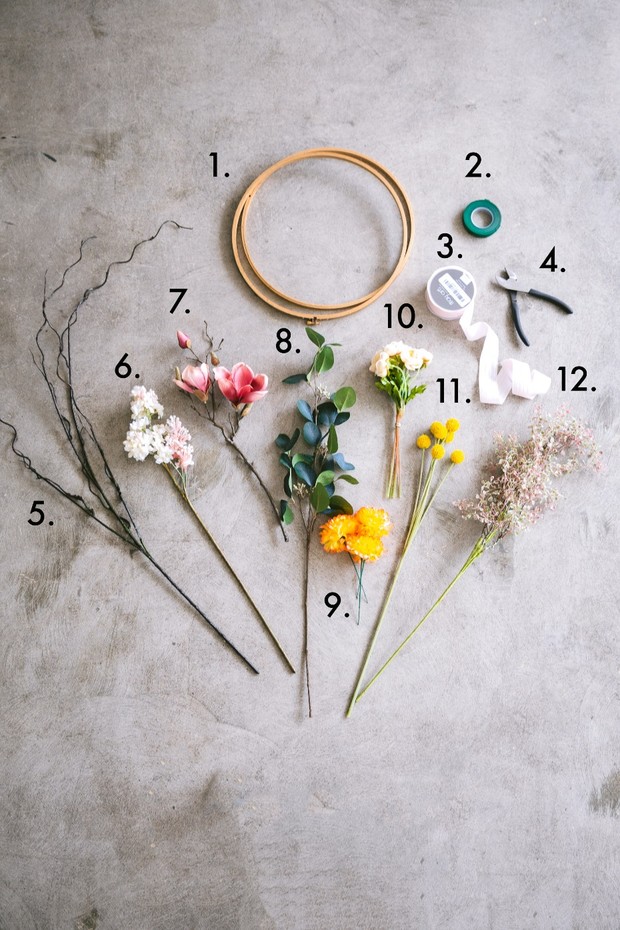
What we used
- Hoops
- Floral Tape
- Blush Pink Ribbon
- Wire Cutters
- Plastic Curly Willow Branch in Brown
- Artificial Lilac Spray Flower in Pink Cream
- Silk Magnolia Branch in Rose Pink
- Artificial Lemon Leaf Branch
- Orange Yellow Carnation Bulk Silk Flower Pack
- Blush Pink Ranunculus Artificial Flower Bundle
- Artificial Billy Button Spray Flower in Yellow
- Plastic Pink Baby Tears Greenery
How we did it
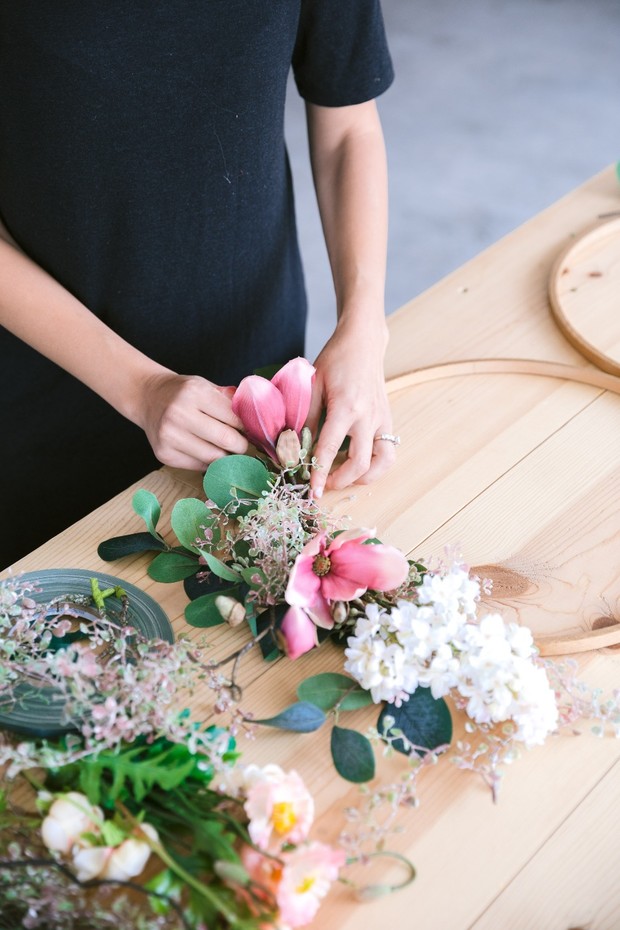
Start with your biggest flowers first and use the floral tape to secure them on the hoop. Wrap the stems up nice and tight and don’t be afraid to use lots of tape around the hoop.
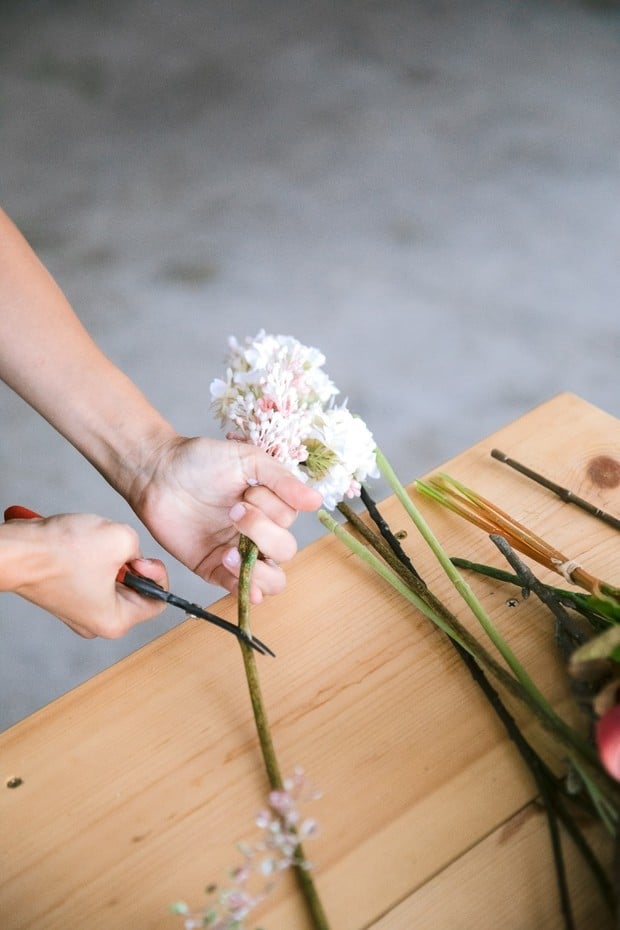
Continue taping flowers as you descend in size, and keep your wire cutters handy as you’ll need to trim back as you place the flowers.
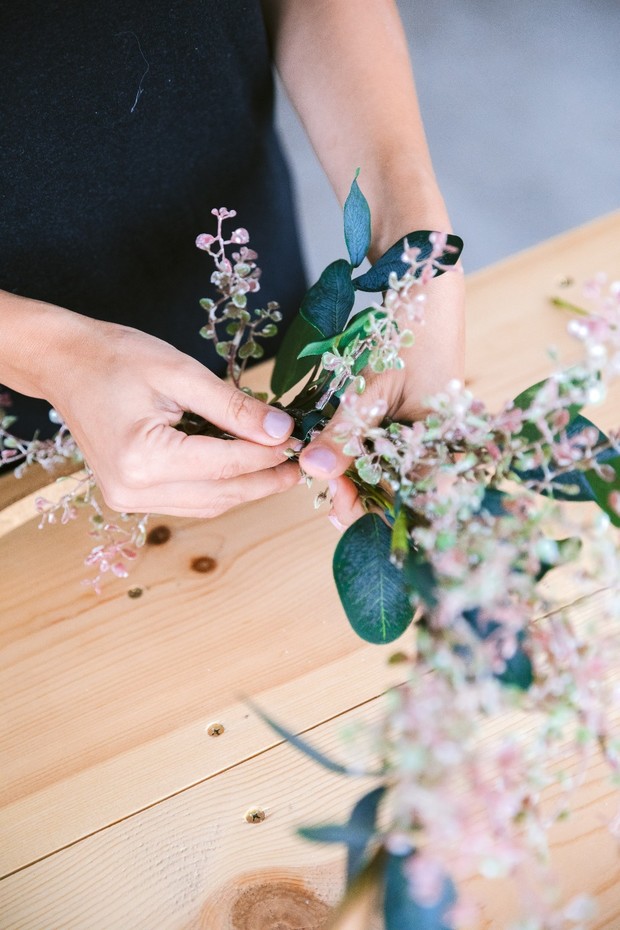
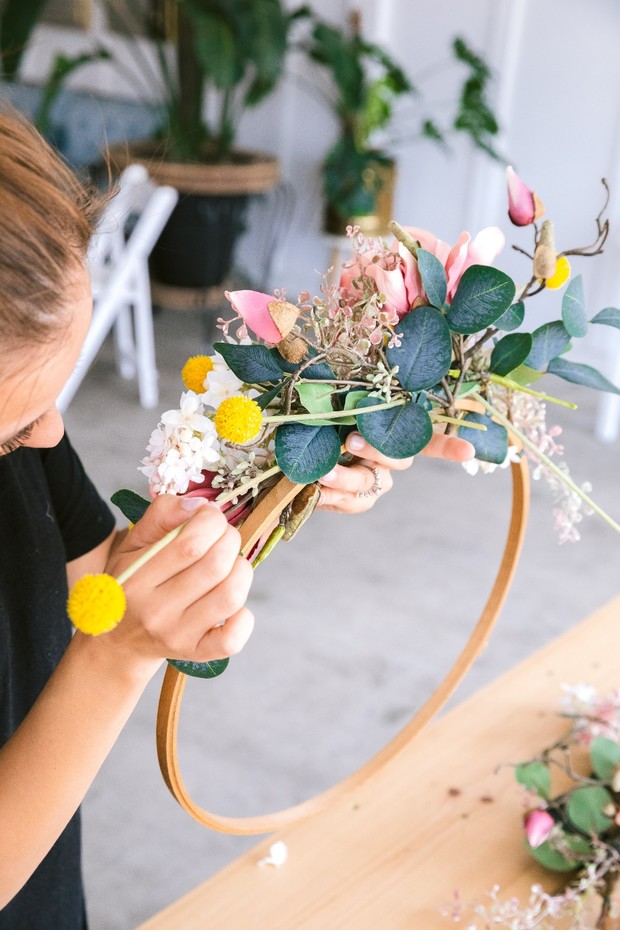
Use the smaller flowers to fill in the empty spots and disguise the tape. Once you have the majority of your flowers secured, you’ll want to begin threading in the smaller flowers and greenery.
Gently hang your hoops on some hooks.
Budget tip from your chicks!
We actually had these embroidery hoops on hand and wanted to find a fun way to incorporate them into a DIY. So, needless to say, it’s always a good idea to go through your garage or closets and see what treasures you can turn into beautiful pieces of art for your wedding. If you don’t have anything like this hanging around, you can always get them from Afloral for just a couple bucks!
Floating Flowers
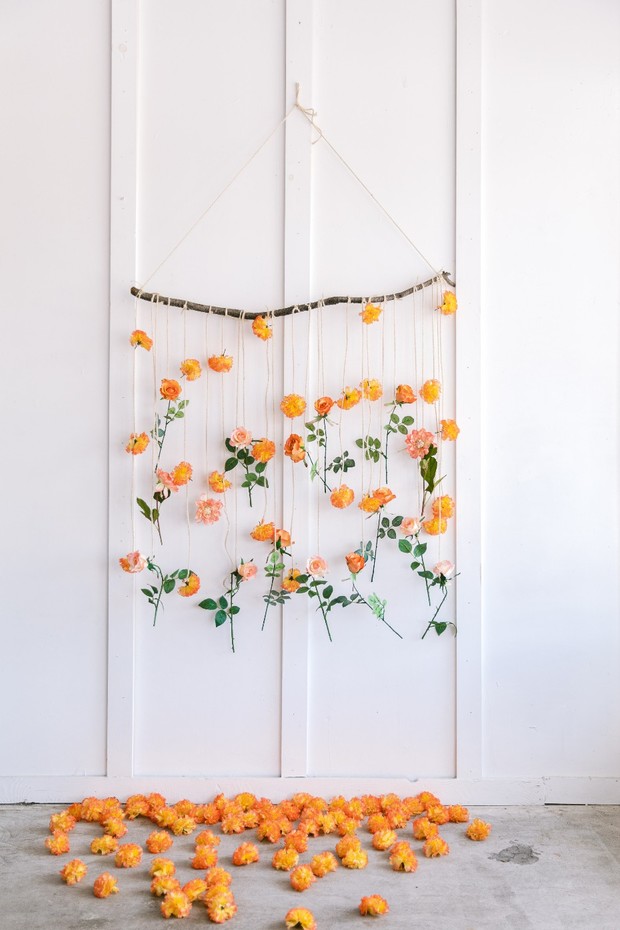
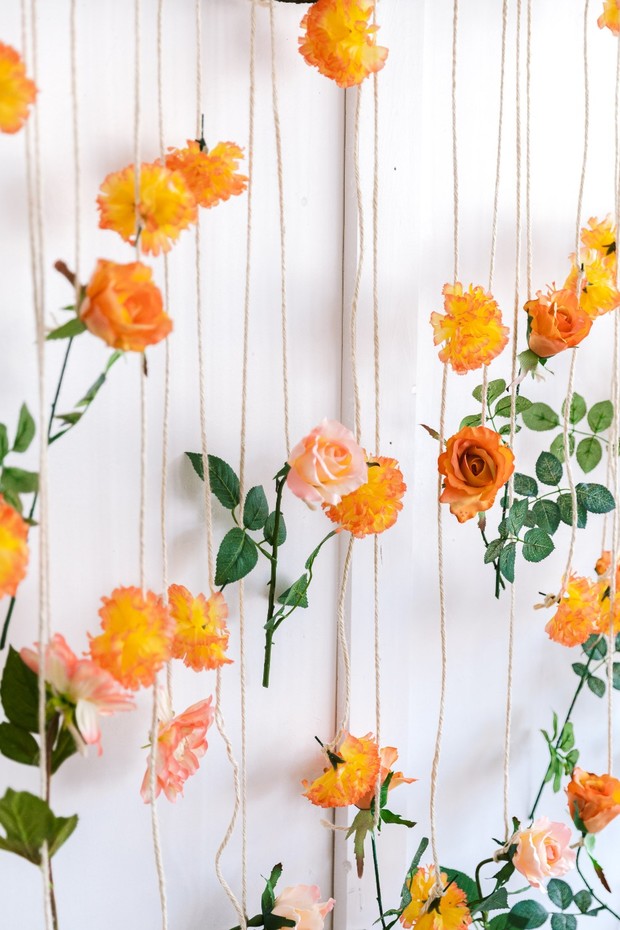
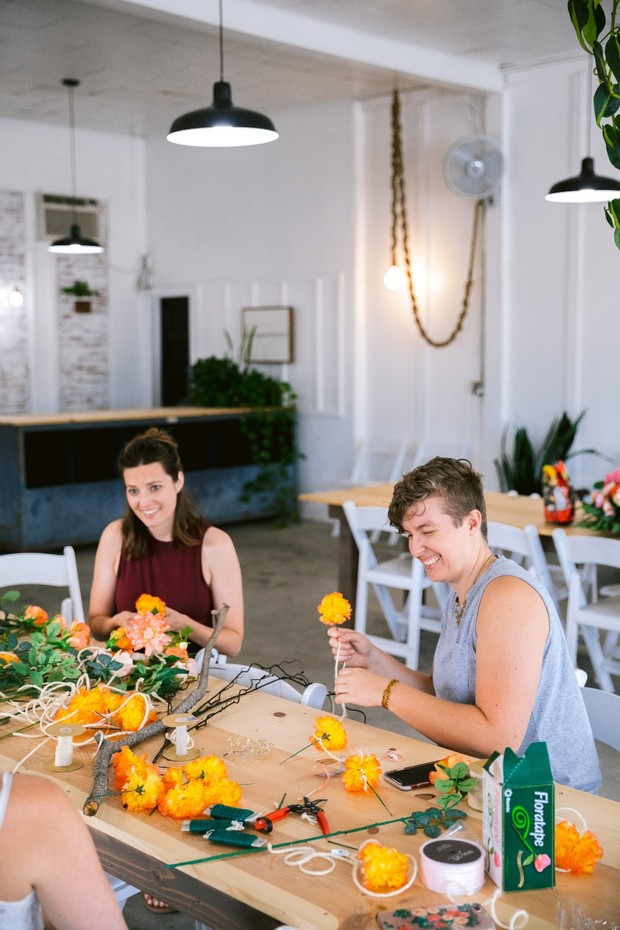
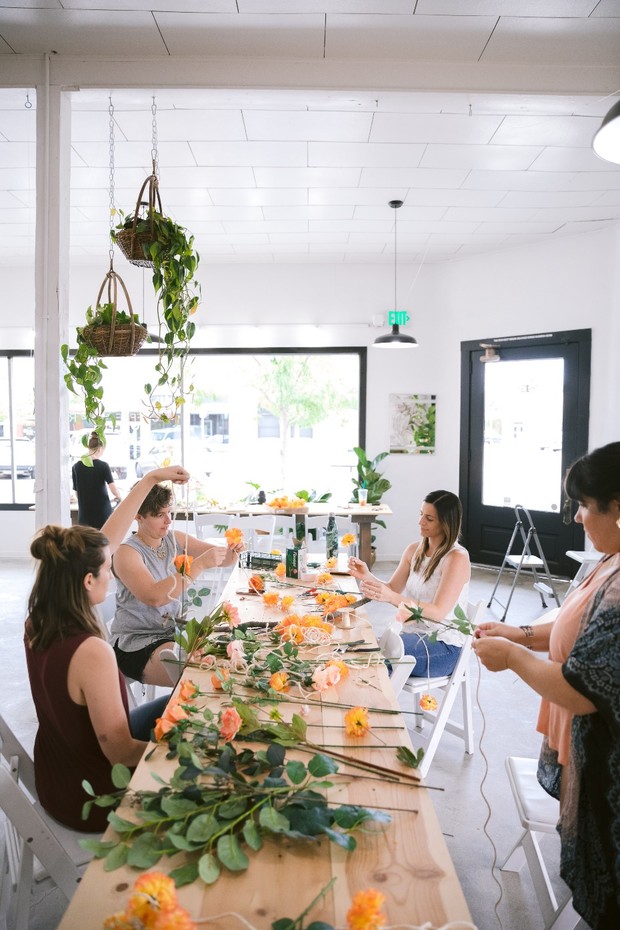
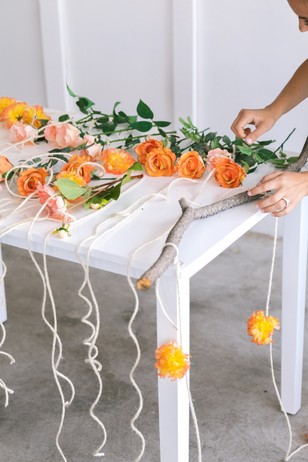
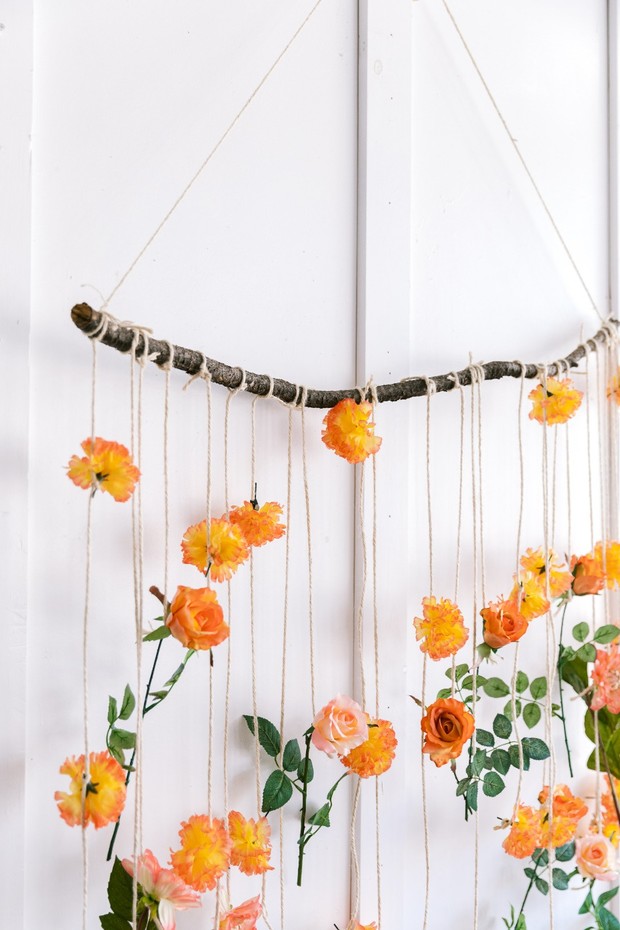
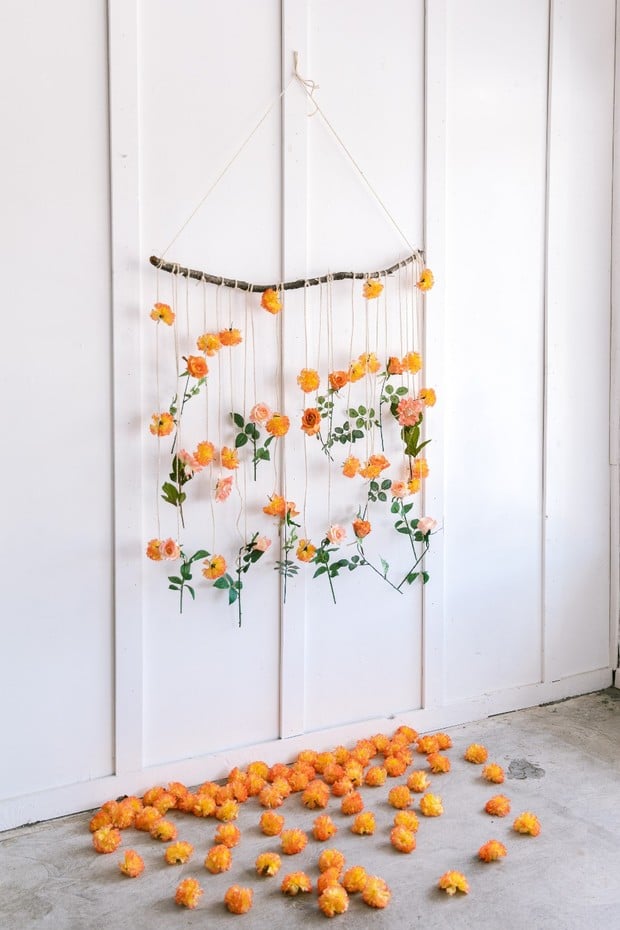
Cutest. Photobooth. Backdrop. Ever. This was, by far, our favorite DIY of the bunch, and it’s the perfect craft to pull your crew into, too! Invite your maids over, blast some music, sip some bubbly, and have all the fun ((while we were working on it, we took tons of boomerangs with the loose carnations. Think of all the awesome Instagram stories you can do #flowerpower)). We did this one as the final project and it was such a great idea, because you can use all the leftover flowers you have from the other two DIYs to create this look.
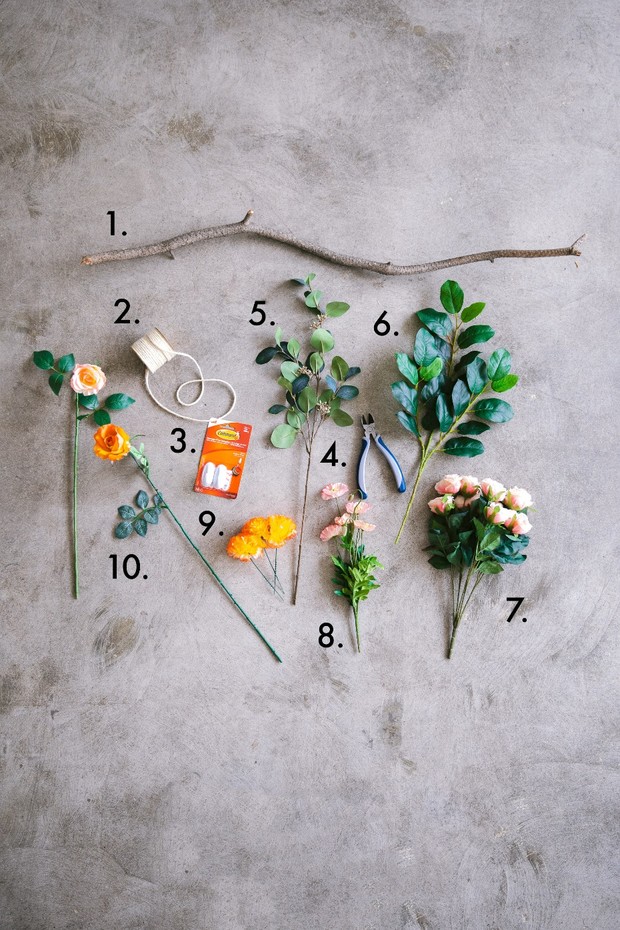
What we used
- Natural Jute Rope in Off-White
- Wire Cutters
- Artificial Eucalyptus Leaf Spray Flower in Grey Green
- Artificial Lemon Leaf Branch
- Artificial Cabbage Rose Bush in Pink with Blush Undertones
- Pink Silk Poppy Bush
- Orange Yellow Carnation Bulk Silk Flower Pack
- Half Opening Silk Rose in Peach Pink
- Stick Sourced from the Backyard
- Swag Hooks
**Items 9 & 10 were ours. Kind of love the idea, too, of finding a stick together, either in your backyard or out on a walk at your favorite park. It's FREE and pretty adorable.
How we did it
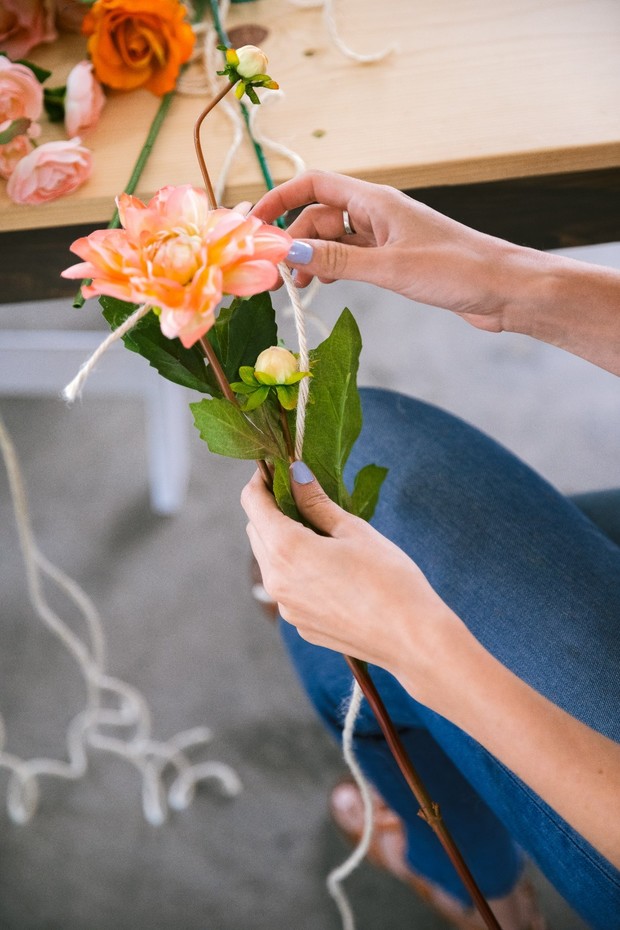
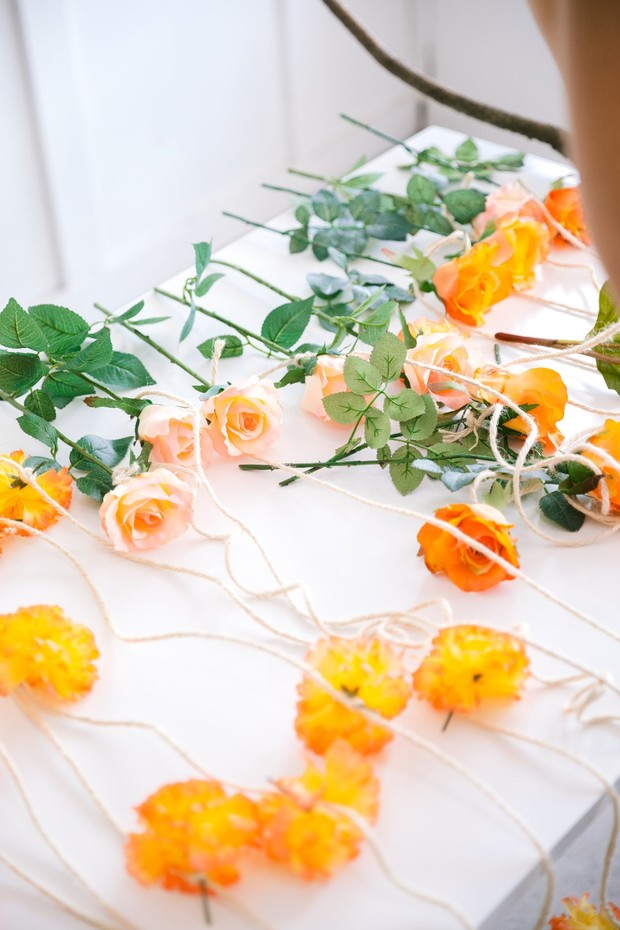
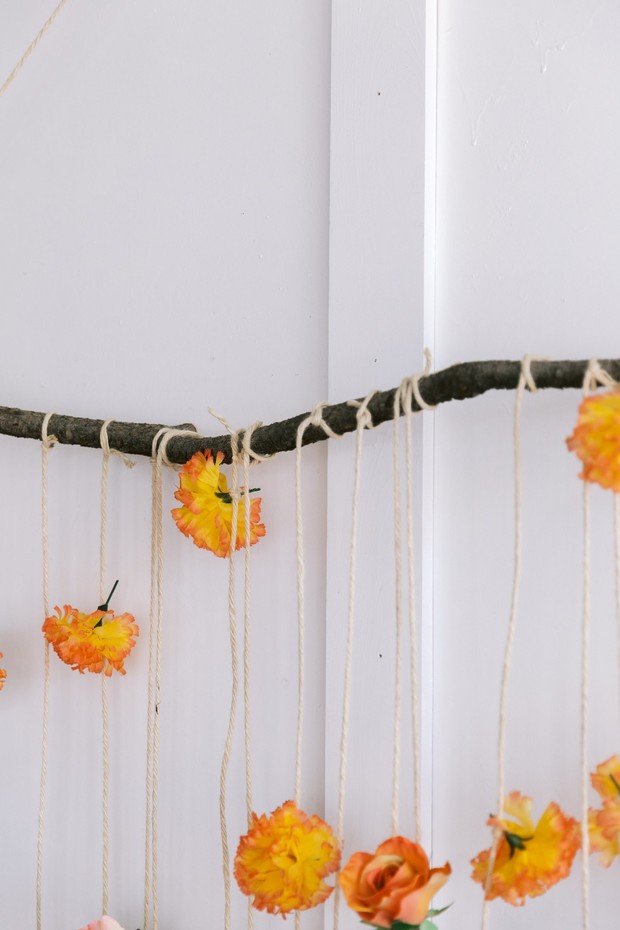
Start by cutting your twine. For reference, we cut ours anywhere from 3-4 feet in length. Your measurements don’t have to be perfect, because once it’s hung, uneven lengths of the hanging flowers will make for a much more unique, dynamic, and whimsy look.
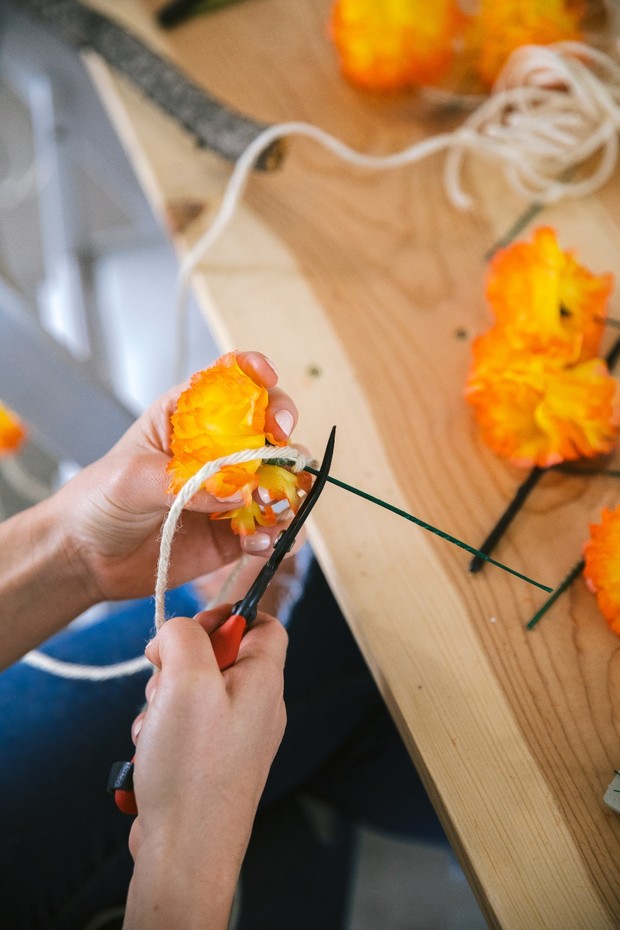
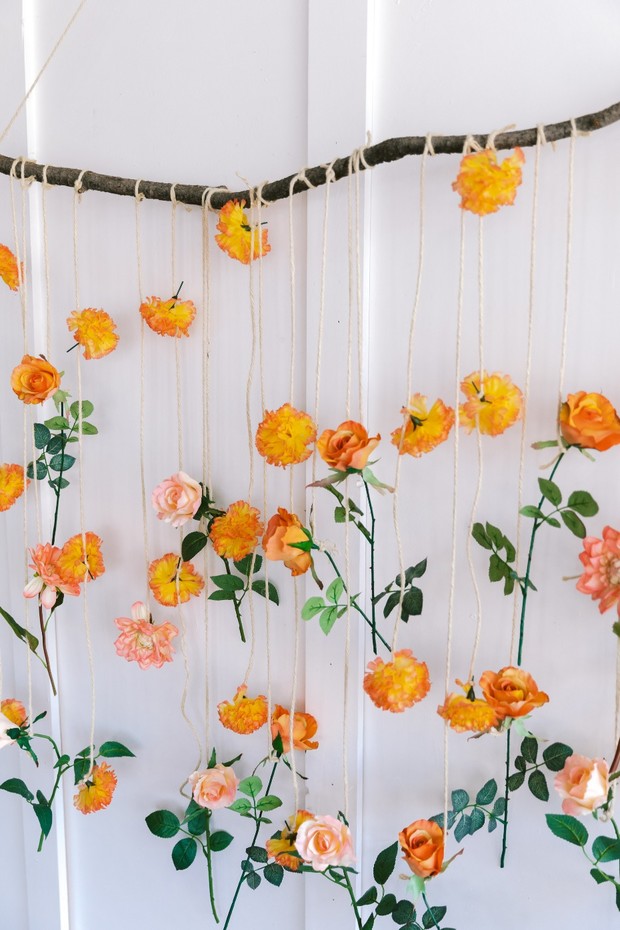
We began with the carnations and tied 2-3 carnations on each piece of twine. After you tie on the carnation, make sure to cut off the stem (don’t do this before you tie, though, otherwise it will make tying a lot harder!)
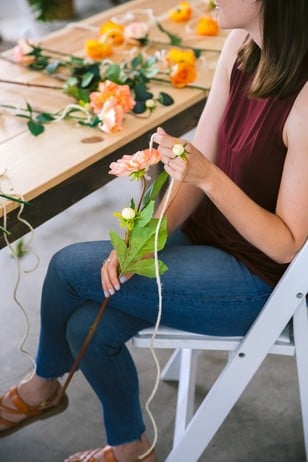
Continue working with the stems you have left on hand. We had a lot of roses left over and they were perfect! Tie the twine around the “neck” of the flower, so that when it hangs, the head of the flower is upright. We recommend leaving the leaves on; the greenery really adds a nice organic, elegant element to the look.
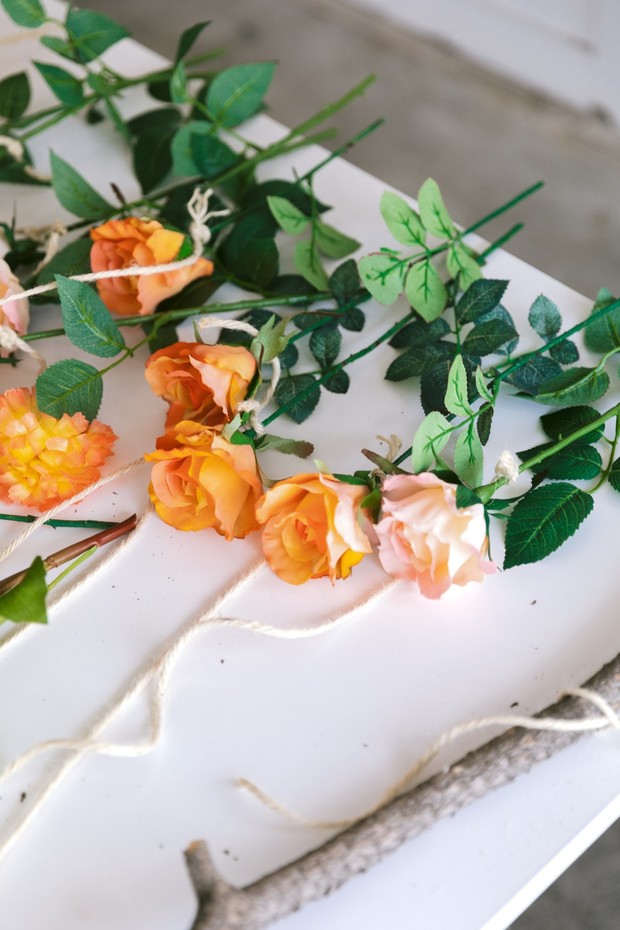
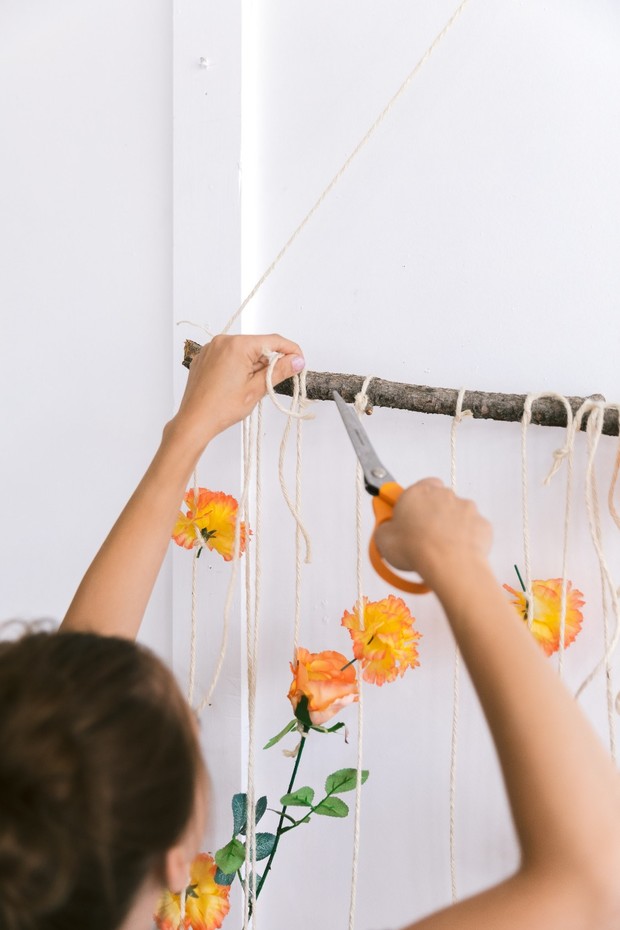
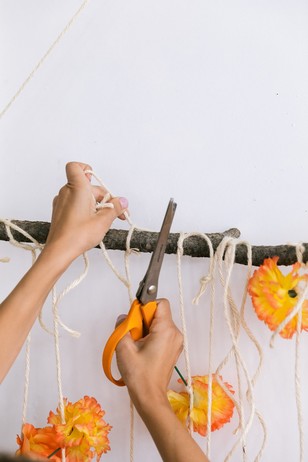
Once you have all the flowers tied on the twine, start attaching the twine to your stick and cutting off any loose ends to polish up the look.
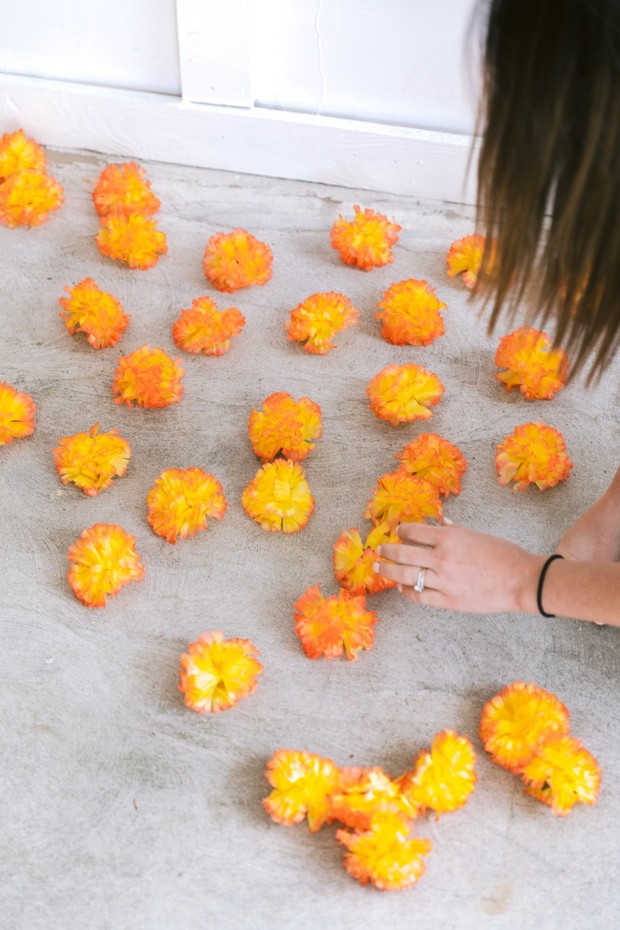
To finish, find one long piece of twine, tie it on both ends of the stick and secure it from a hook. Scatter remaining flowers (without stems) on the floor beneath for a gorgeous staging area.
General Budget Tips from your chicks...
We used a lot the same materials across all of these DIYs (and you can always find a use for wire cutters, ribbon, etc.). Since a lot of the floral items have minimums to meet for the order, we had to buy a lot anyway - which actually made for a totally on-point aesthetic for the wedding. Everything meshed, everything matched. It was perfection!
Also, ordering in bulk is almost always better, because you get SO many flowers for such a good price. We absolutely loved the carnations; they offered a great way to add in filler, color, and ambiance to the DIYs AND they're available in lots of colors. We just happened to adore the orange and yellow ones for summer. Made us want a tequila sunrise soooo bad... 😉
Get to know Afloral for all your DIY-ing! We’re pretty obsessed.
FOLLOW AFLORAL ON IG, TOO, IF YOU AREN’T ALREADY! THE FAUX FLOWERS ON THEIR FEED ARE INSANE.
We partnered with Afloral to bring you all this dynamite DIY know-how. As always, thanks for supporting our sponsors!
View All Images- Flowers: Jewels Floral
- Flowers: Afloral
- Wedding Photographers: Radion Photography & Cinema
- Styling: Wedding Chicks
- Venues: Coffee Paint Repeat
