How To Make A Flower Photo Booth Backdrop With FiftyFlowers.com
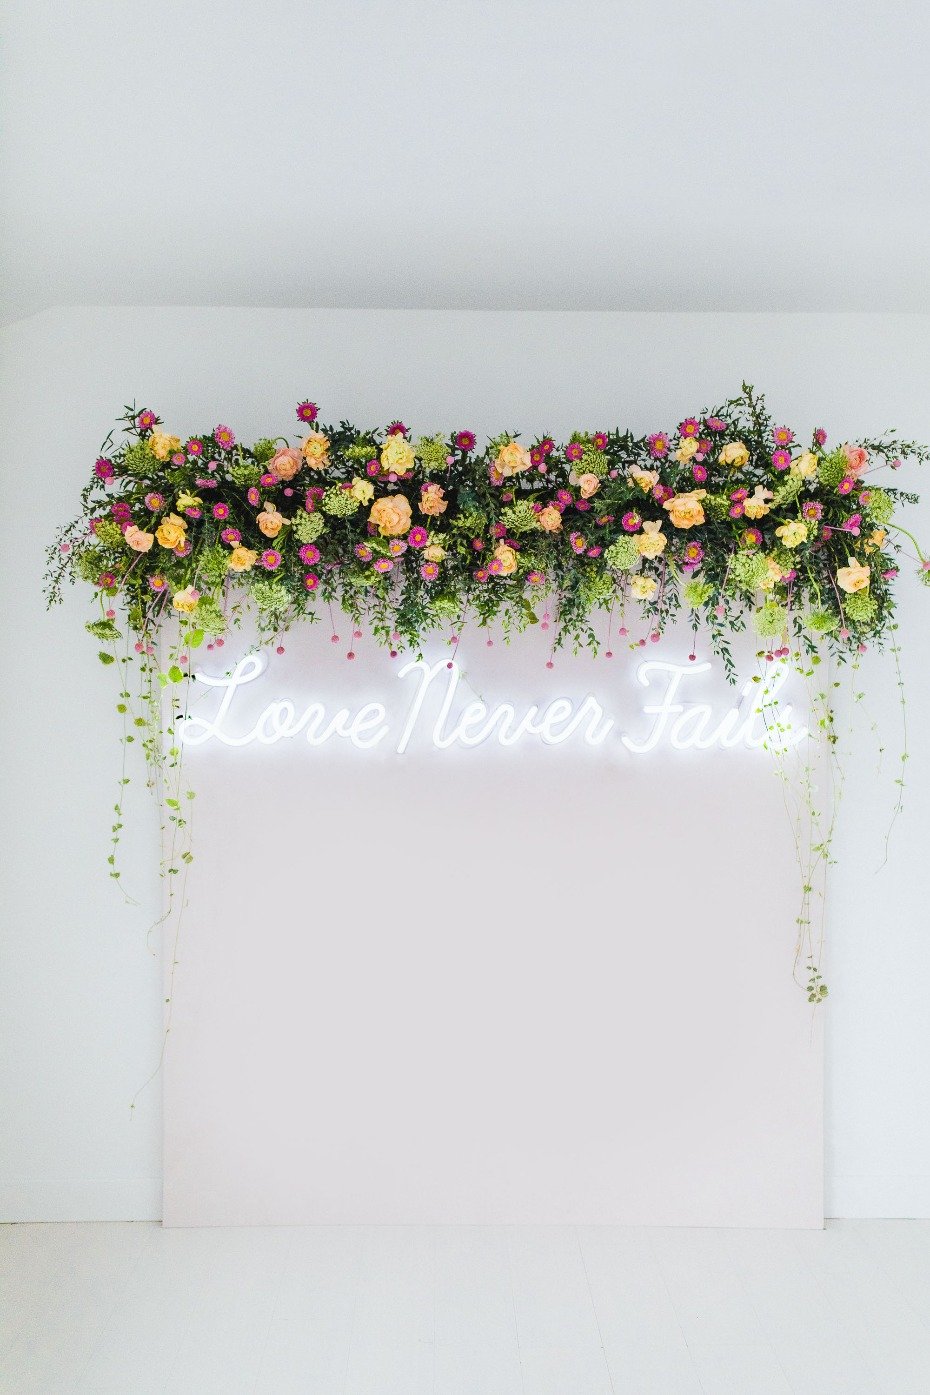
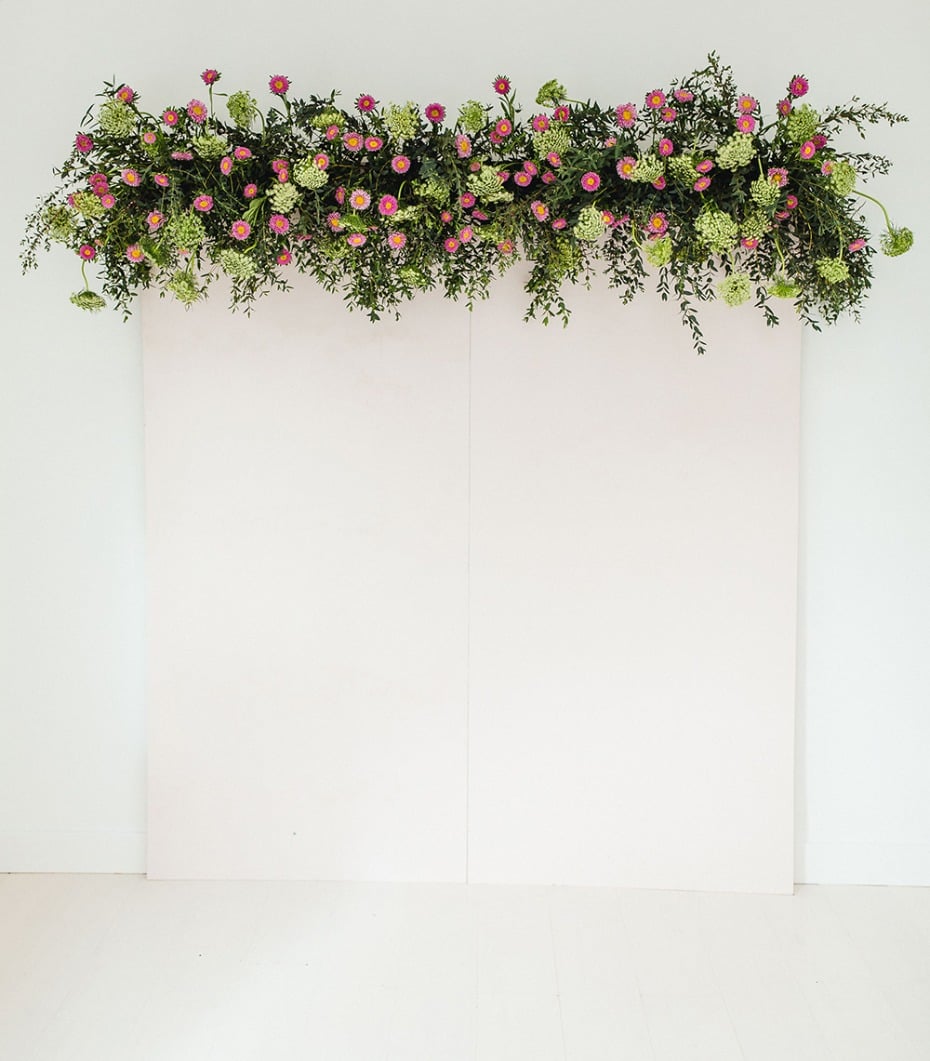
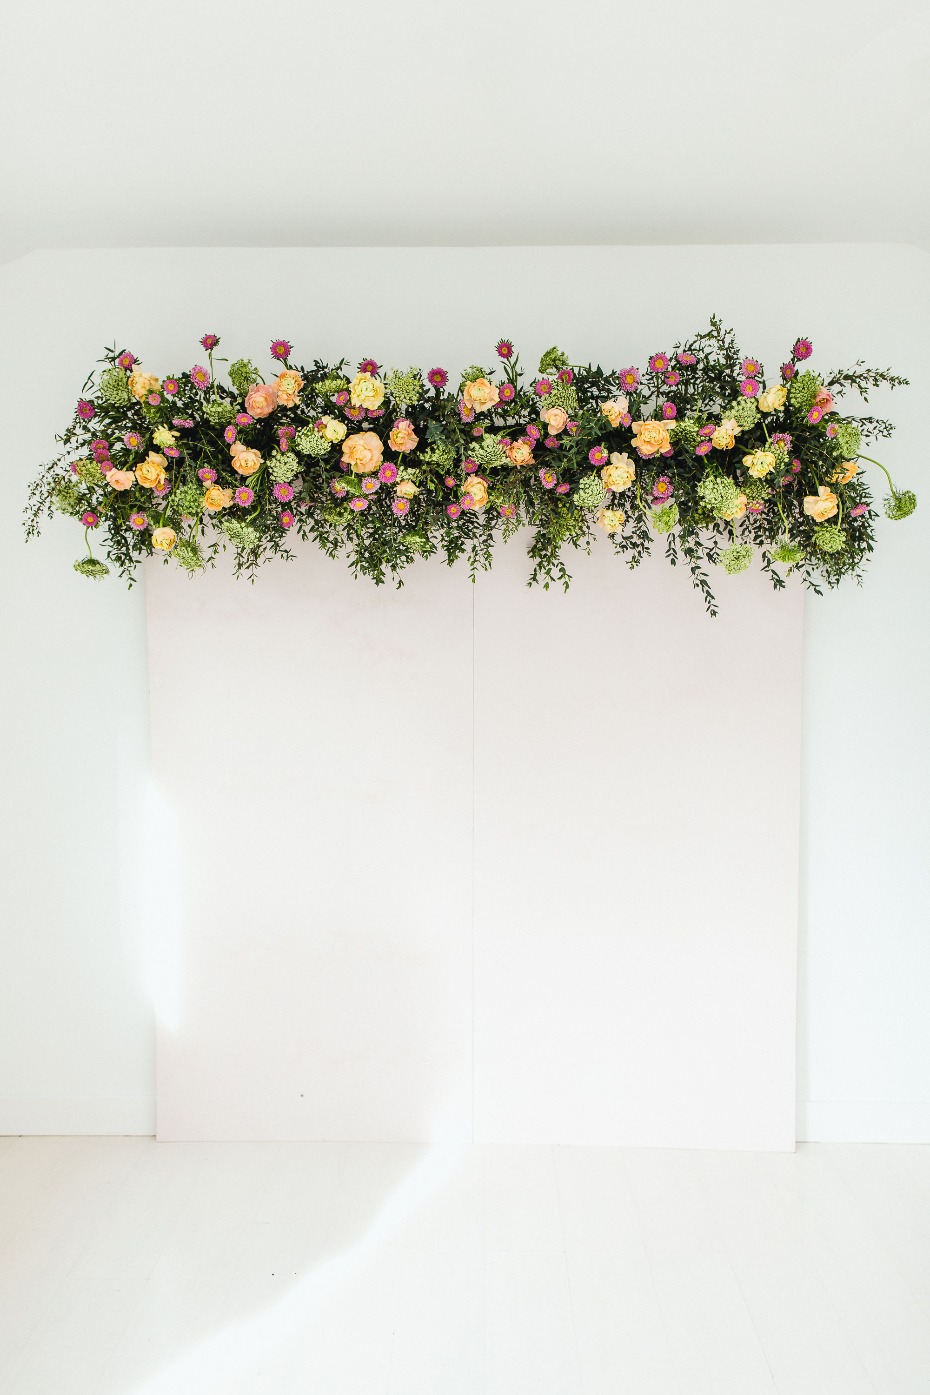
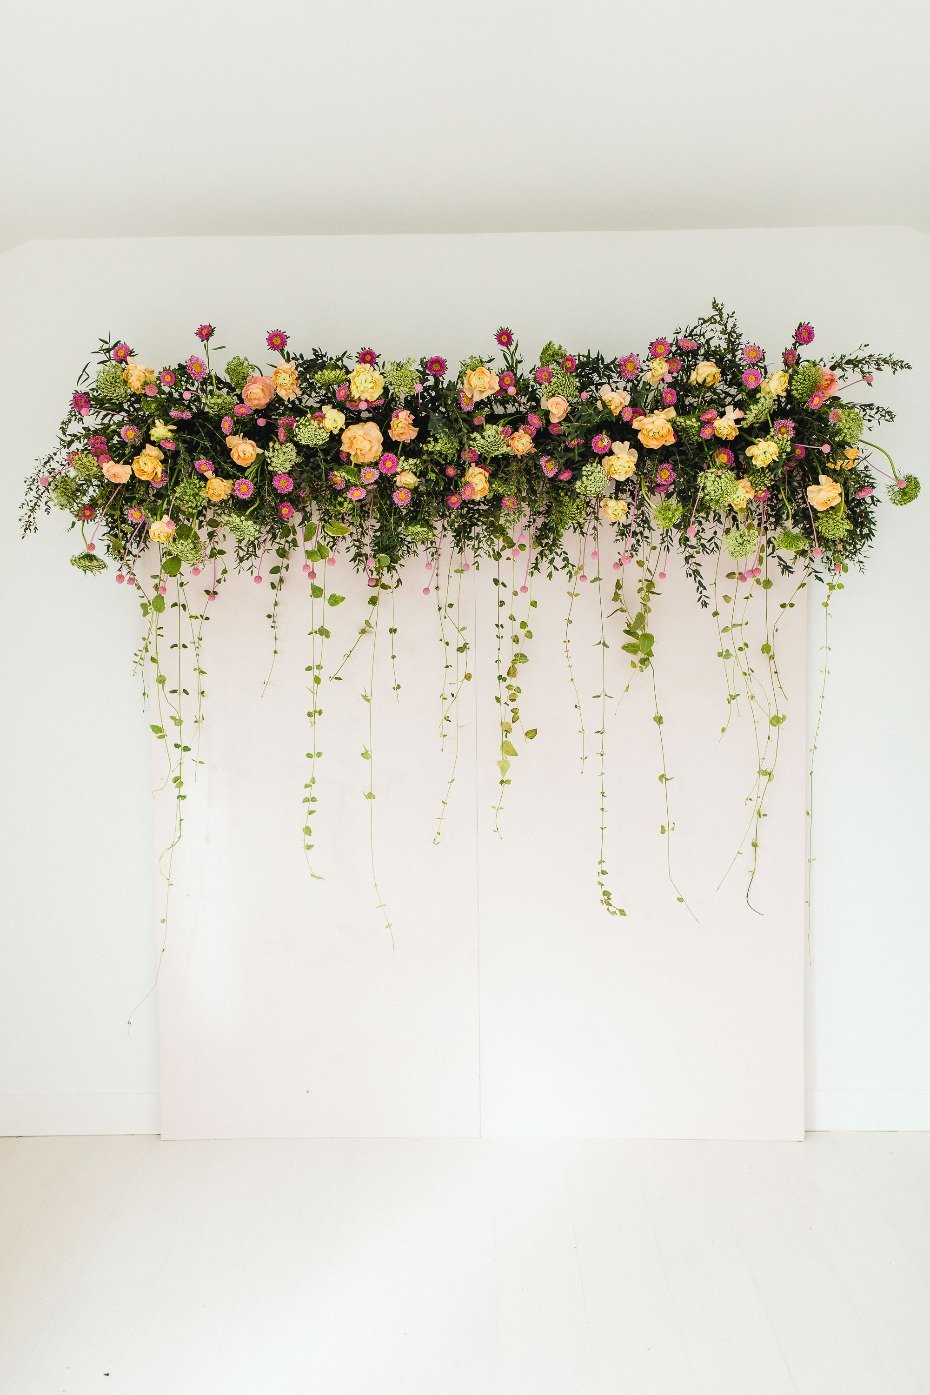
We spotted the amazing backdrop below on Mod Wedding and was like ... how did they make that? So, we partnered with FiftyFlowers.com to show you how incredibly easy it is to actually make. You could use it as a photo booth backdrop or as a ceremony backdrop as well. That fabulous Love Never Fails neon sign is from Echo Neon Studio. You can totally hang this in your house after your event.
Creating this fun photo booth / ceremony backdrop will create a fantastic opportunity for guests to create lasting memories at your wedding/event. Scroll down for supplies and instructions. Happy crafting!

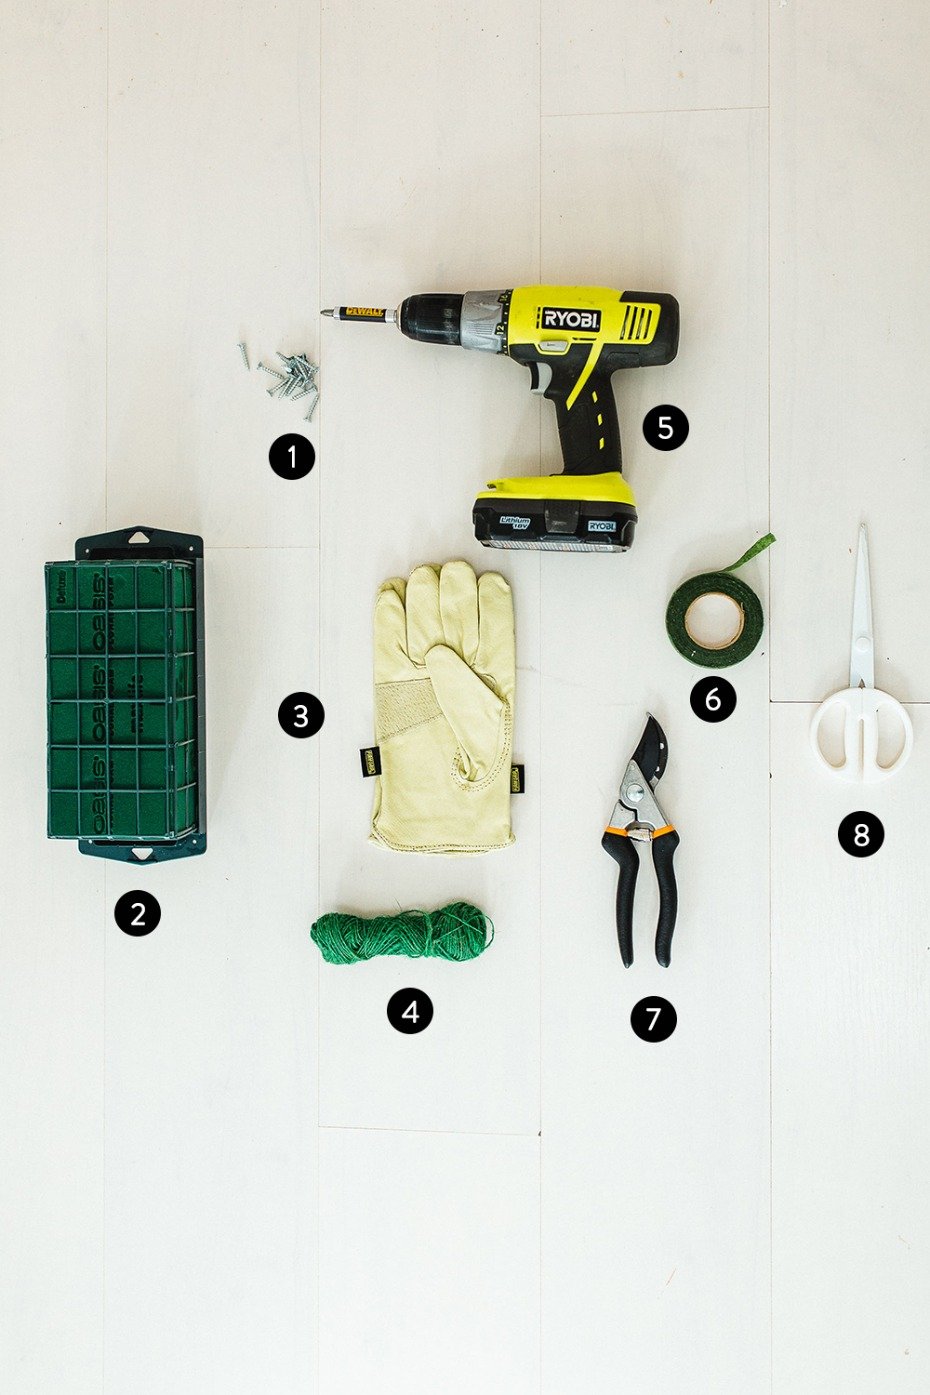
Supplies
1. screws for your drill
2. floral cages
3. gloves
4. floral string (just in case)
5. drill
6. floral tape (just in case)
7. floral shears
8. scissors
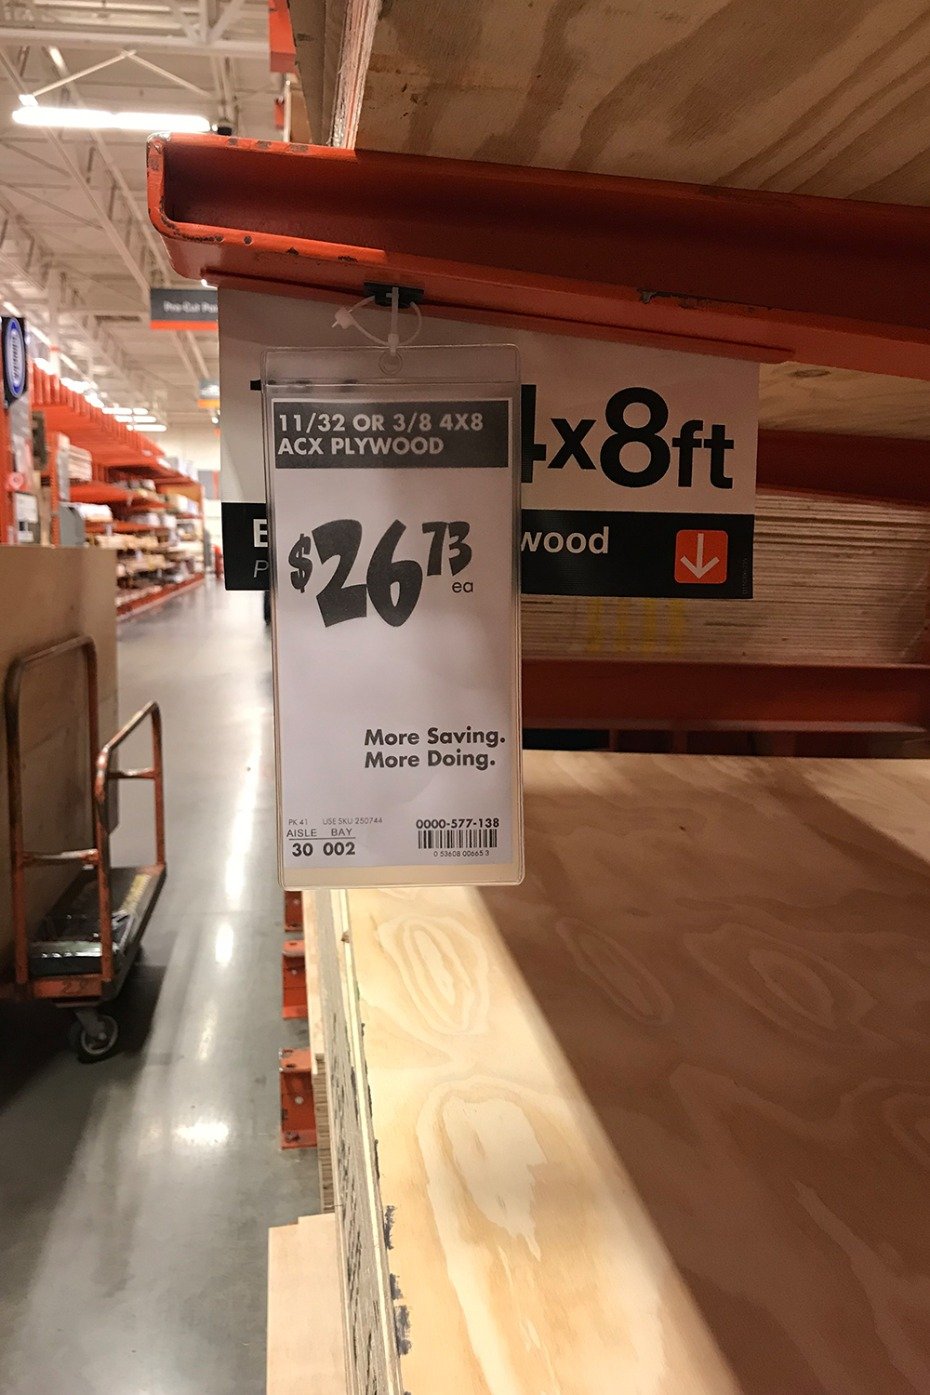
9. two pieces of plywood
10. desired color of paint and paint brushes
11. Large Buckets (you'll need these to put all your flowers in)
11. Buy all the flowers we used here from FiftyFlowers.com

You can order every flower for this flower backdrop easily. FiftyFlowers.com has created a shopping with everything you'll need. Including the floral cages. Plus, FiftyFlowers is offering 6% off your order through the month of March with code WCFFLOVE6 !
How Far In Advance Should I Create My Wall?
You can create your flower backdrop wall up to 4 days before your event depending on the weather. When we built our wall it was very cold. Our flowers stayed for about a week and looked amazing. If the weather is a little warmer you will want to create it about 1-2 days prior.
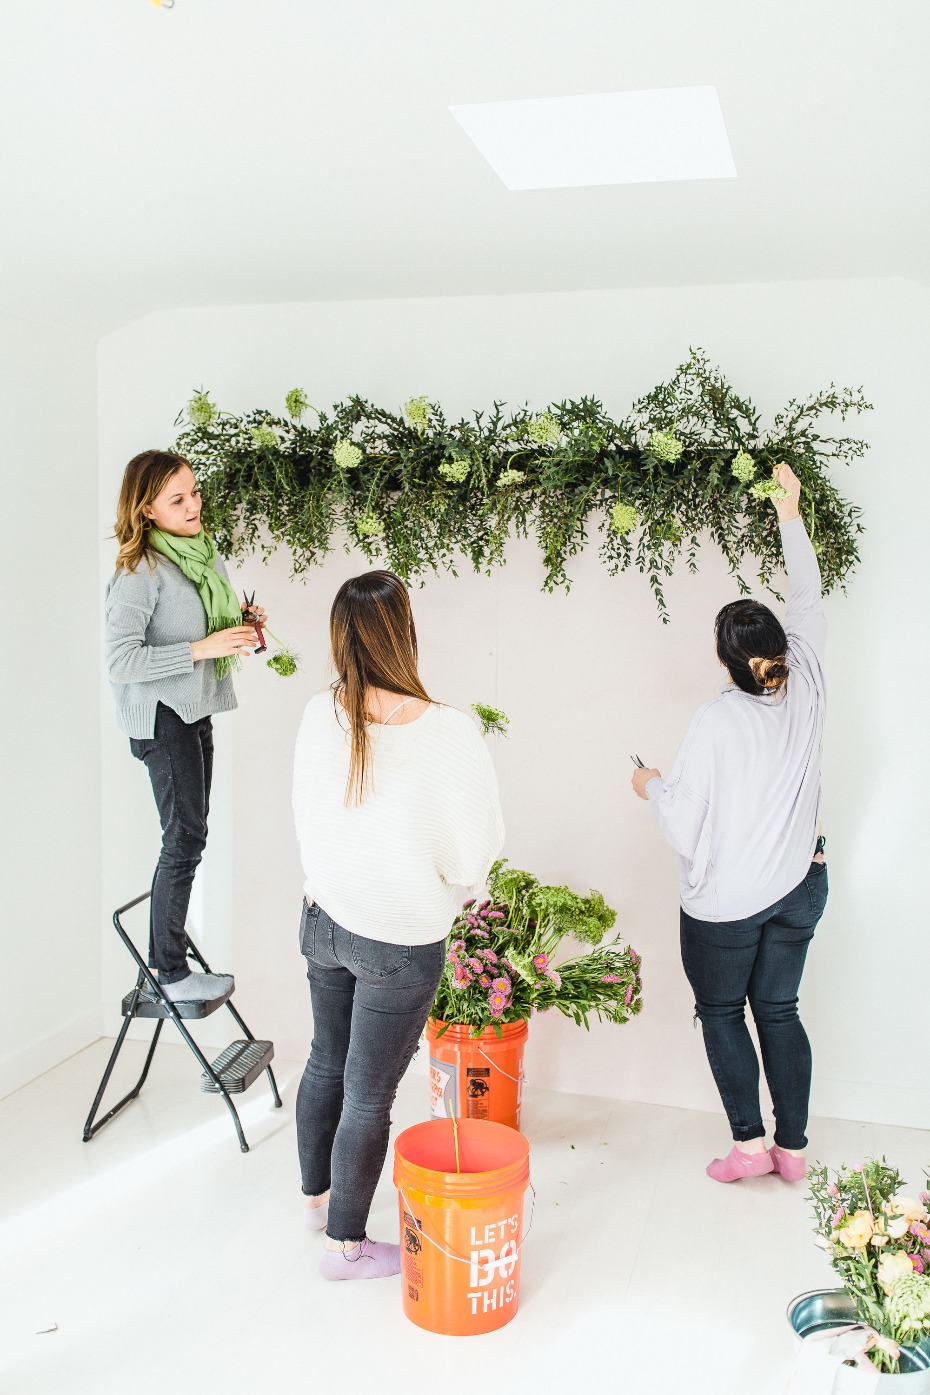
If you're looking for a time reference we had 3 people designing the wall and it took us about one hour to complete.
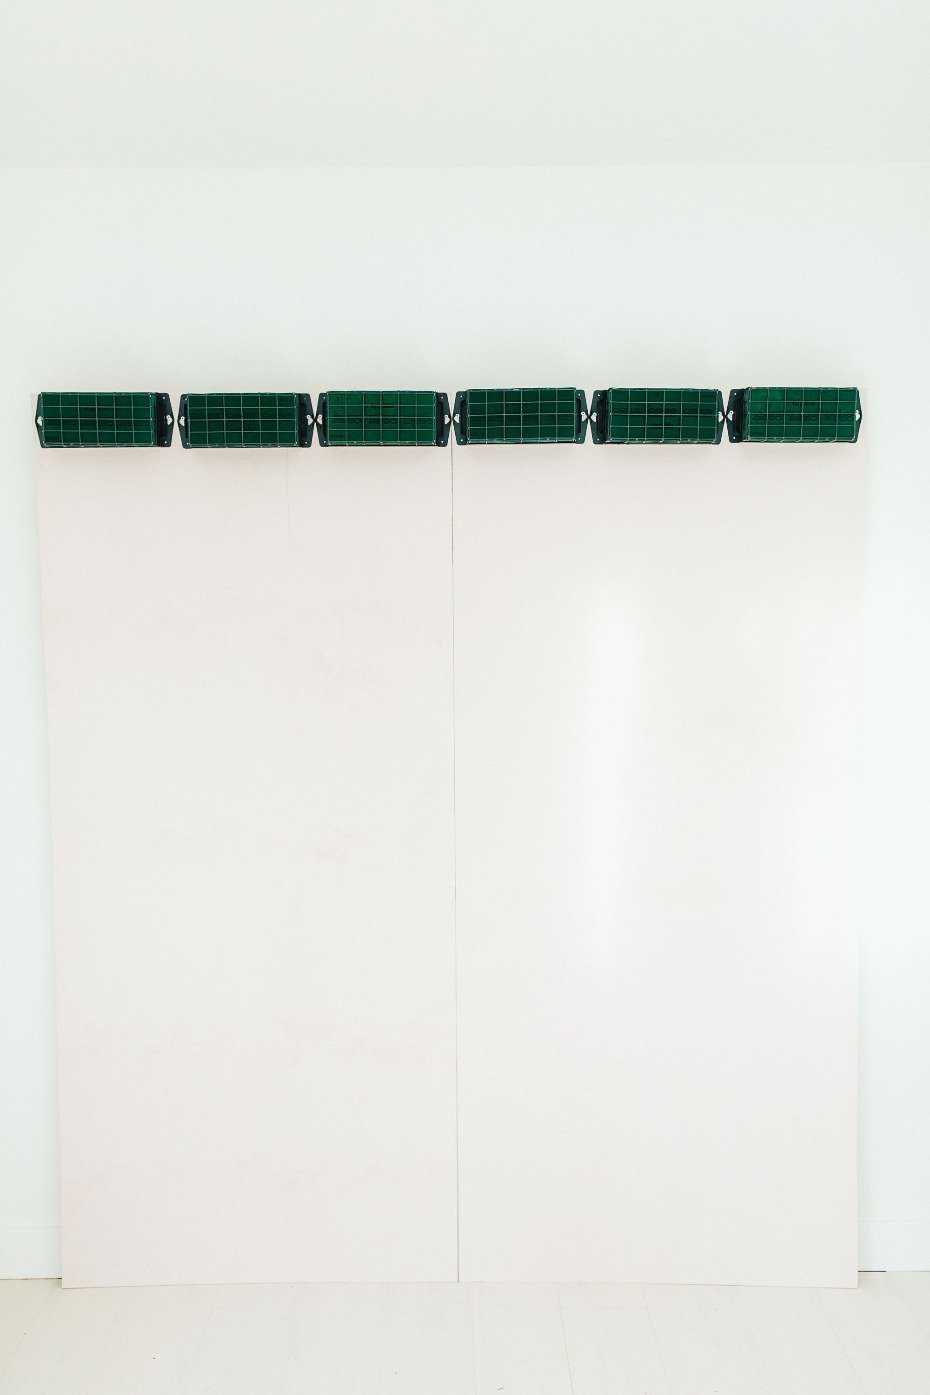
step 1
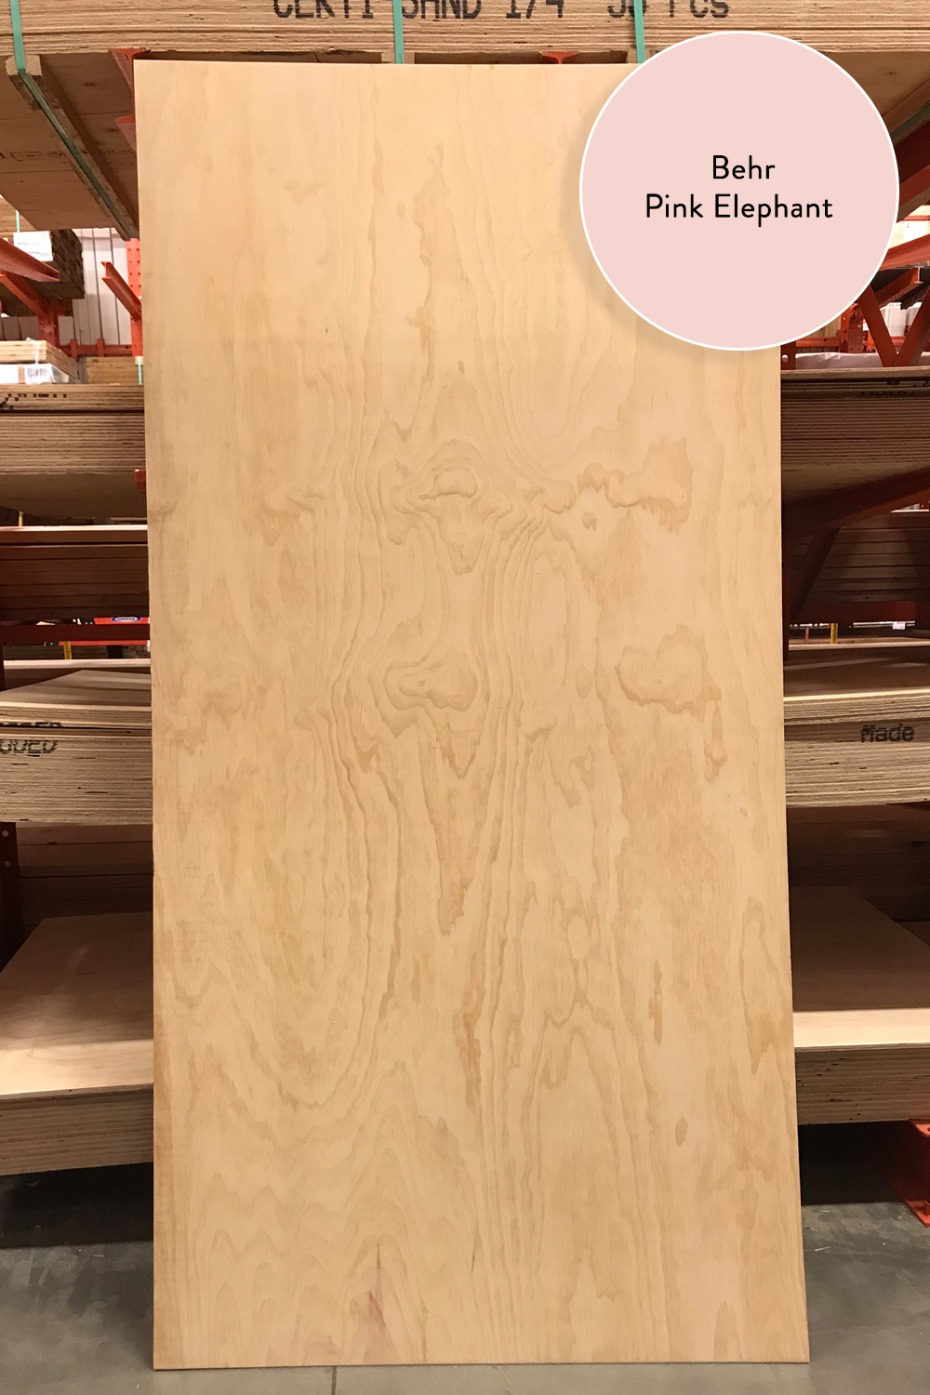
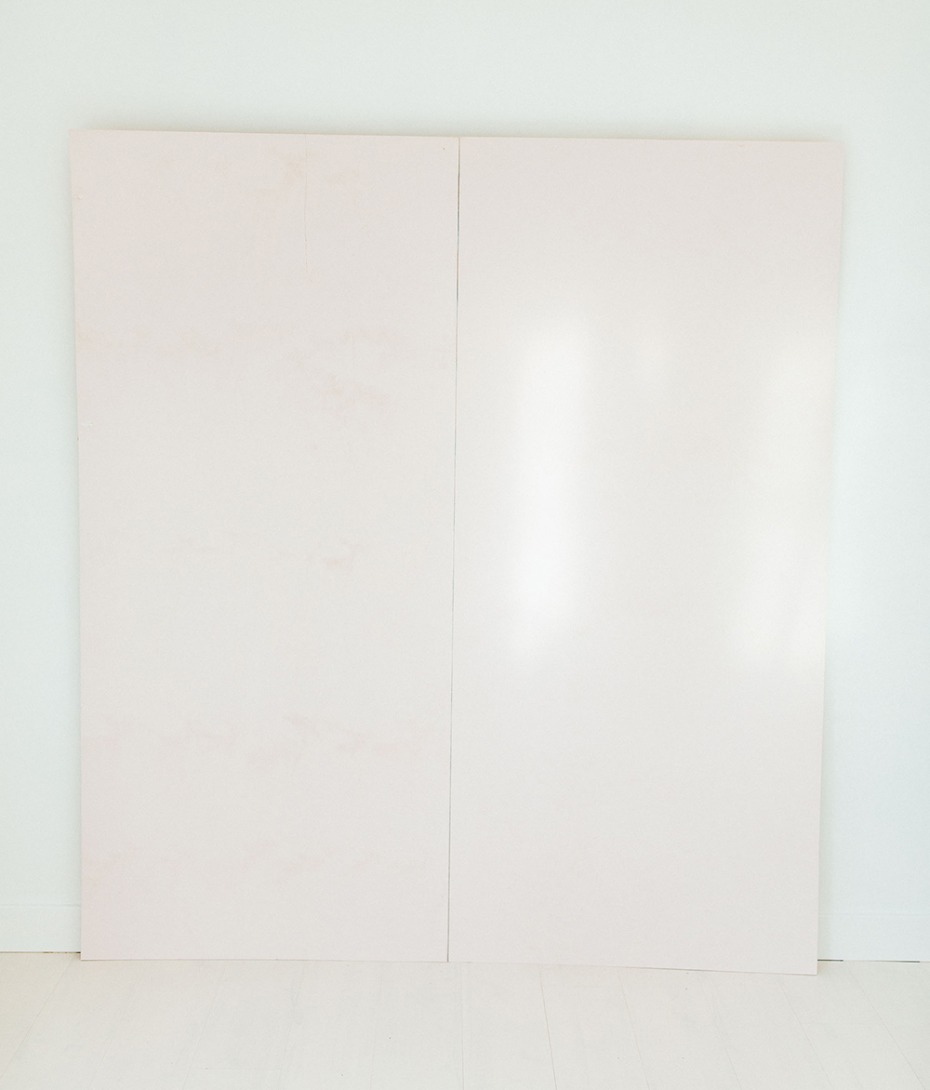
Paint the plywood boards - We used a 1/4 gallon of Behr Pink Elephant and drill the plywood to a wall. If you are unable to drill it to a wall, you could build a wood frame with legs and drill it to that.
step 2
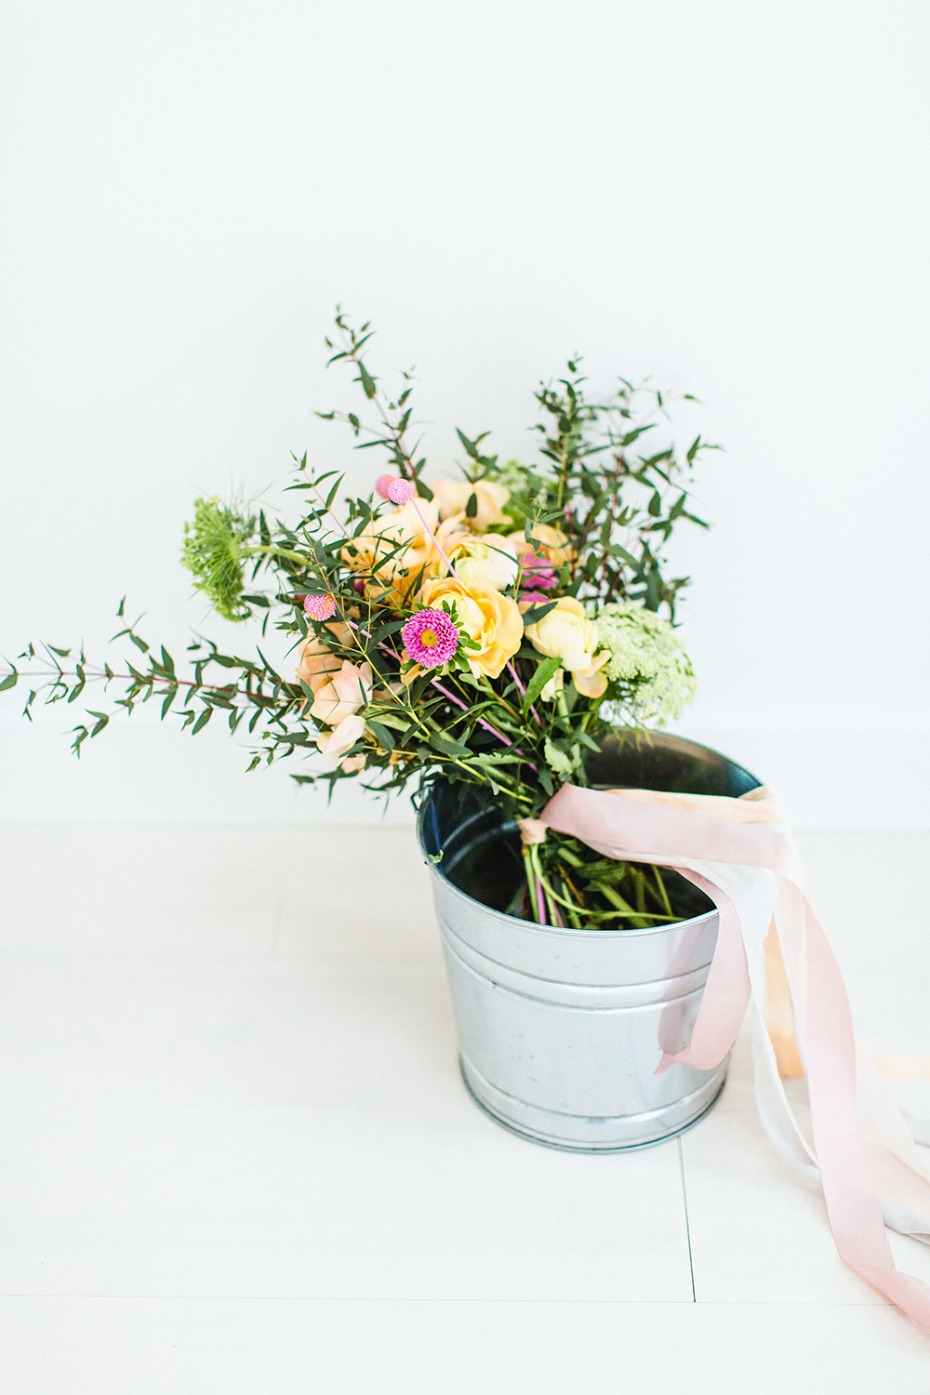
Once all the flowers arrive you will want to take them out of the box and place them in large buckets (we love the home depot orange ones. We use them all the time.
Your flowers will need some time to acclimate. Place them in a warm room and they will open before your eyes.
You'll also need to soak your Tribute Floral Cages. Below are the steps to use your floral foam cages.
- Fill a clean container with fresh water.
- Set the foam brick on the top of the water. Do not force the foam down into the water.
- Allow the foam to submerge in the water. Depending on the size of the floral foam, this process takes an average of one to five minutes. Do not overcrowd the container; this will prolong the process.
- Floral foam can remain underwater for up to 24 hours but is not recommended to remain submerged longer. We soaked our floral cages overnight.
- Remove the foam from the water and begin your arrangements.
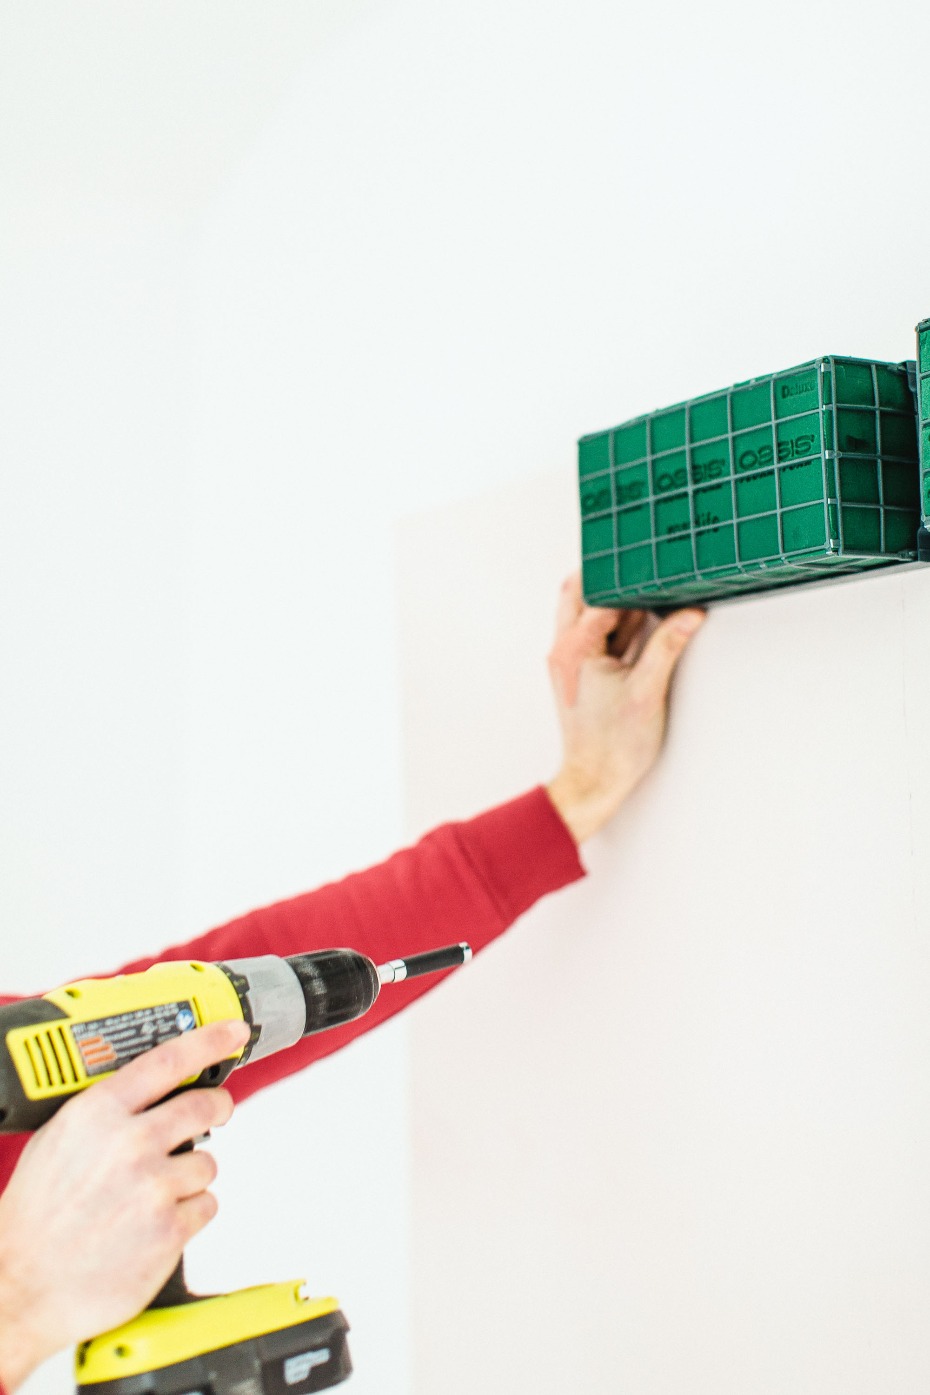
step 3
After you soaked the floral cages, drill them to your plywood.
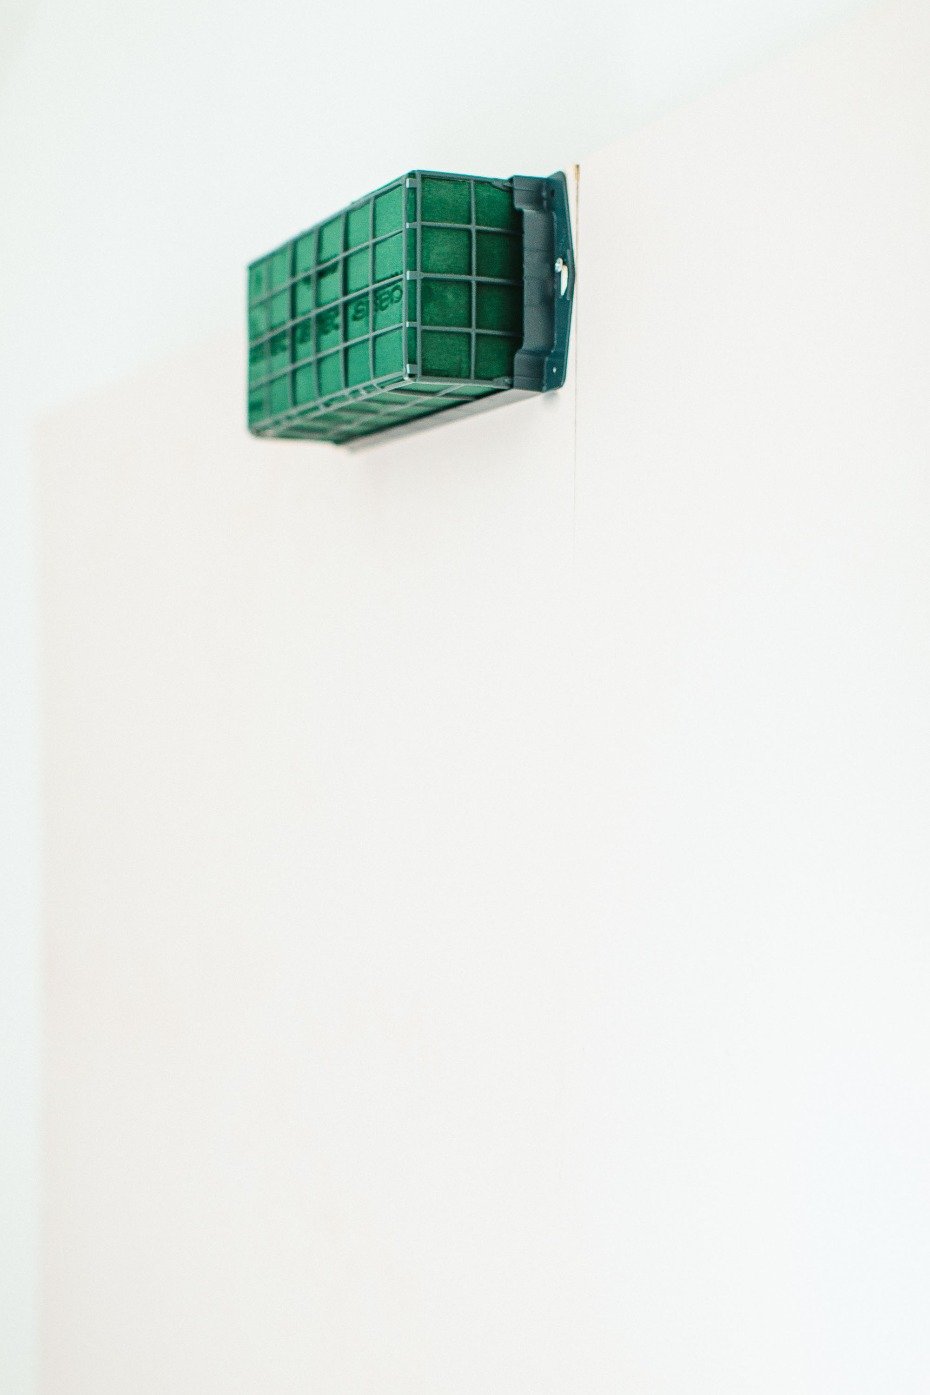
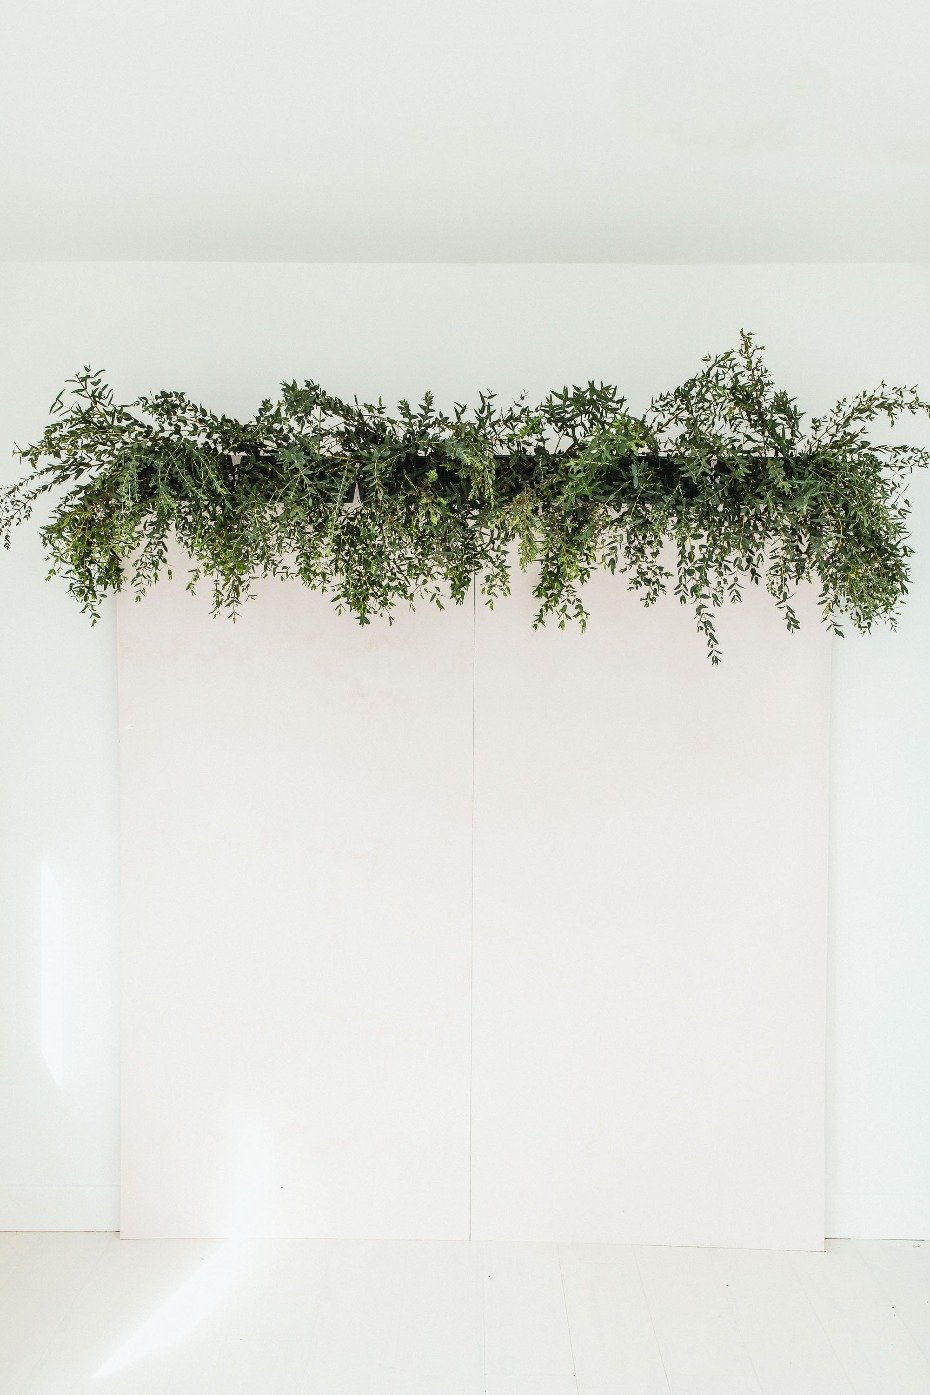
Here is what it will look like once you've drilled all your floral cages to the wall.
step 4
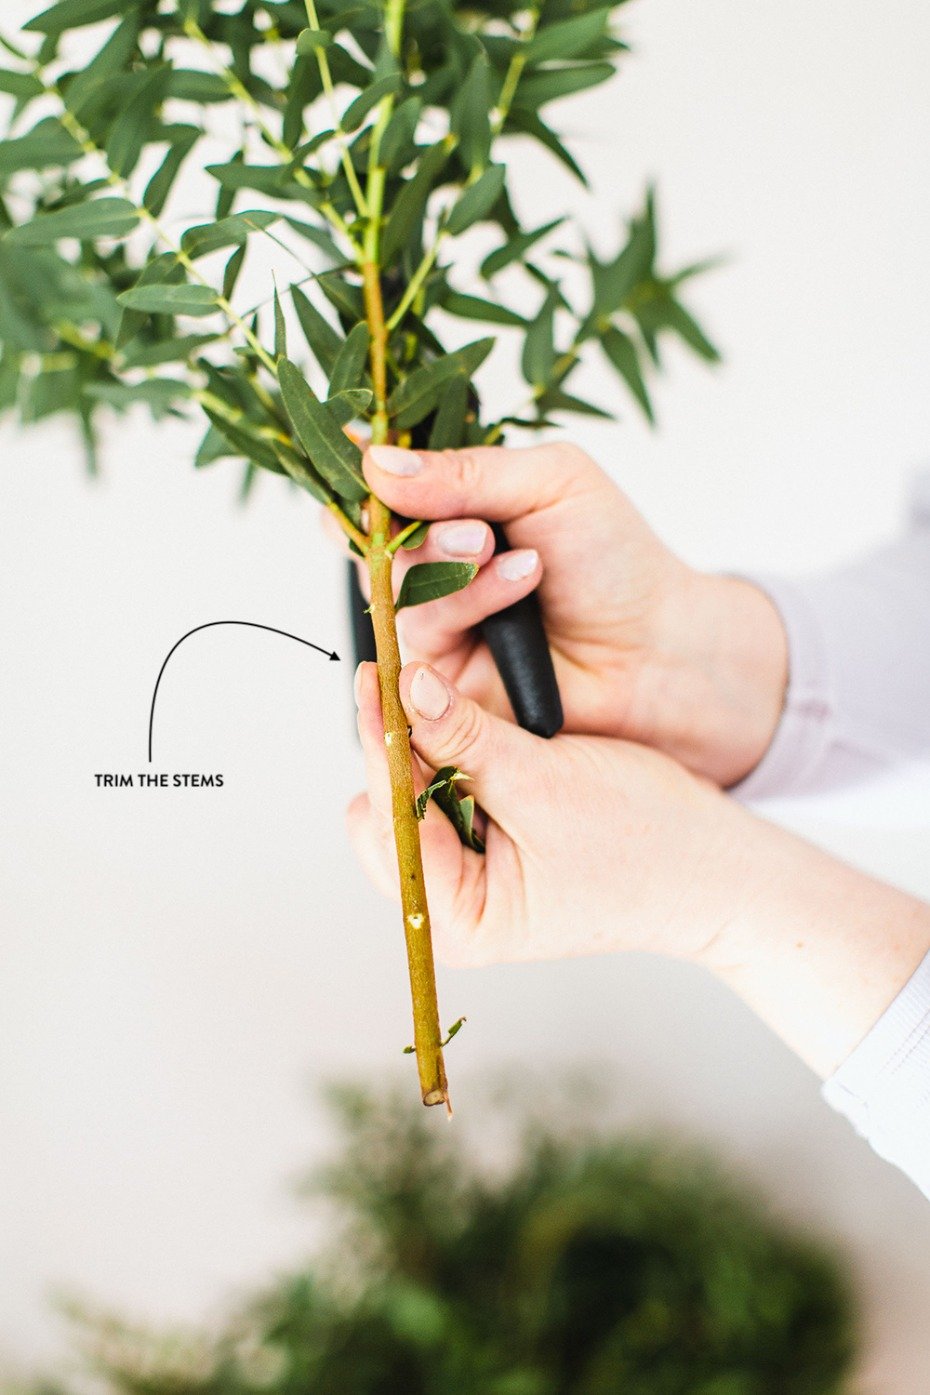
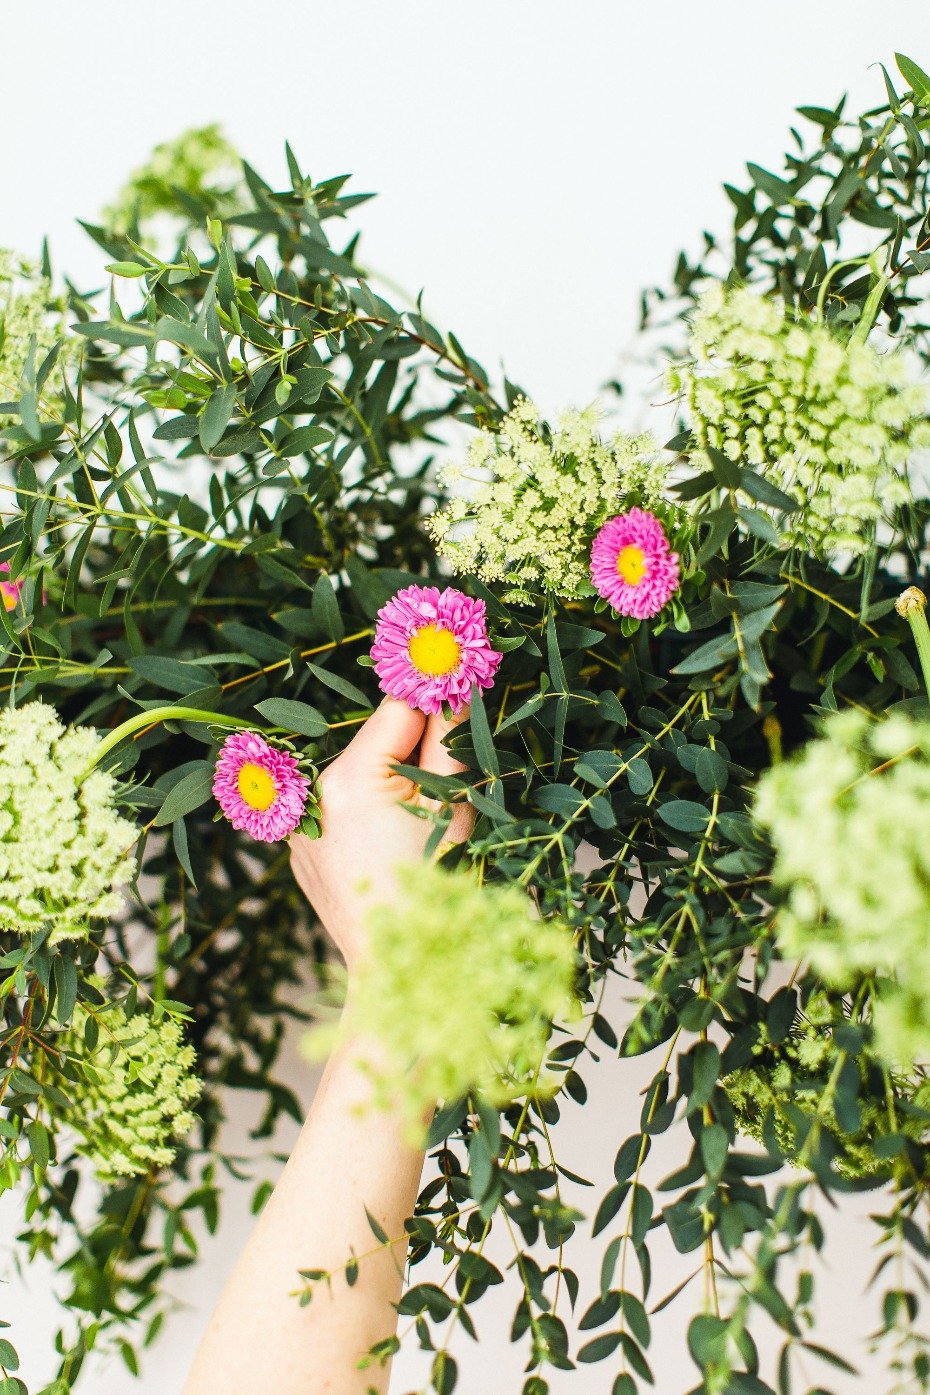
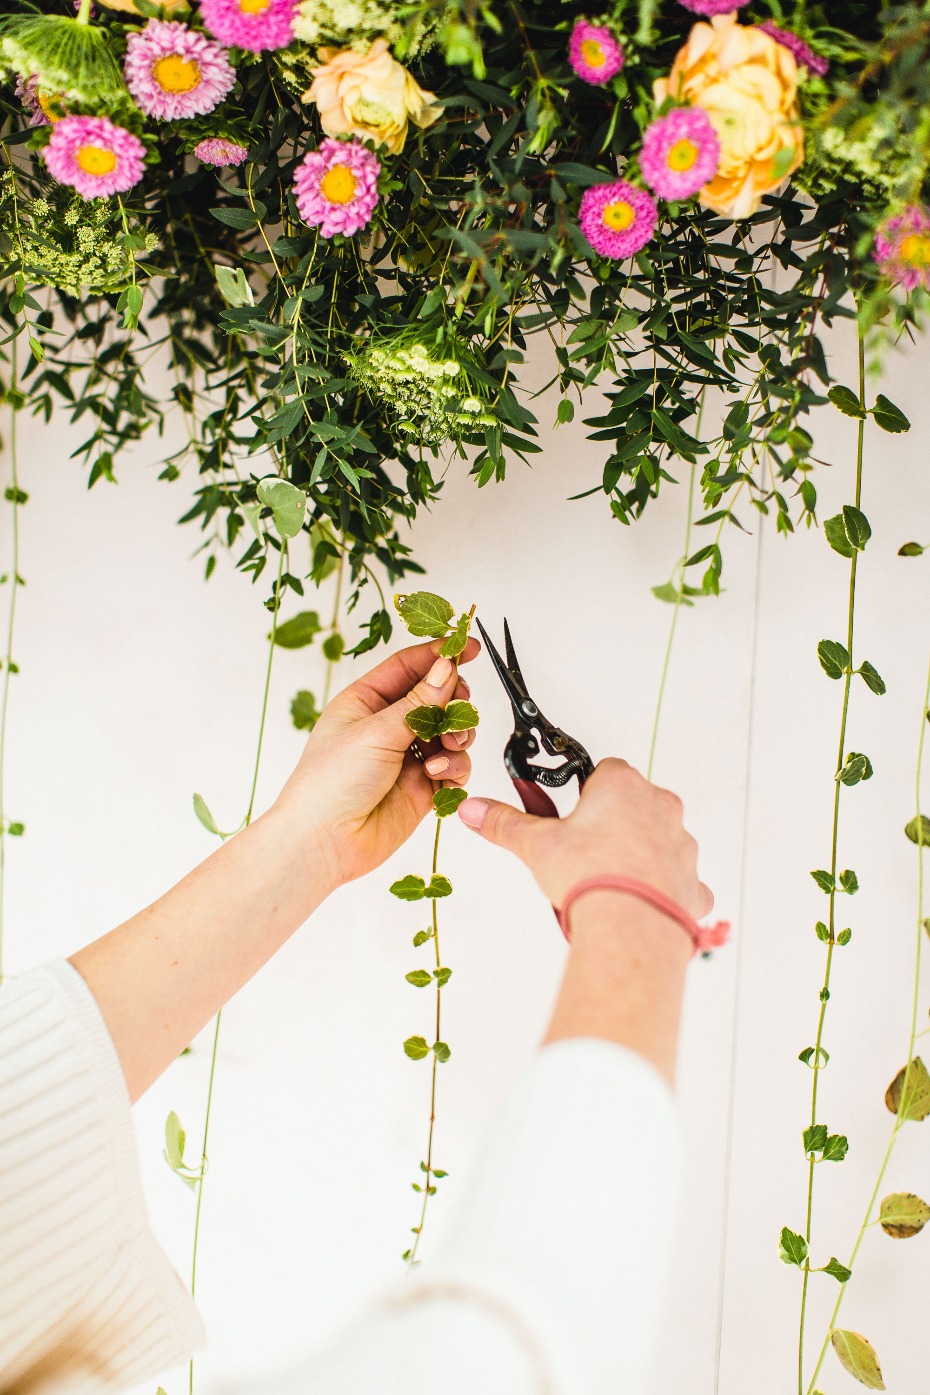
Gather up your greenery! Take your greenery and remove the leaves from the end, so you can easily insert them into your floral cage. We used Parrvafolia Fresh Eucalyptus Greenery.
Add it to the top and bottom of all your floral cages. This will be your base layer.
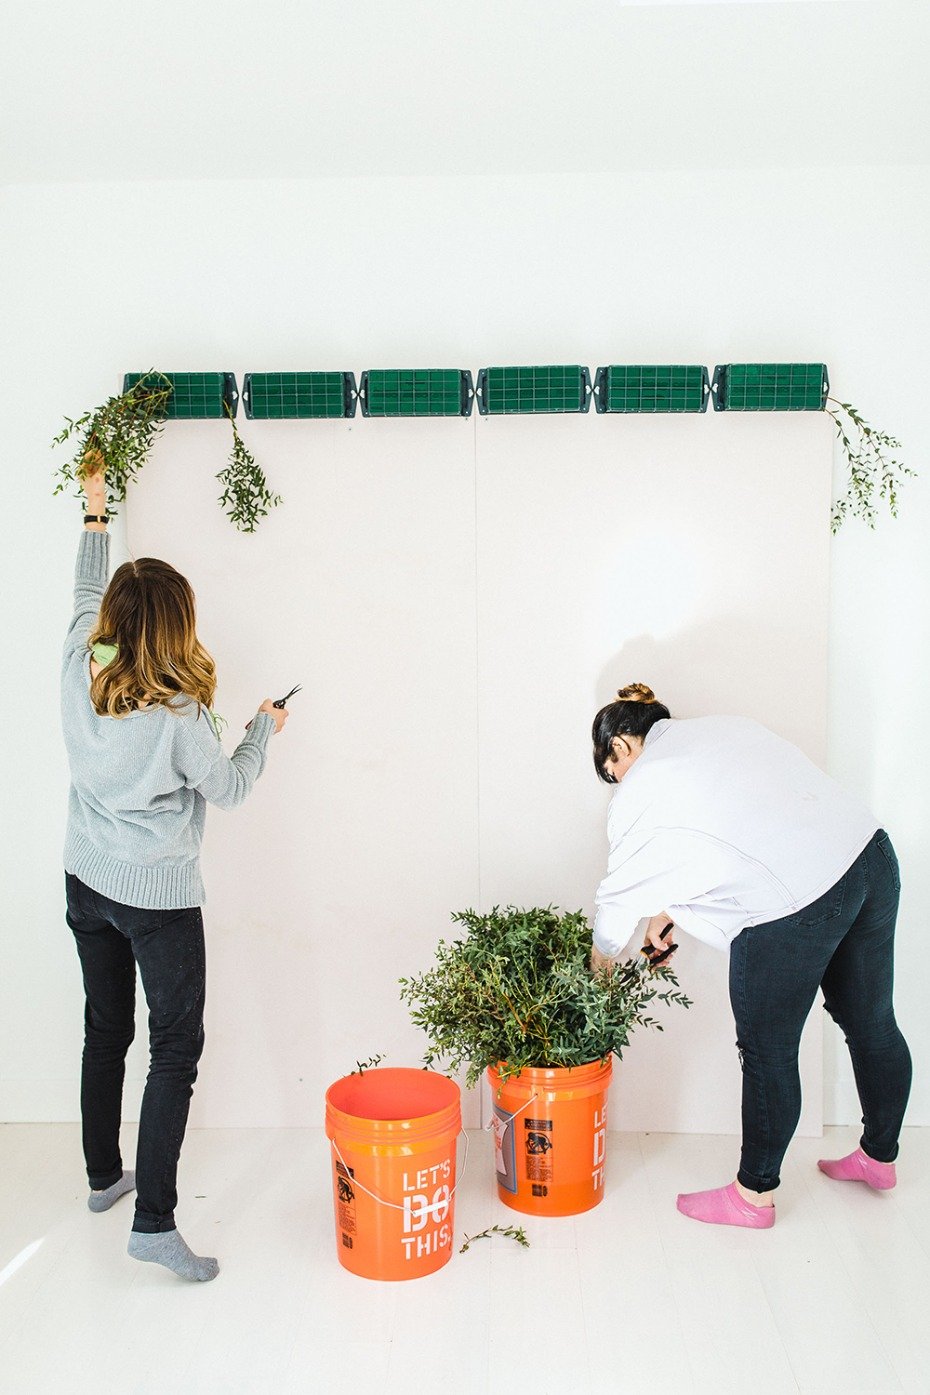
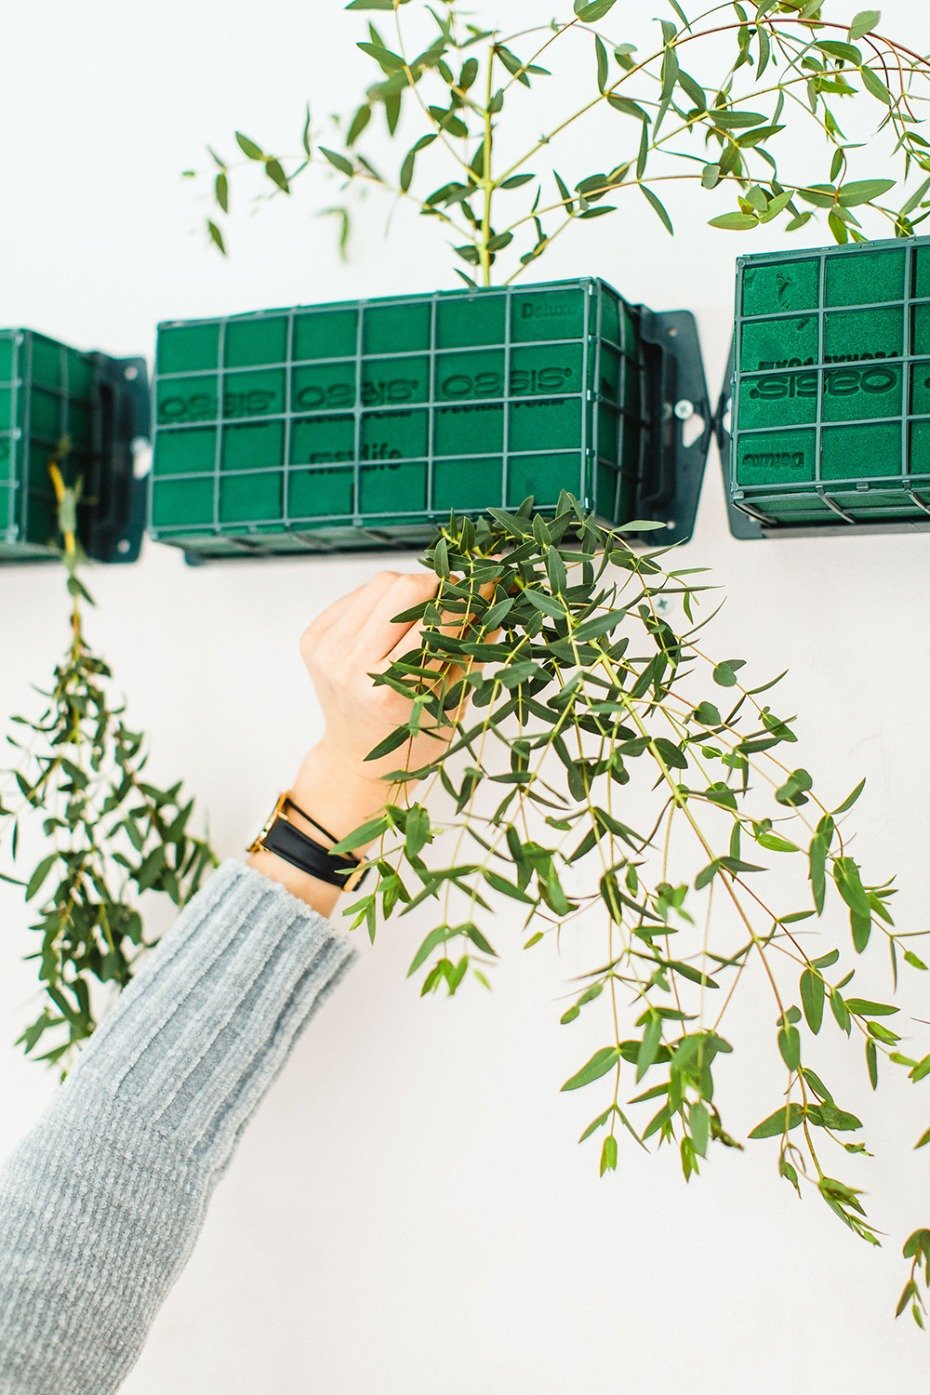
Once you've put greenery into the top and bottom slots of every floral cage it should look like this.
step 5
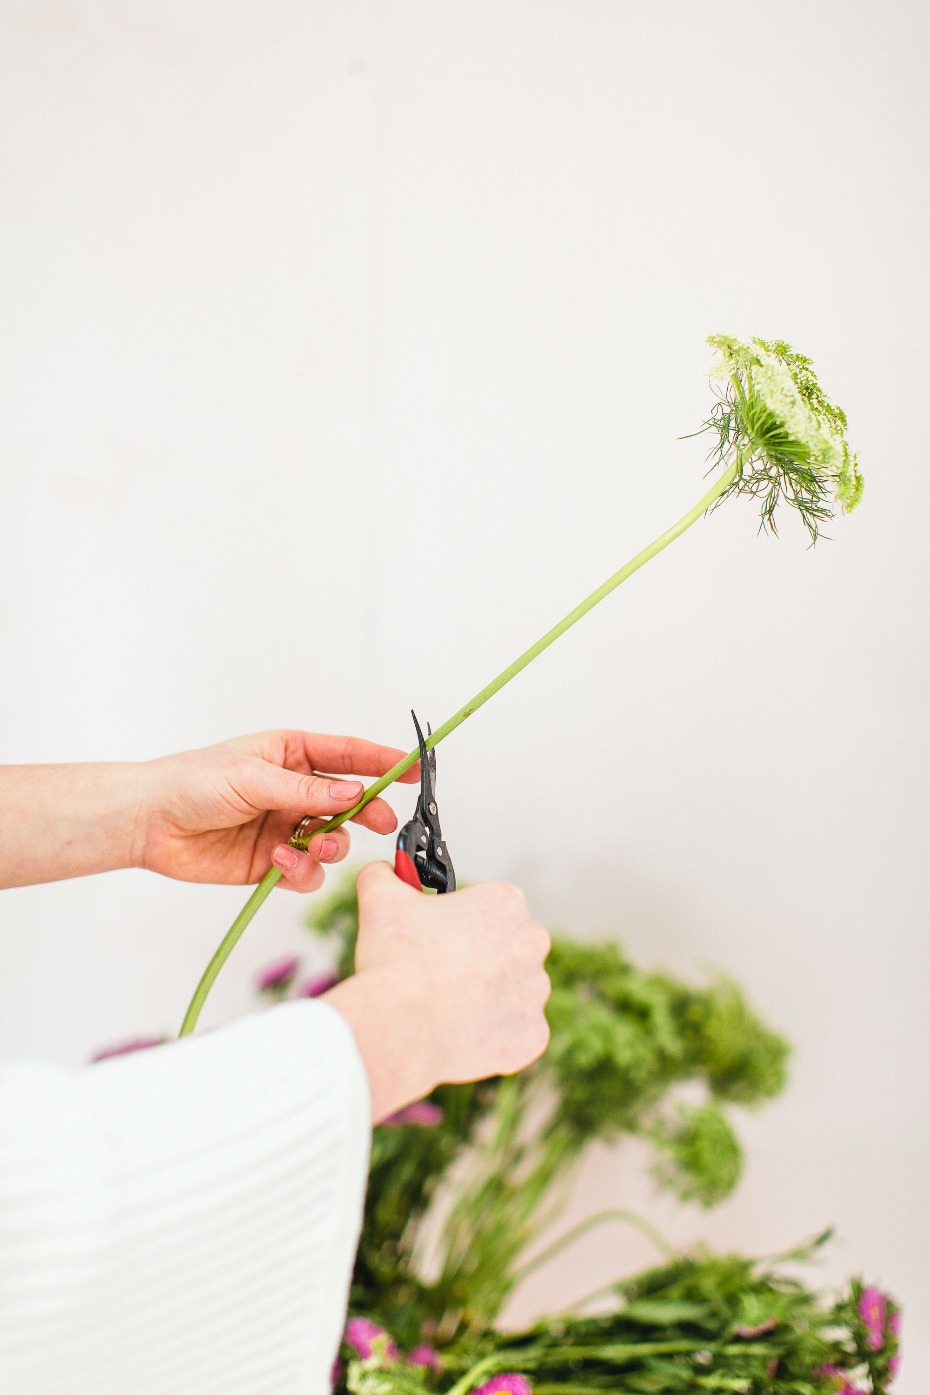
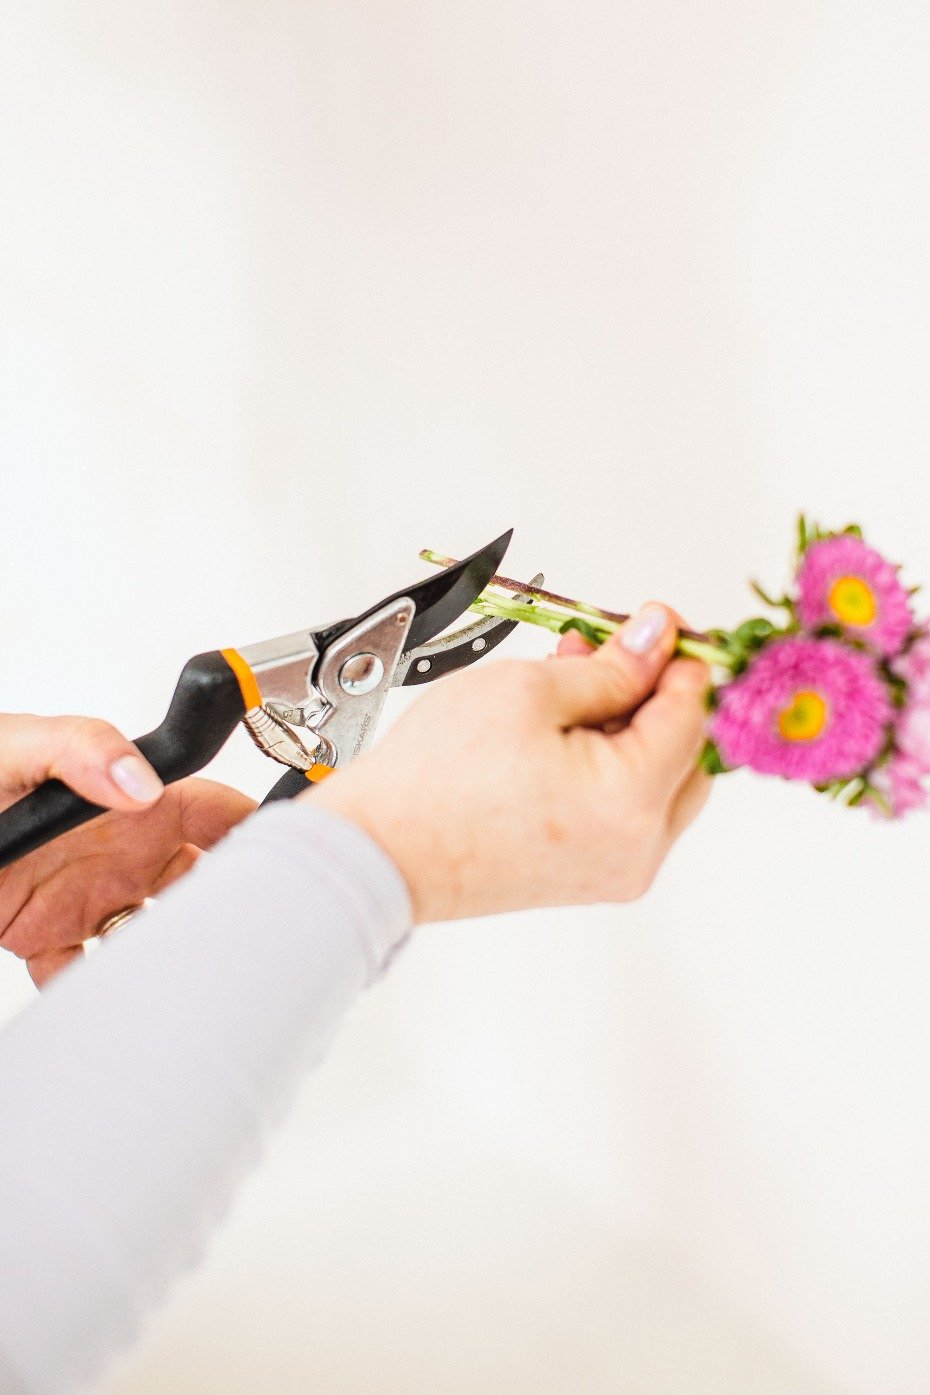
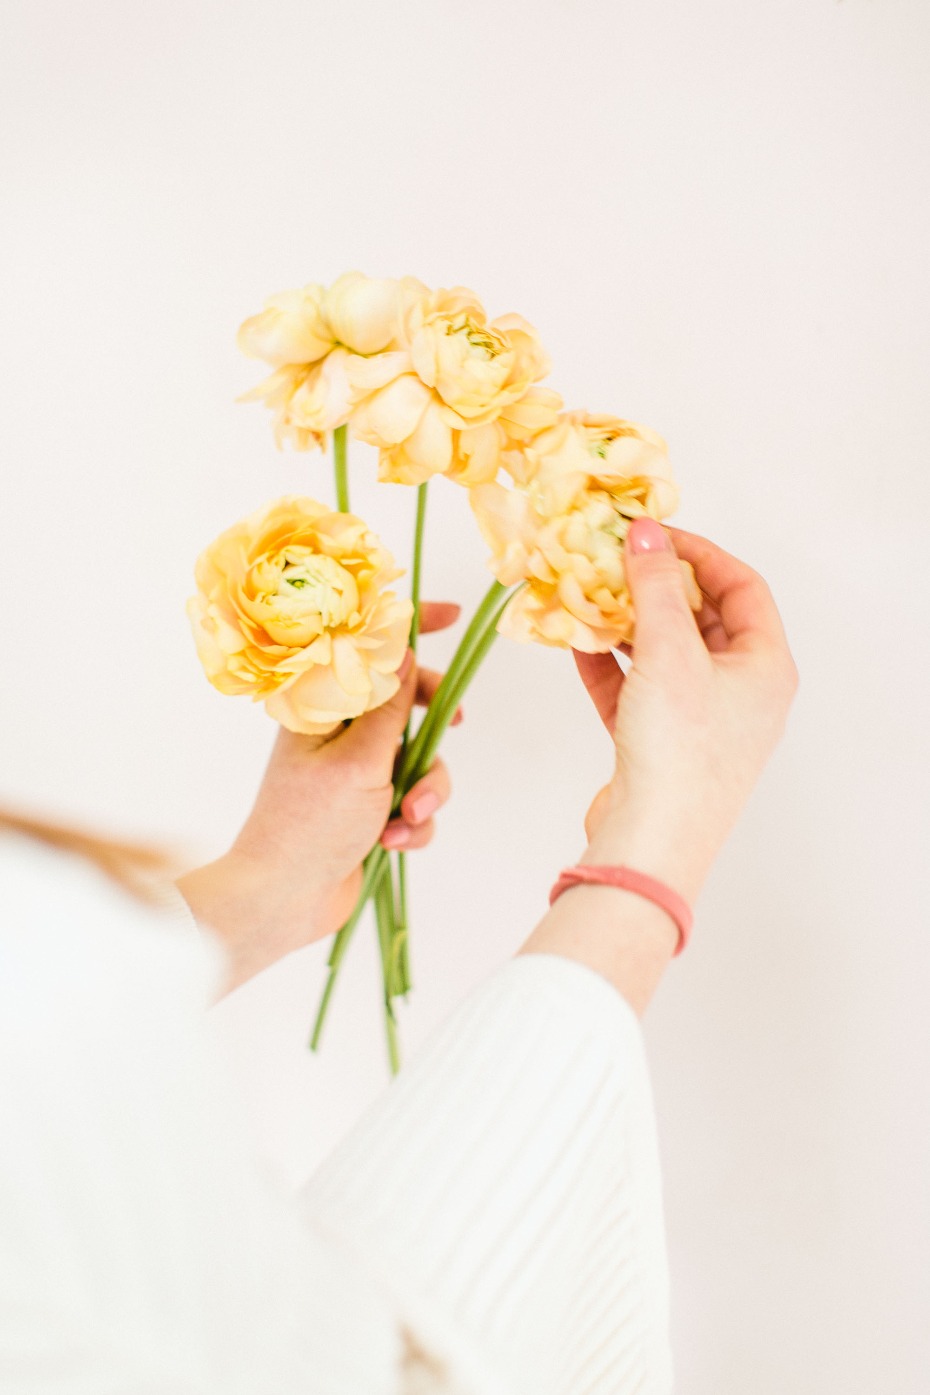
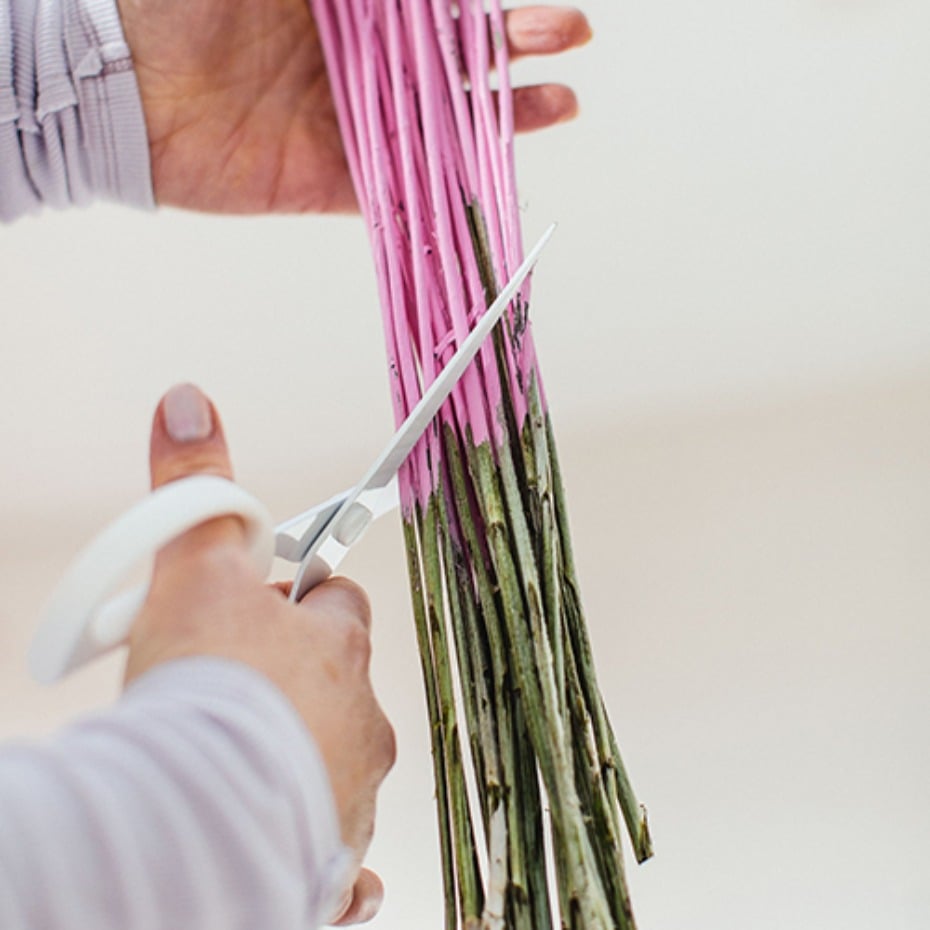
It's time to start adding your flowers. You're going to want to add your biggest flower first and then work your way down. Before you start filling them in your slots, you'll want to trim the bottom of the flowers. We trimmed off about 5" off of each flower.
Our biggest flower was the Queen Anne's Lace Filler Flower, so we started with that. * Count each flower and then divide it by the number of floral cages you have. We had 40 stems, so we put about 6 in each box.
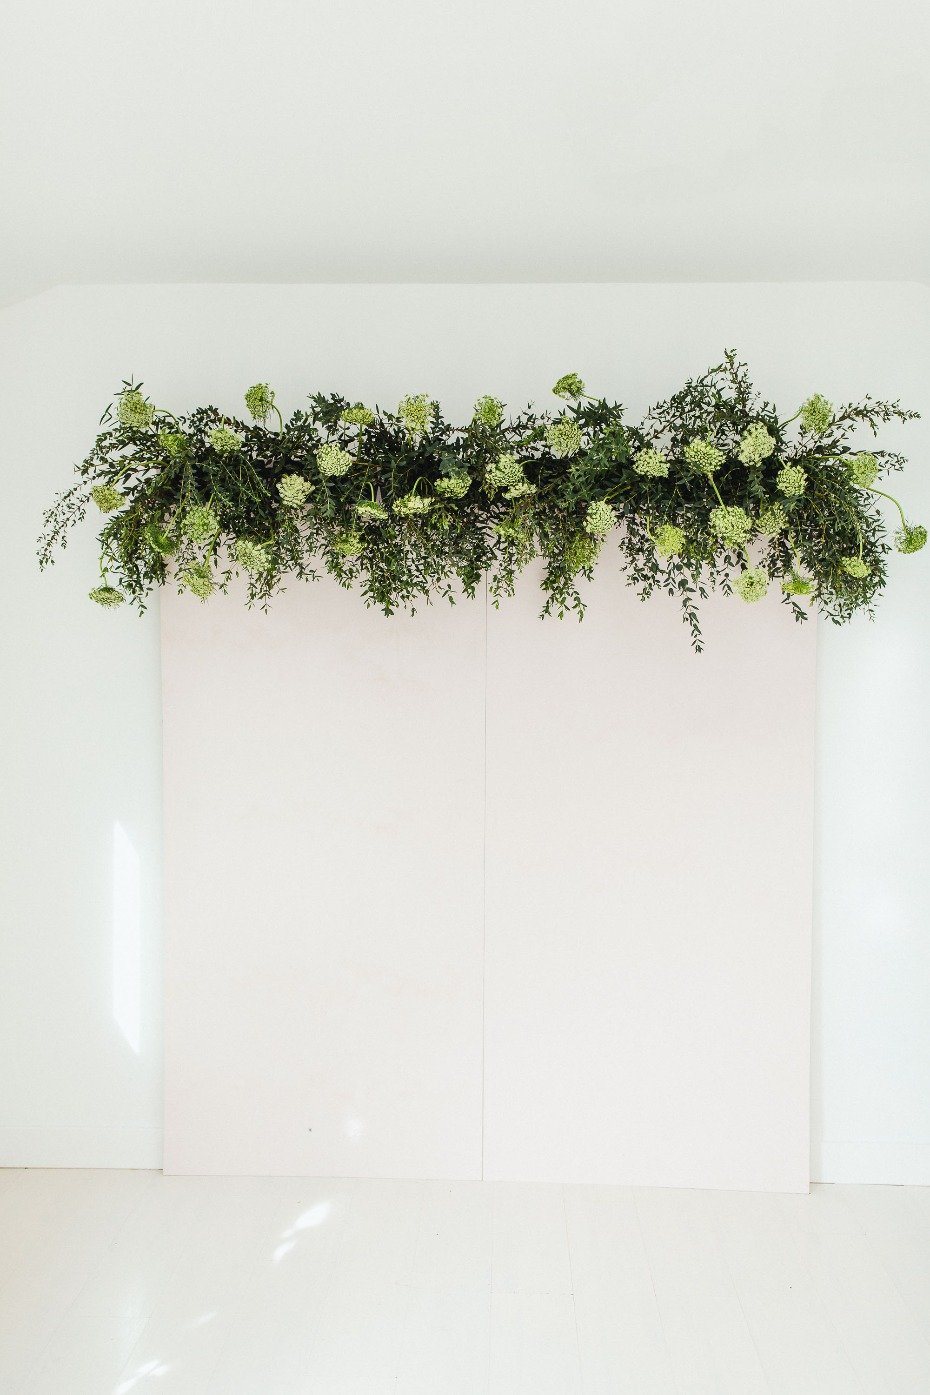
step 6
We then added our Monochromatic Pink Matsumoto Flowers! Following the same steps as you did with the greenery and the Queen Anne's Lace Filler Flower.
You'll want to trim the ends of the flowers and remove all the leaves. Distribute evenly throughout.
step 7
Next, we added our Light PInk Italian Cloony Ranunculus. They looked their best on day 4, so give them time to open and breathe. When building a floral wall you'll want to go with at least one stand out flower. Something like Peonies or Garden Roses.
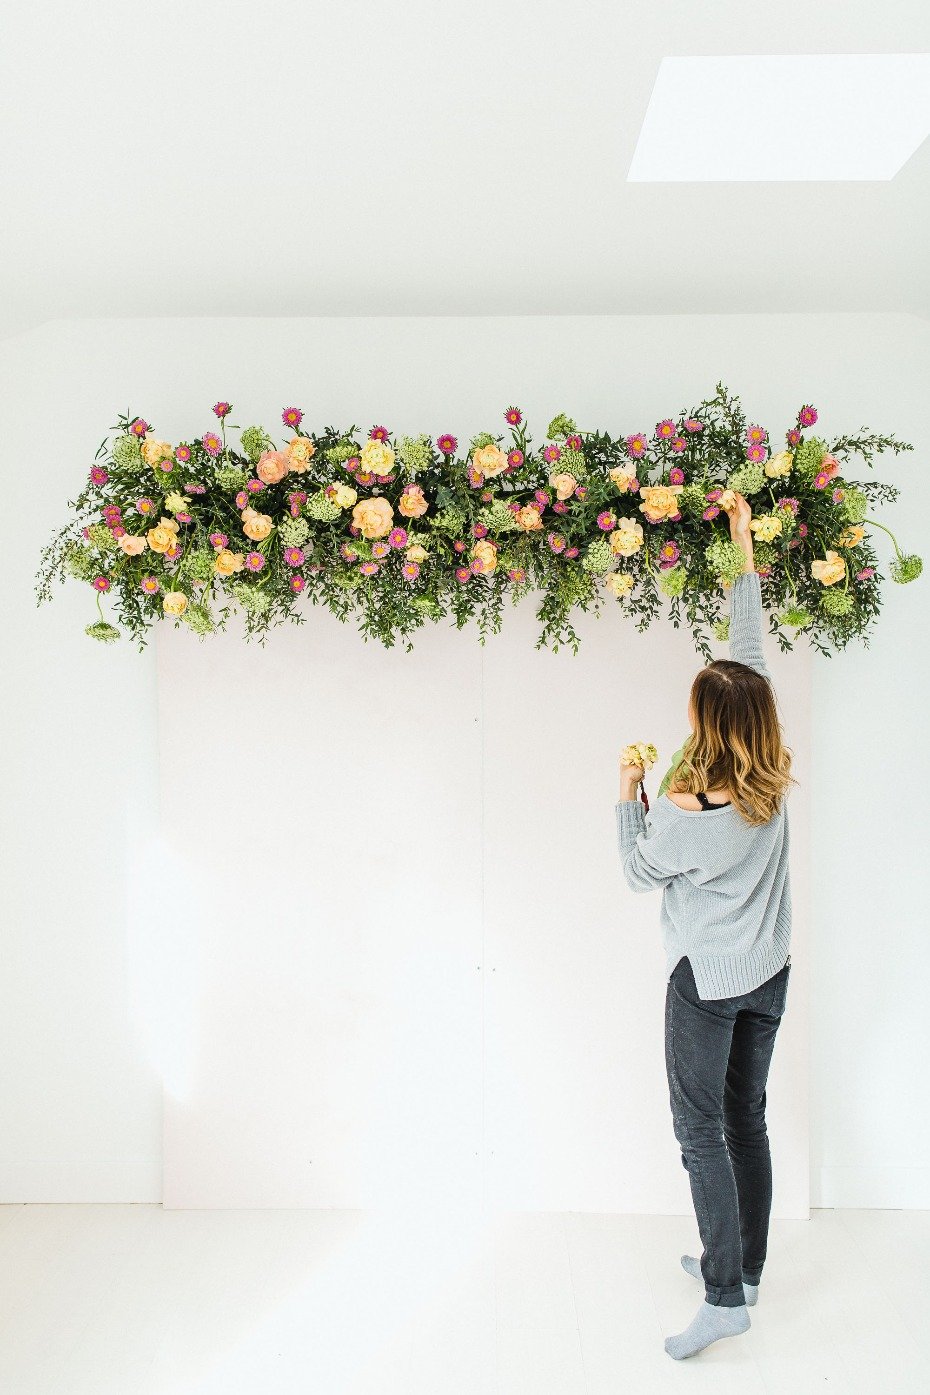

step 8
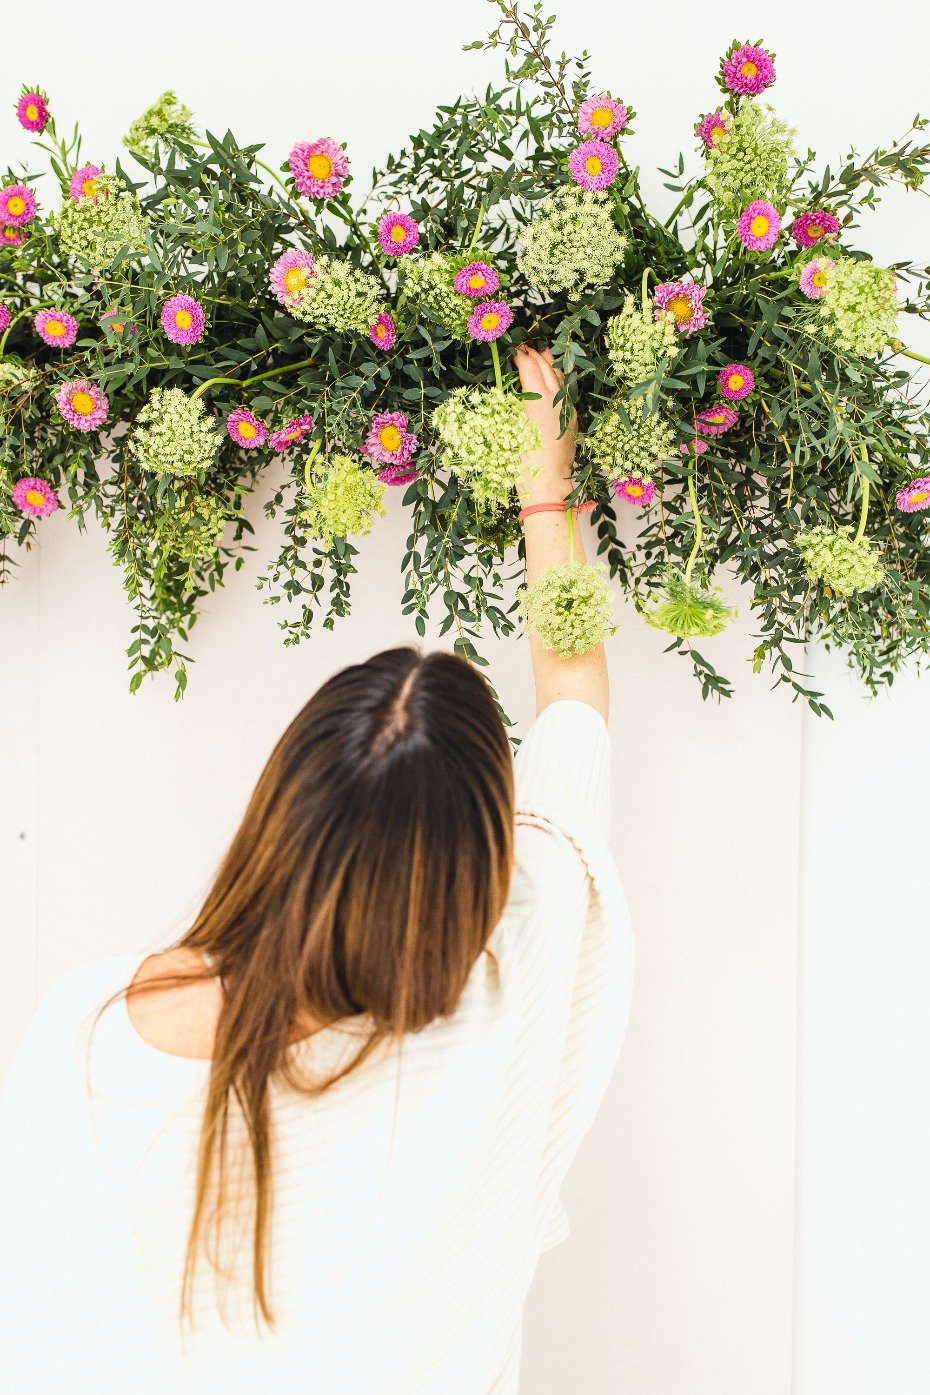
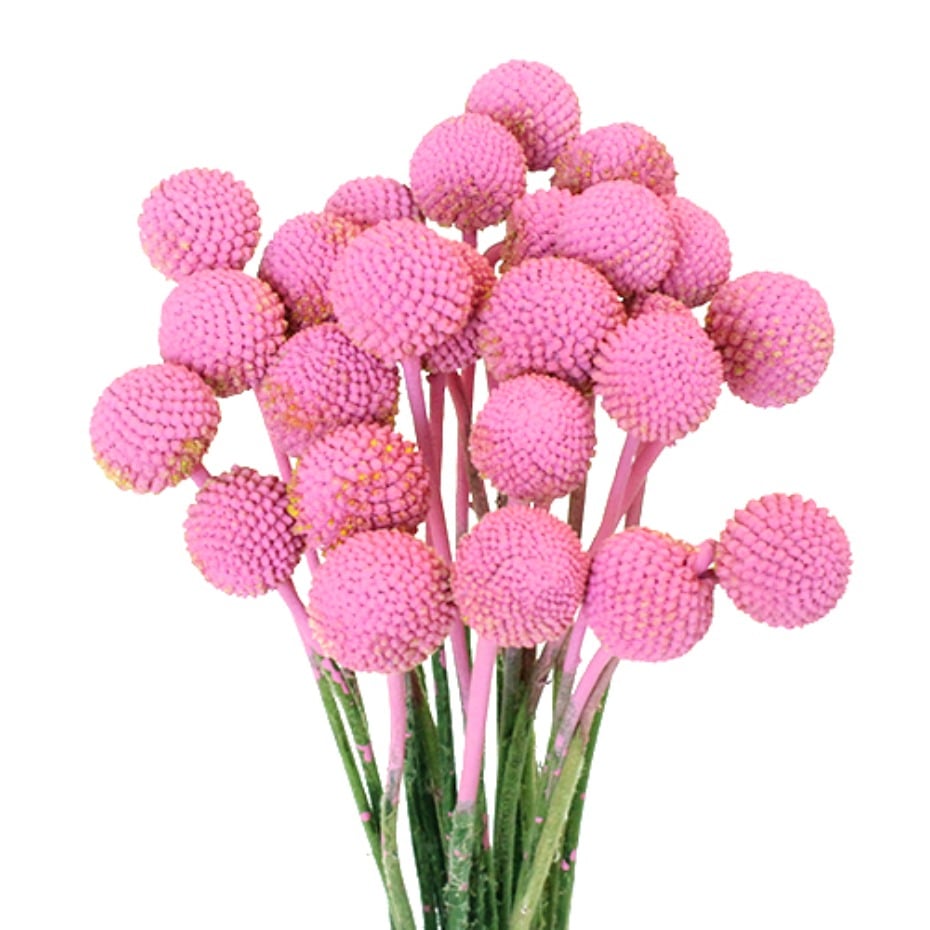
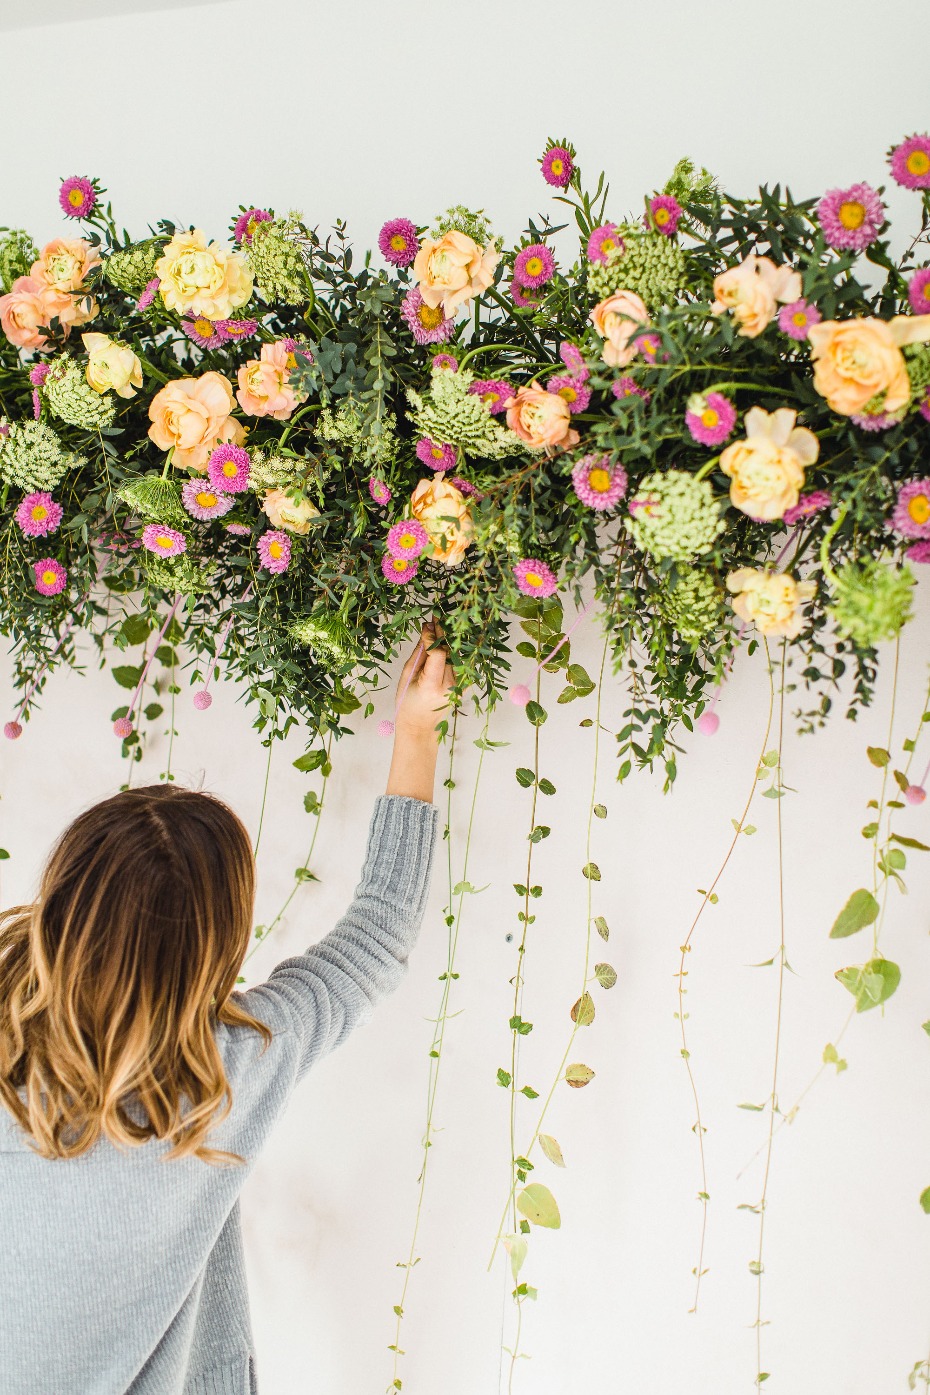
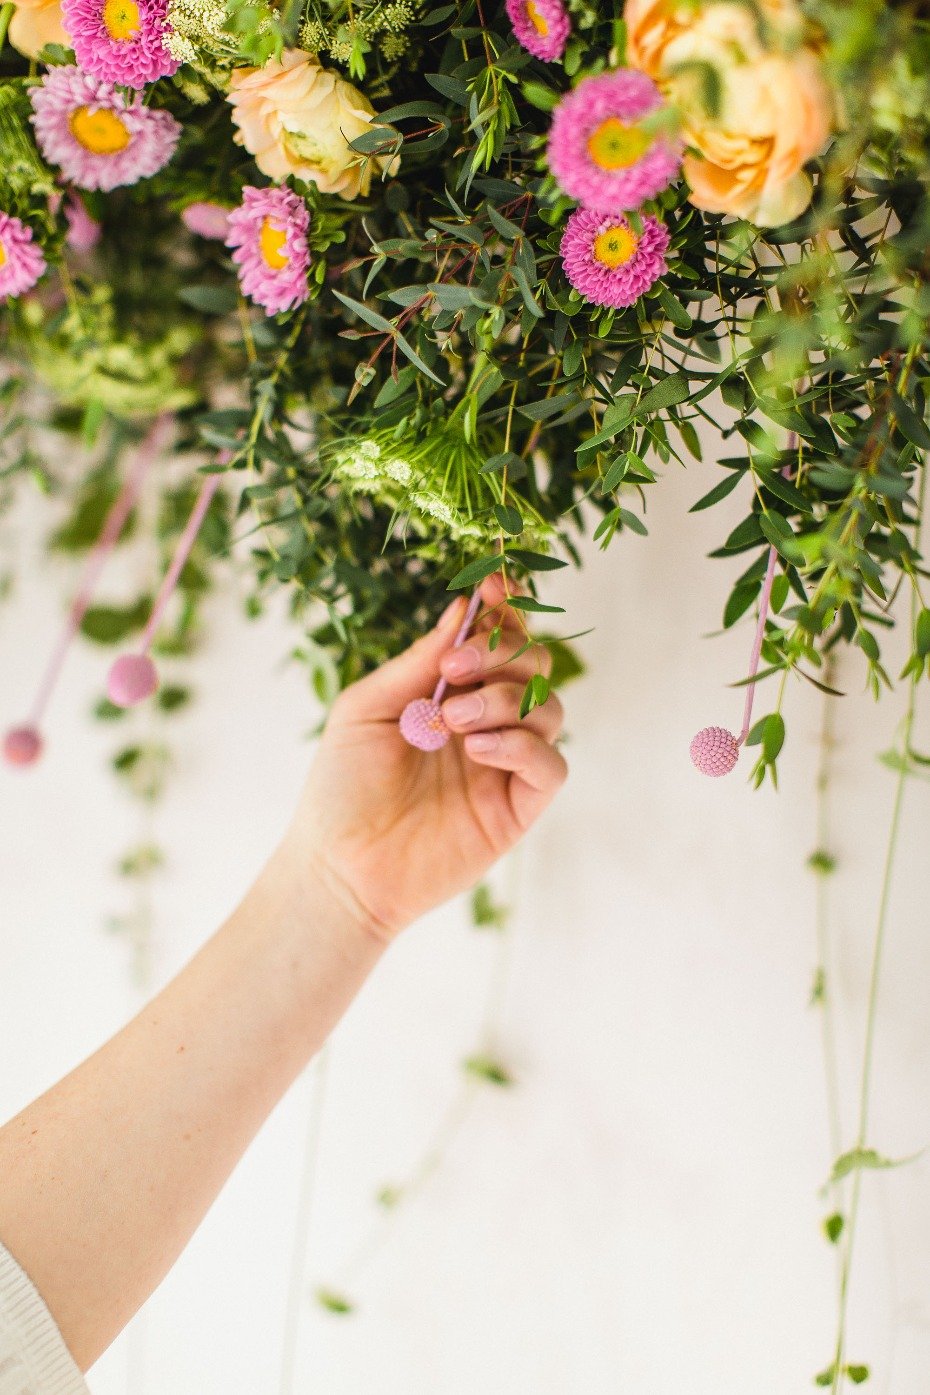
We added our Cascading Ivy Greenery and Bubble Gum Pink Billy Balls to add some depth to the backdrop. We simply removed the stems and inserted them evenly across the bottom.
We actually still have our Pink Billy Balls. They will last forever.
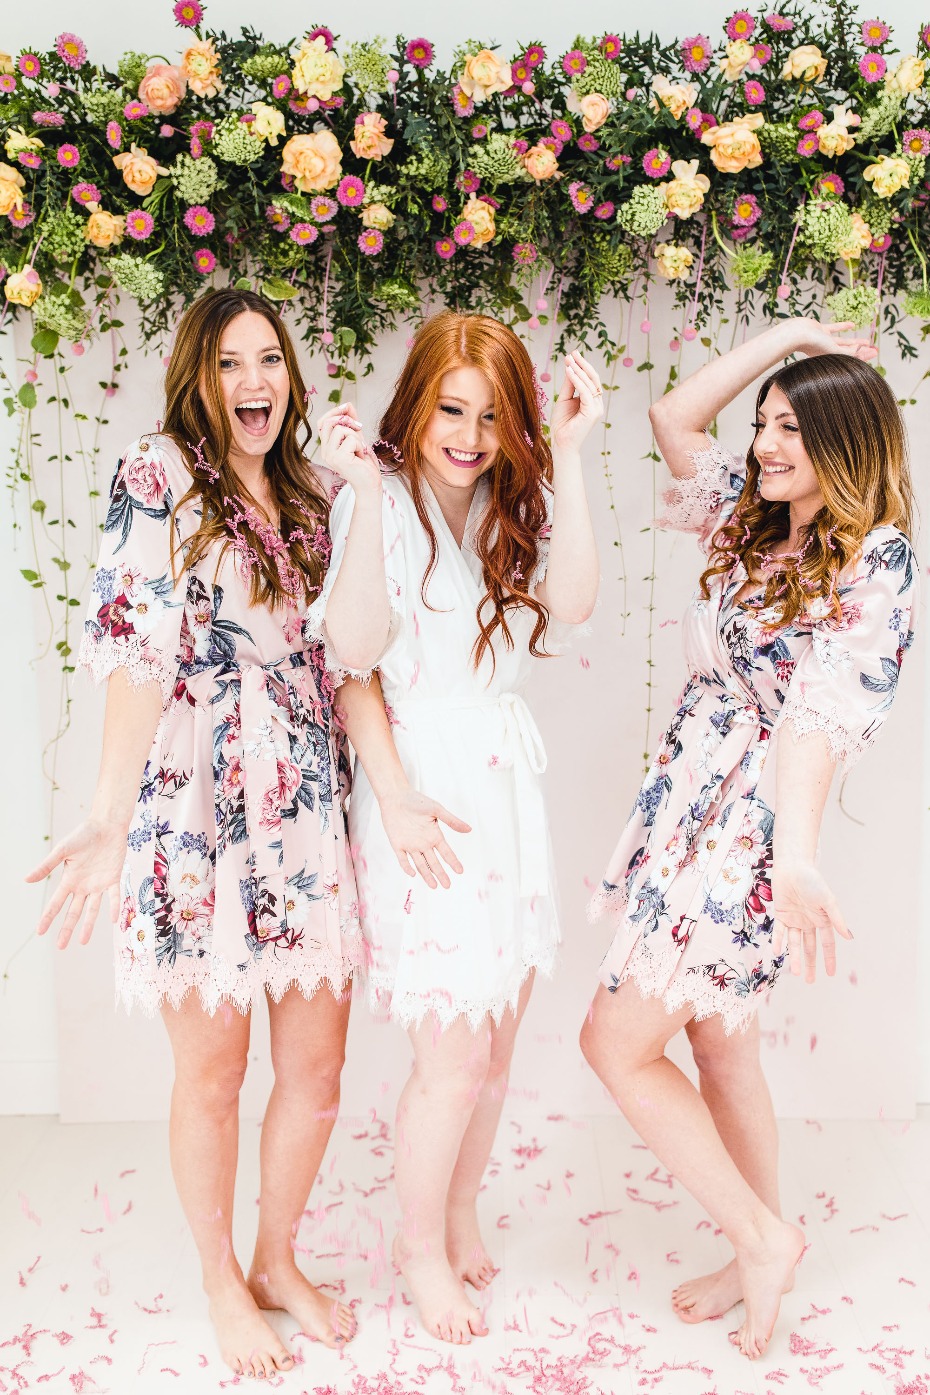
Before the wedding, you and your besties should throw on your Le Rose Robes and take photos in front of your flower backdrop. So cute.. right?
- Flowers: Jewels Floral
- Flowers: Wholesale Flowers by FiftyFlowers.com
- Wedding Photographers: Radion Photography & Cinema
- Neon Sign: Echo Neon Studio