How to Create a Statement Floral Piece for Your Wedding
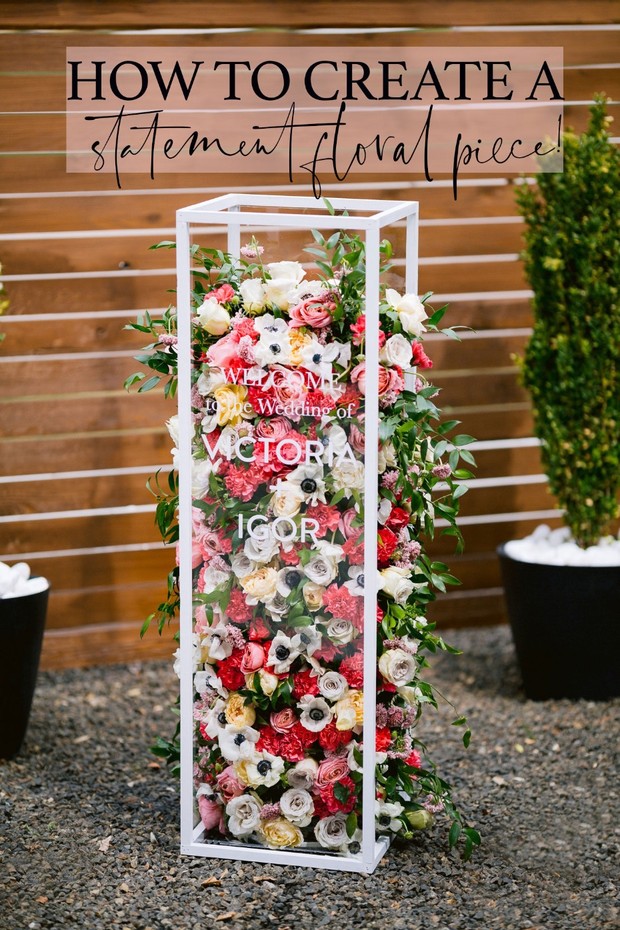
We’ll start off by saying that this year is ALL about statement wedding flower moments. We’re constantly blown away by what modern florists are doing with flowers - like, really, floral artistry is NO JOKE - and as much as I once considered myself shockingly unmoved by creative flower displays (pretty blooms were pretty blooms to me, I liked particular palettes, I had flowers I liked and hated, but all in all, I took an arrangement, a bouquet, etc. at ‘petal’ value. I didn’t think too much about all the technique that went into it #shameonme), these days seeing statement stem-work legit gives me life. True, the wedding is about the gorgeous couple and the next greatest milestone in their lives, but not going to lie, when we bear witness to some serious flower power on their special day - those images stay in our heads even a little longer than the bride’s dress does 🤭. Yup, we said it. FiftyFlowers.com has given us so much confidence over the years, infinitely upping our flower arranging game, so we thought it was only fair to spread the love. Their flowers are SO good and their DIY direction is top notch that it’d be a crime NOT to help flower fledglings like ourselves become badass bloom-scapers.
So here’s what we did: we made a statement floral piece that looks utterly professional.
It took an acrylic box, some stickers, and a whole lotta pretty flowers, but it wasn’t even that hard. And now we can successfully cross ‘styling a sick floral motif all by ourselves’ off the bucket list. Ah, feels good.
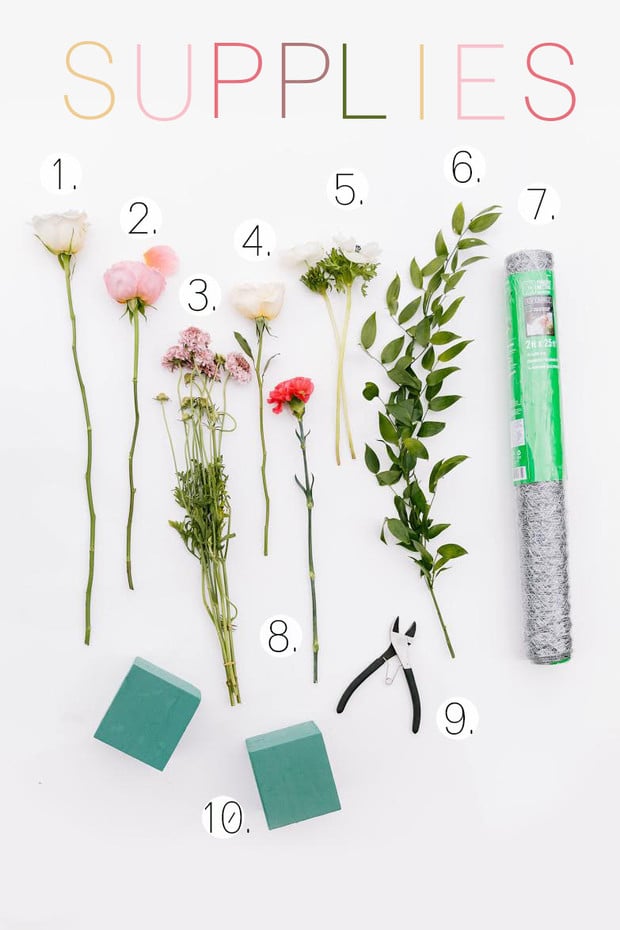
- 50 Shades of Early Grey Rose
- Antique Pink Cabbage Rose
- Pink Sherbert Scabiosa Flower
- Peony Rose Peach Ruffles
- White Anemones
- Italian Ruscus
- Chicken Wire
- Dark Pink Carnation
- Flower Cutters
- Cube Foam
*Since this post has been published, we have had lots of feedback about sustainability and floral foam. With all the knowledge that was shared by our Instagram followers, we learned a lot about floral foam. We first dug into the manufacture's site about their stance on making their products more sustainable. It seems they have already taken large steps into making their floral foam more sustainable and the floral foam being used in this DIY is certified biodegradable 100% within 567. We also had Fifty Flowers provide an alternative to floral foam, and they recommended the design egg floral design tool.
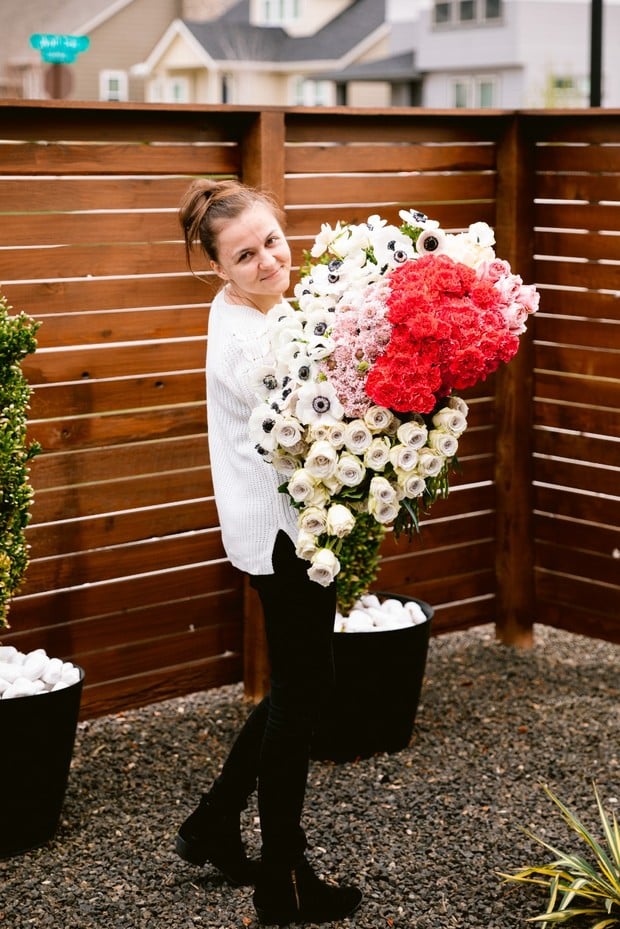
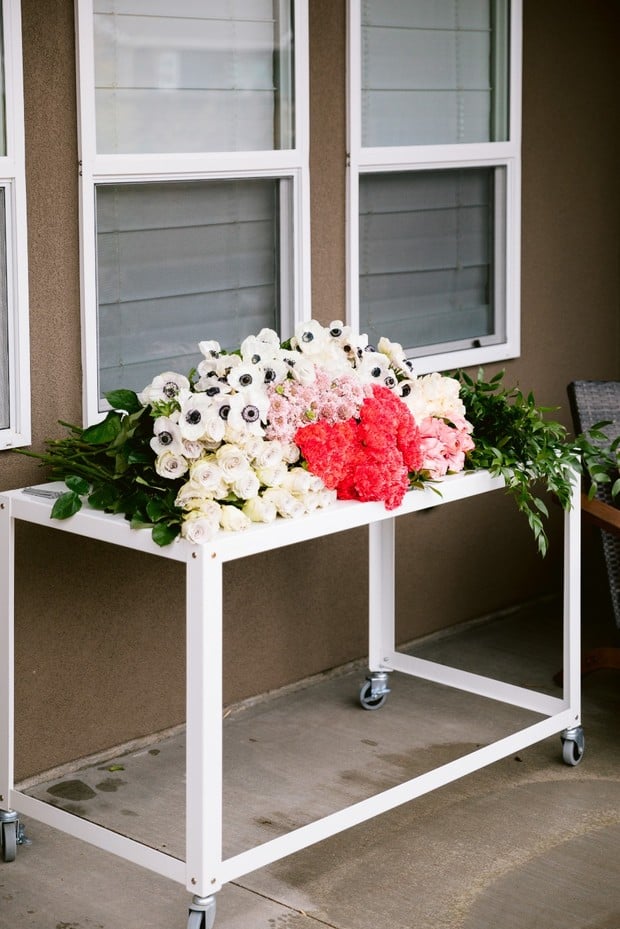
How many of you have fallen in love with those adorable clear acrylic/lucite boxes of flowers that have become staple sells on Valentine’s Day? The clear-as-day box makes the contents inside amazingly vibrant, really, they look more alive than ever! And it’s such a clean, polished, and bright flower moment that people who’re lucky to see it can’t stop talking about. They just can’t.
We wanted to accomplish the same kind of look with our project here, just on a grander scale and with flowers that were just a tad more high-profile than roses (we love roses, always, but these blooms just spoke to us).
Stellar ceremony overture, right??! Yeah, we thought so too!
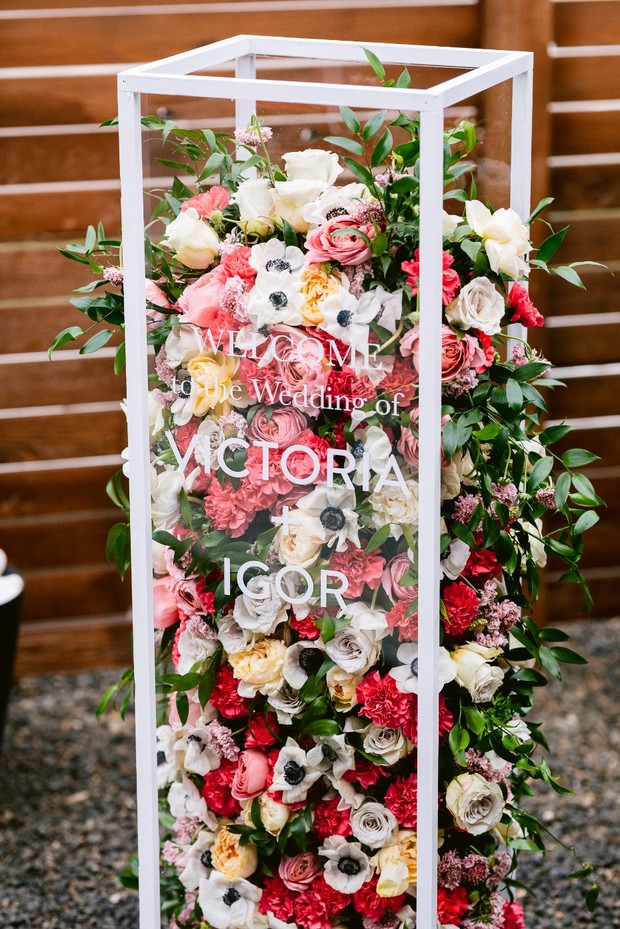
While we used it as a statement welcome sign, we could totally see it working for:
An escort card display/seating chart (provided your wedding is intimate/not too many guests)
A bar menu (signature cocktail names suspended in a sea of florals, yaaaas)
Maybe even a super-cool card collection spot. In this case, you couldn’t really do the inside flowers, butttt you could use FiftyFlowers flowers or garlands to design something really fun outside of it. Garland circles are hugeeee RN.
And now it’s time to awaken your inner DIY goddess
Makes for a killerrrrr Instagram story, too, if you’re into that sort of thing (because we are) 😉
How we made the acrylic box
We actually looked everywhere for these boxes, and they can be ridiculously pricey. We envisioned ours to be 4 ft. tall, and we couldn’t find an acrylic box for under $500 in this size, so we took matters into our own hands and made one ourselves for $150. Told you our confidence was 🙌🙌🙌 thank you, FiftyFlowers! Here’s what we used and what we did to make it happen.
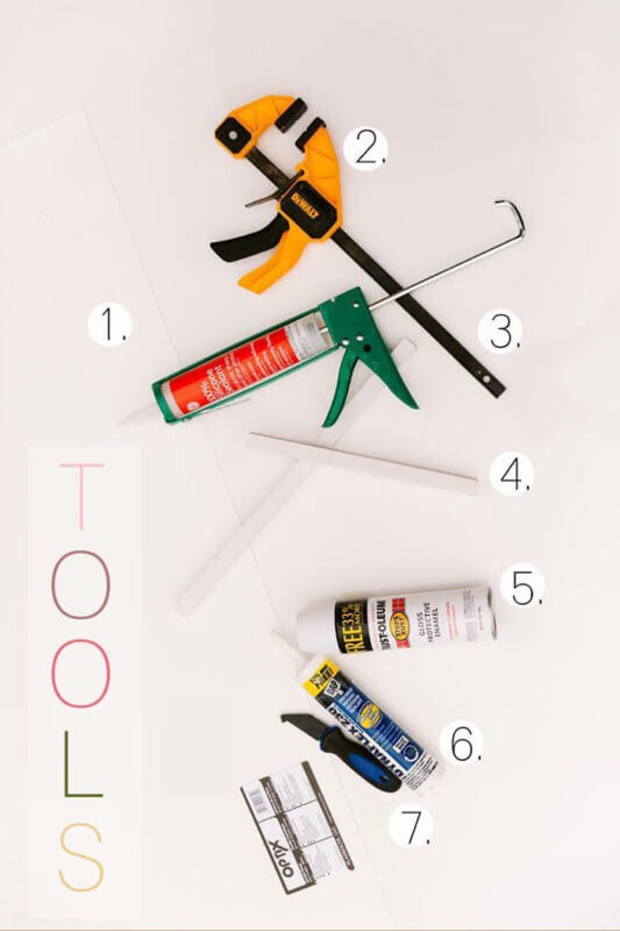
- 48'' x 36'' sheet of clear acrylic (2)
- Clamp
- Caulking Gun
- 1/2'' x 1/2'' x/ 8' Lumber (3)
- Paint
- Silicon Adhesive
- Plaskolite Pro Cutter For Acrylic
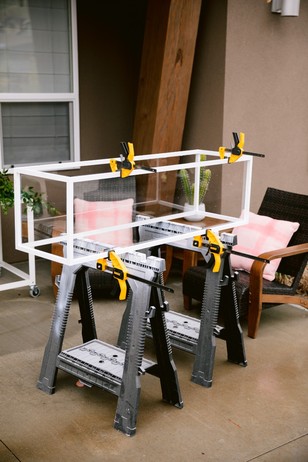
Directions for acrylic box:
Step 1: Cut wood to four 4' lengths for vertical pieces and eight 16" lengths to make square top and bottoms. Nail together with finishing nails.
Step 2: Install L-brackets in all corners to help reinforce the frame. Use wood screws to secure.
Step 3: Paint or stain frame to desired color.
Step 4: Cut acrylic into 4' x 16" sections using Plaskolite cutter.
Step 5: Remove protective film form acrylic and use a small bead of adhesive to adhere to wood frame. Clamp and let set overnight.
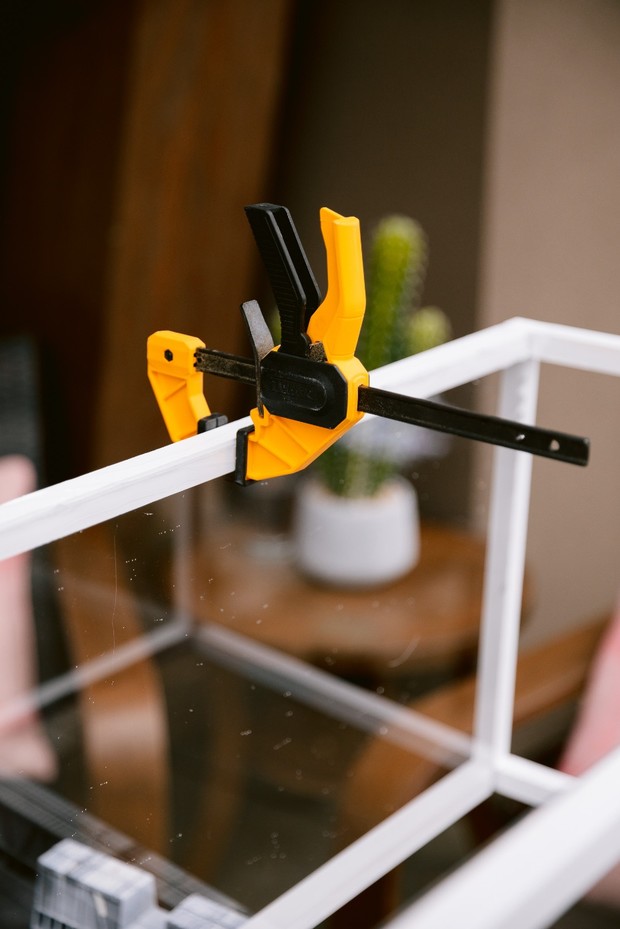
Baller box complete, now it’s time to play!
Before beginning, you’ll want to make sure you have provisions in place to guarantee your floral design stays in place. A saddle like this one, for the base, can really ground your work - because, yes, you want the flowers to look like they’re floating, but they shouldn’t look messy at the same time!
Now, you’ll want to get your pre-soaked foam (this will ensure your flowers stay fresh while they’re in your display; water source FTW). Start stacking the foam in two rows and wrap chicken wire around your tower to secure it.
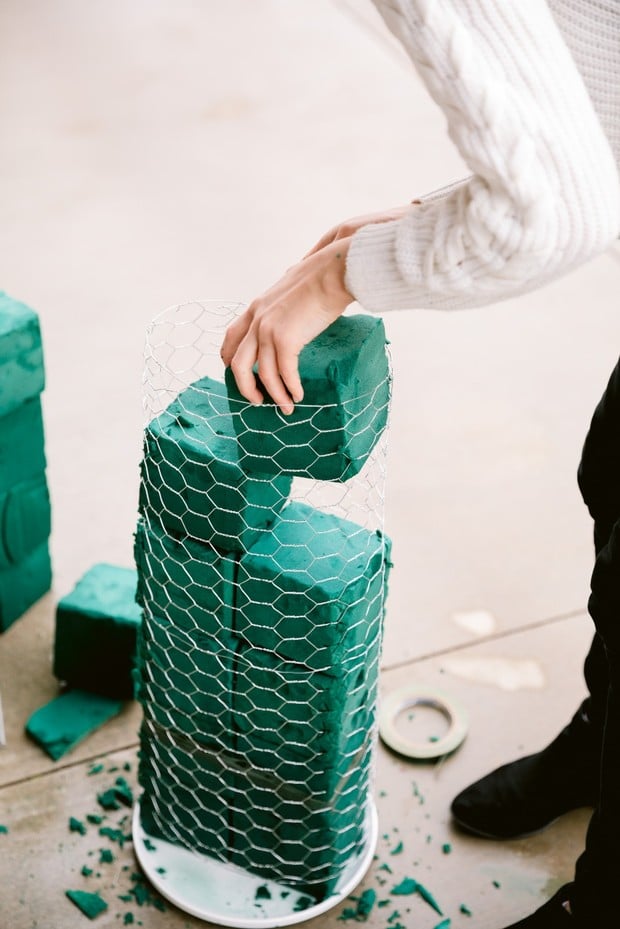
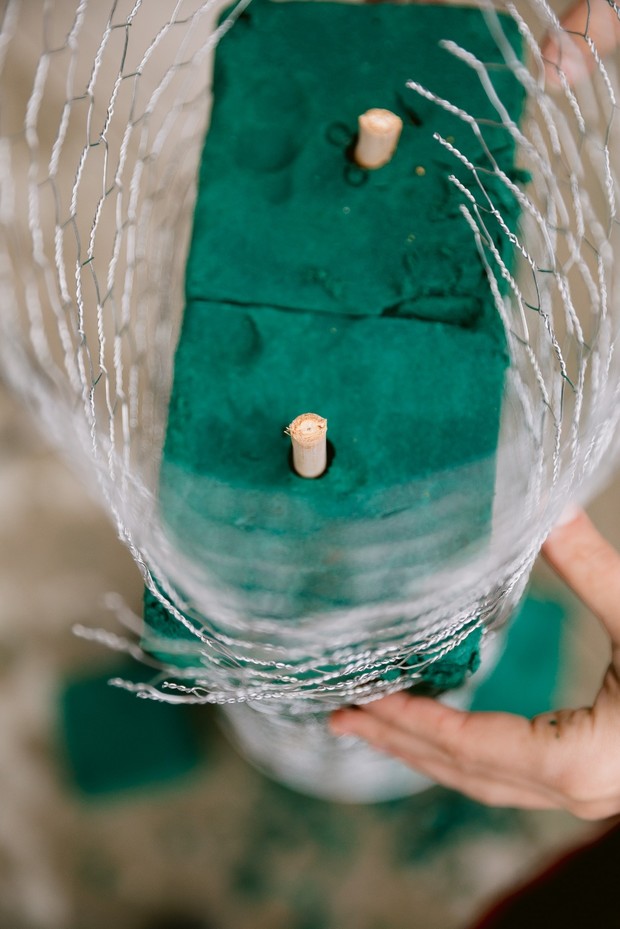
Once you’ve stacked and wrapped, insert a long wooden dowel to hold the foam all together and prevent any pieces from sliding. Think of this step as putting a toothpick through a sandwich. Voila!
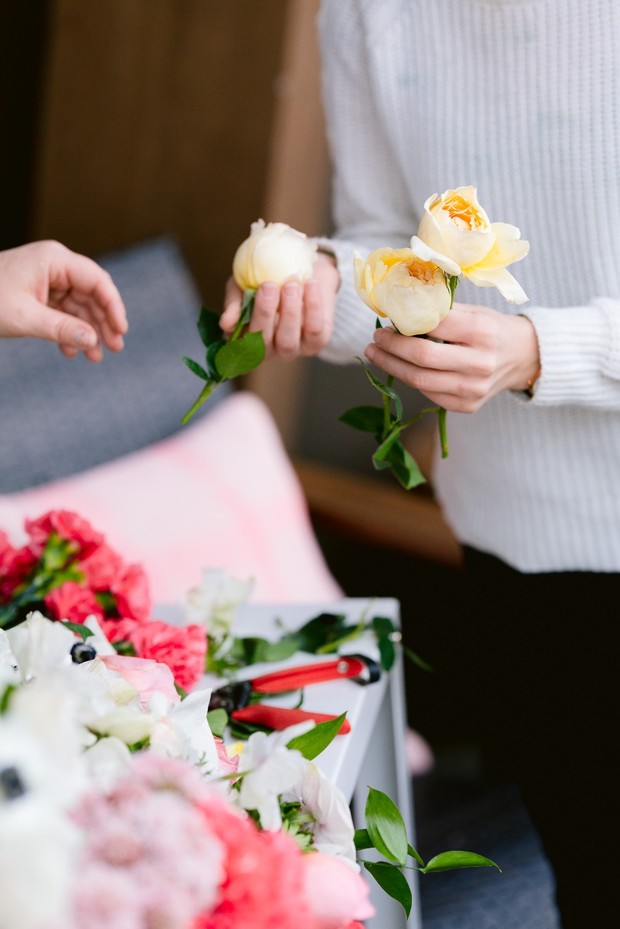
Proceed on with prettying this all up. Always begin with your greenery, as it adds great volume and dimension to your piece and a good base is everything when you start a floral design.
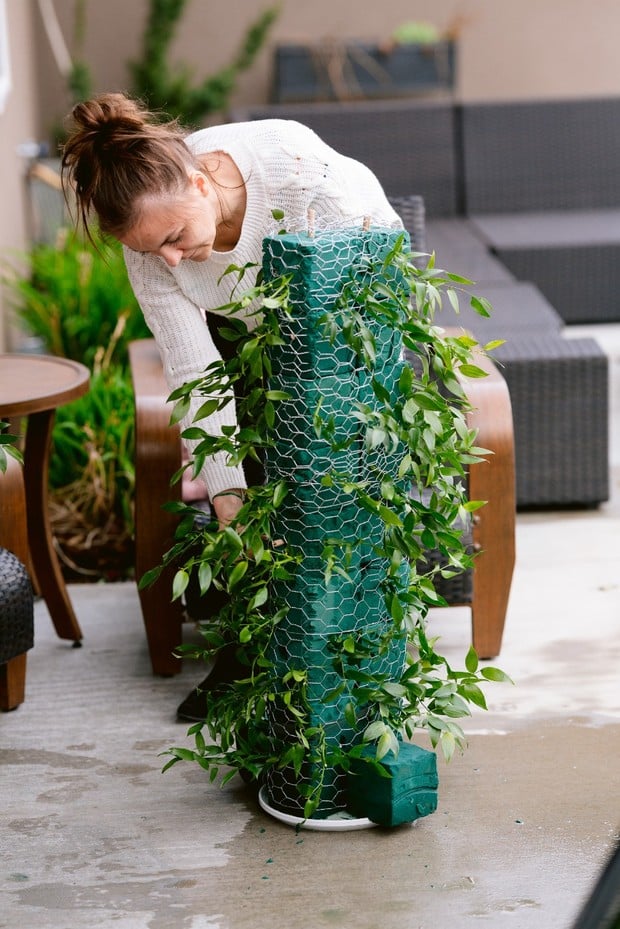
Continue adding in all your flowers, but consider these tips along the way.
Cut the stems down to about 4-5 inches
If you have any flowers that are still a little closed/tight, loosen them up gently with your finger and then give a quick little blow of air. This opens them up and makes them look super big and plush.
Evenly place the entire assortment of flowers until you're all done!
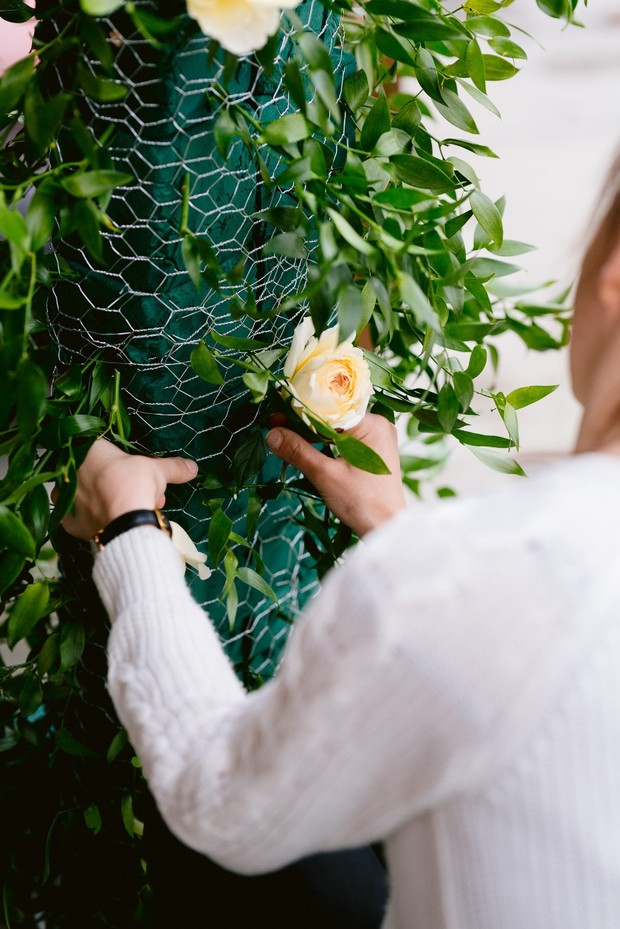
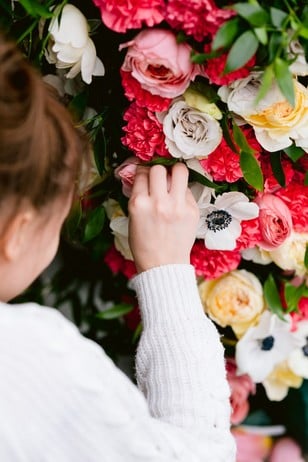
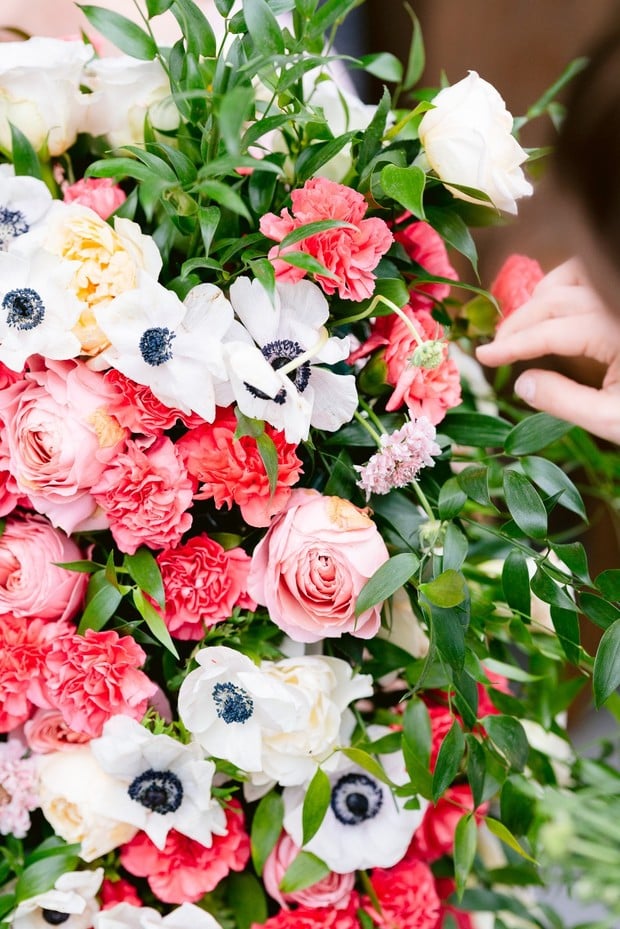
That finishing touch, though…
Now, to put it all together, gently move the acrylic box up and over the flower design. Add your decal and you are DUNZO!!! (we got our sticker made at a local sticker shop in town for under $20! And it looked awesome).
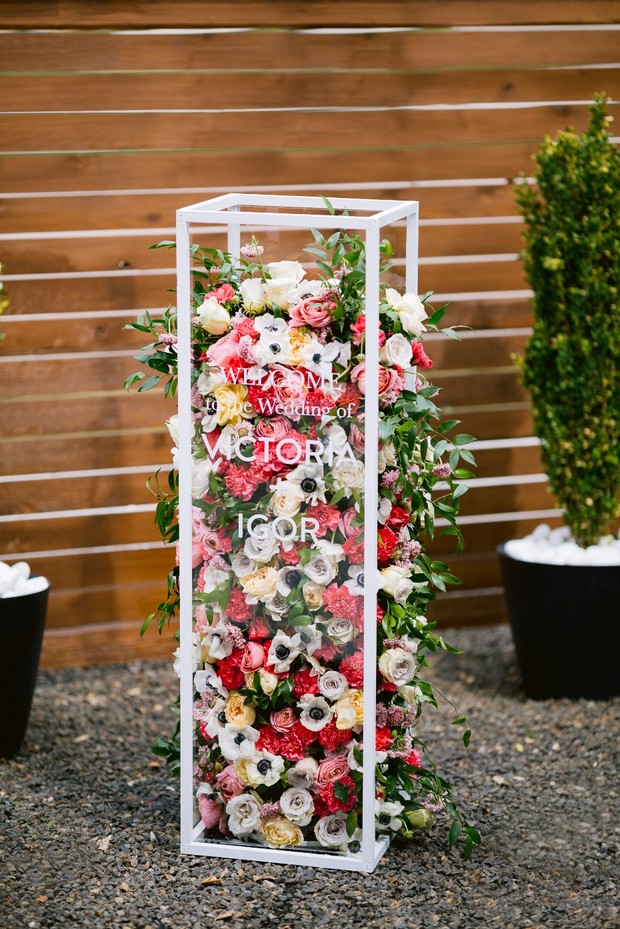
Remember when we said the behind-the-scenes was 👌?
We weren’t lying.
Get to know FiftyFlowers.com for all your DIY-ing! I mean, look what they’ve done to us #flowerphenoms HAHAHA.