Stand Out on Your Wedding Day With This Gorgeous Hair Tutorial
We get it, not every bride has a hair professional at their beck and call on their wedding day. So what if we told you we have two show stopping looks you can easily put together with just a few bobby pins, hair spray, comb and hair tie? Danielle Victoria Boyer shows us how to create both these looks in just a few steps, and you may be surprised how quickly they come together.
You’ll feel like a queen from your ceremony to your grand exit, so keep scrolling because you won’t want to miss this beautiful inspiration from Emma Natter. Also, grab a closer look at the tutorials in the full gallery captured by Andrew and Ada.
From the ceremony to the grand exit
From Andrew and Ada: Every bride is looking for a way to stand out, and what better way to do so than at your grand exit? We envisioned a bride who desired to change from her formal ceremony look to her exit look. However, with most brides not having a professional on hand to help them with their hair so late into the night, we felt the necessity for a tutorial that a bride could accomplish herself.
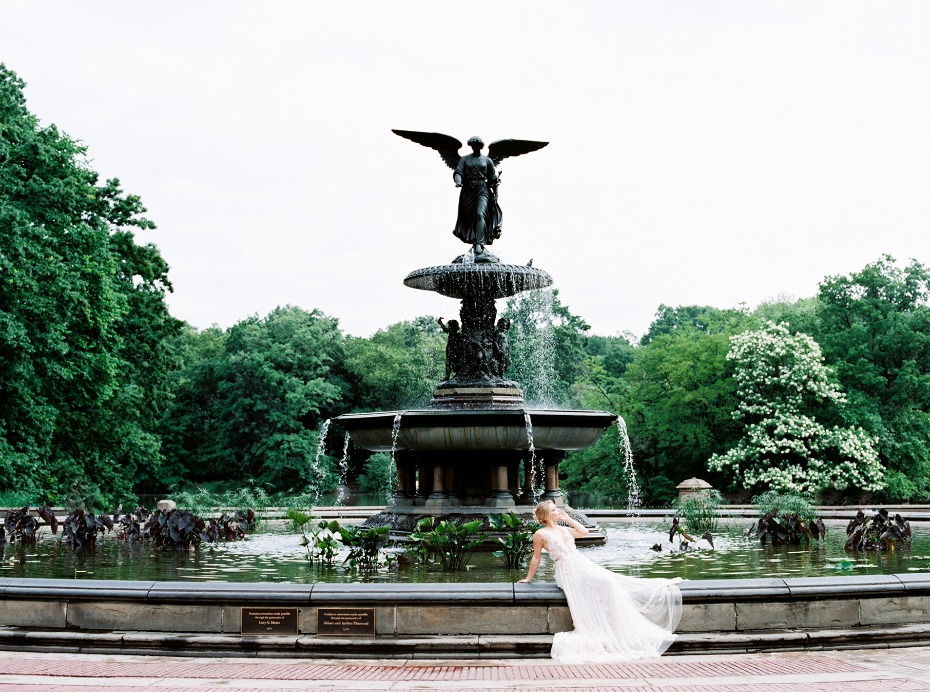
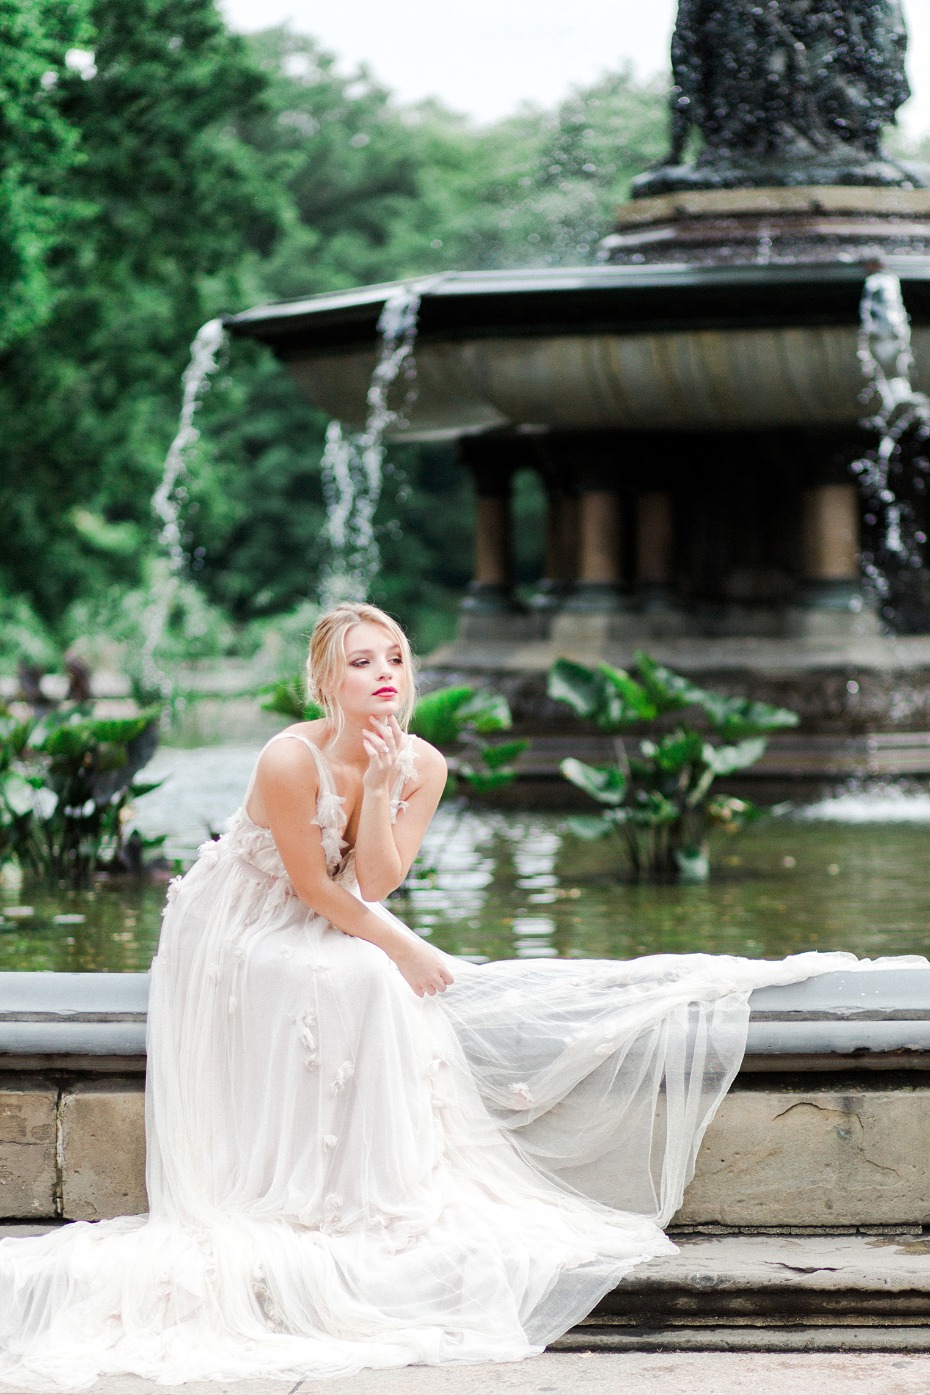
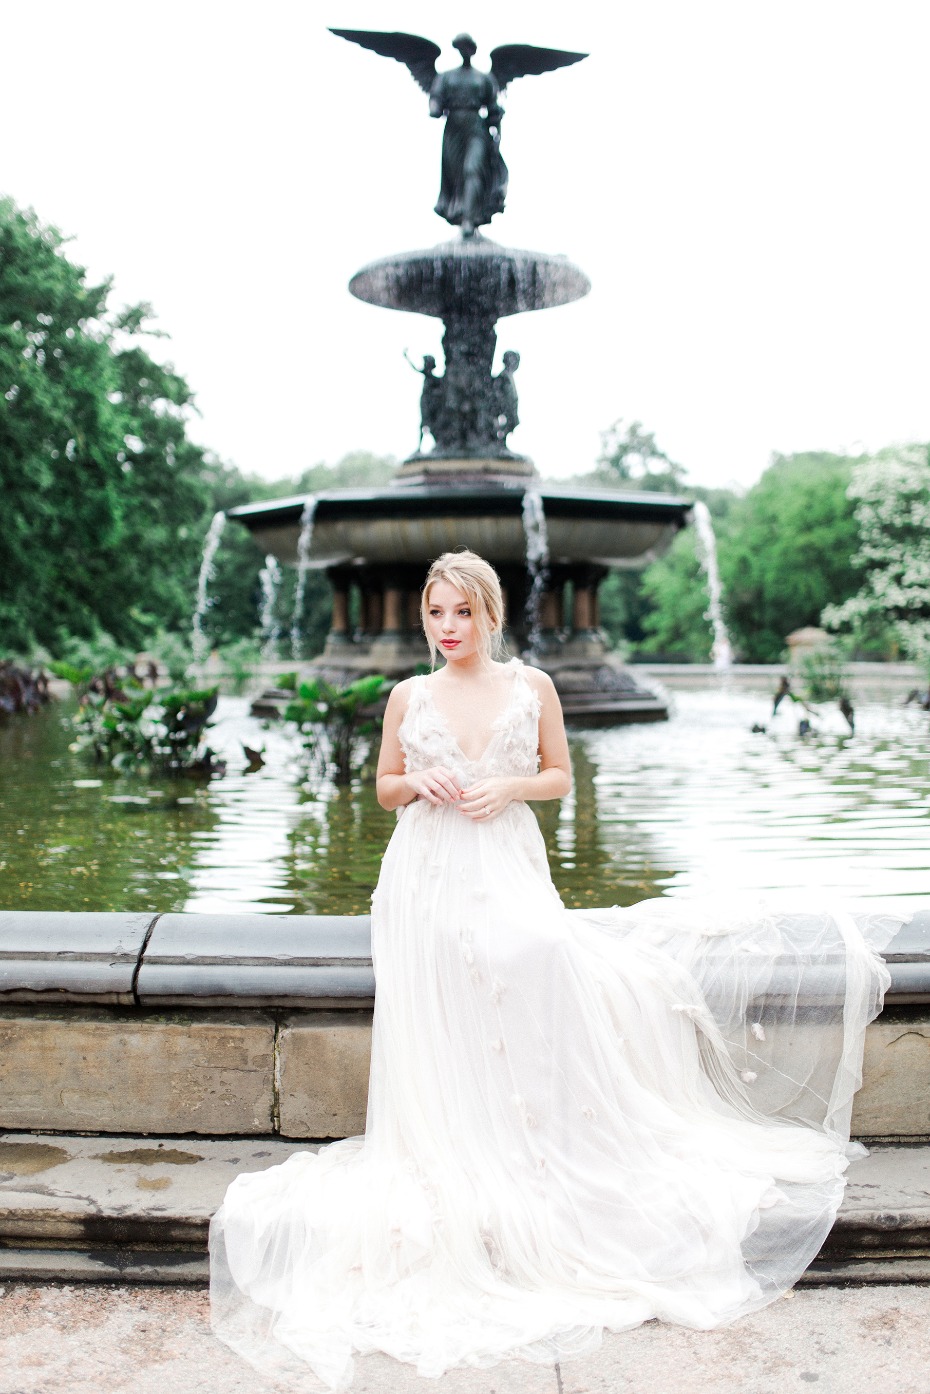
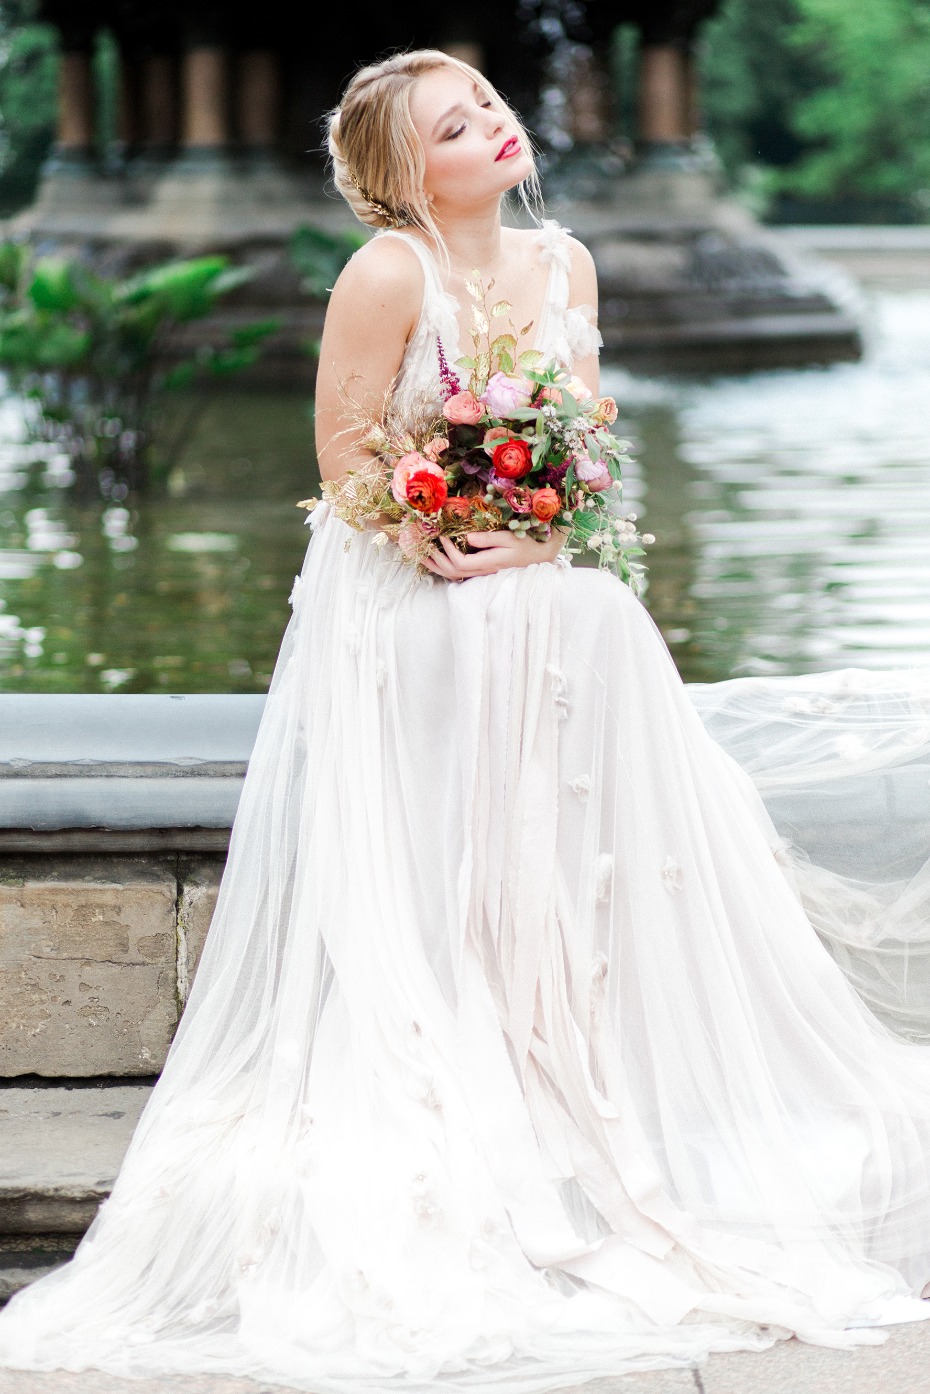
Bridal hair diy
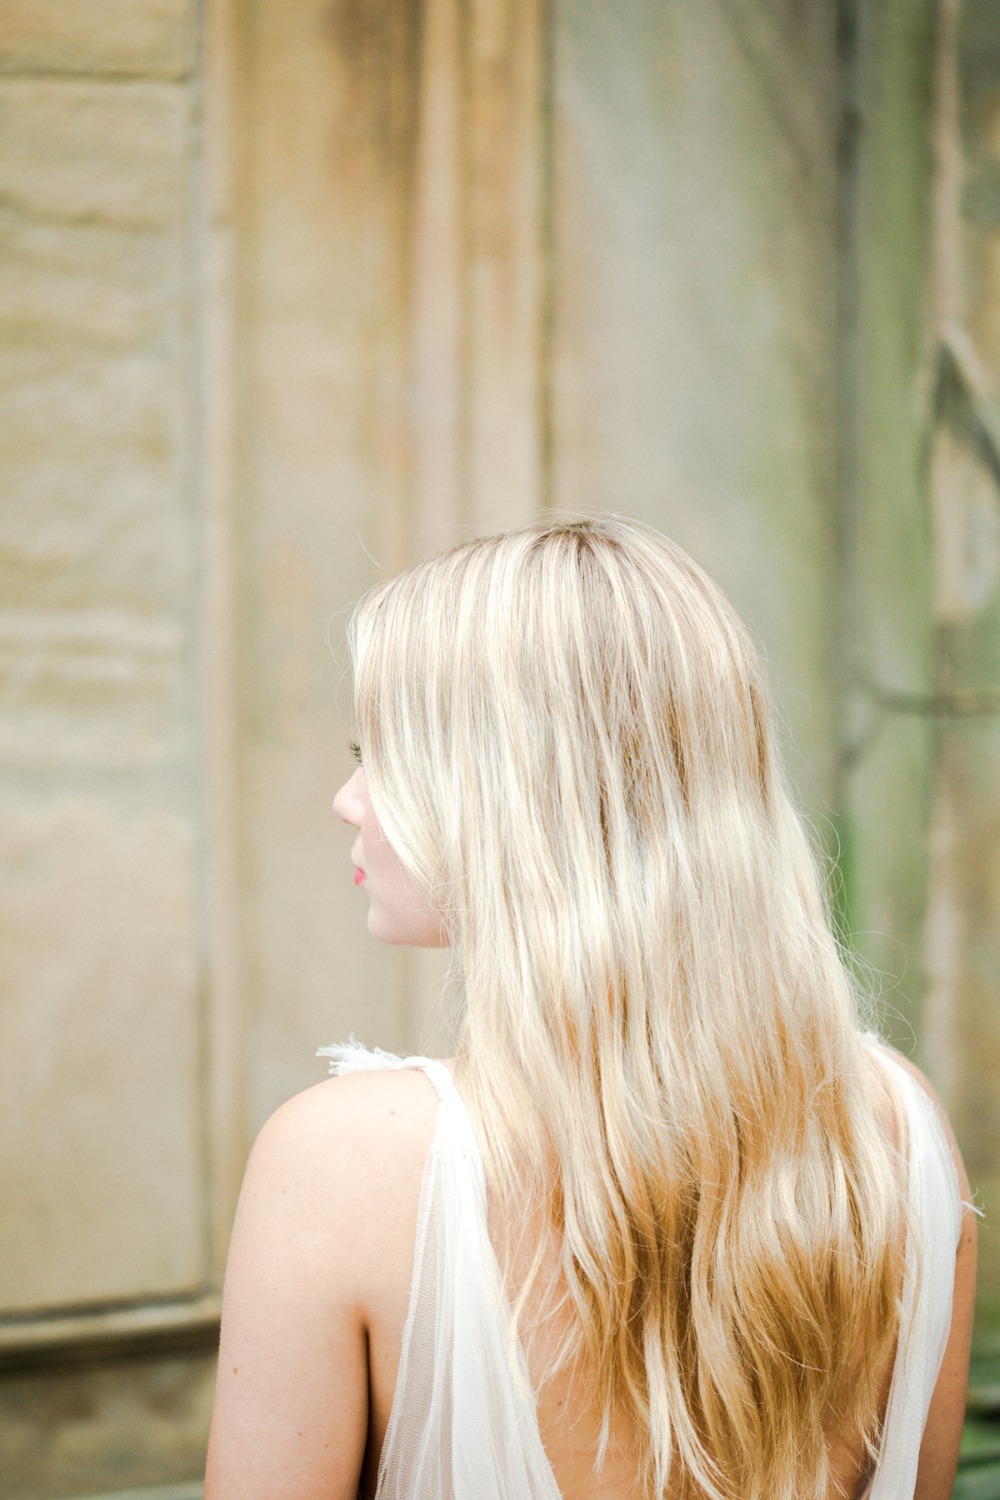
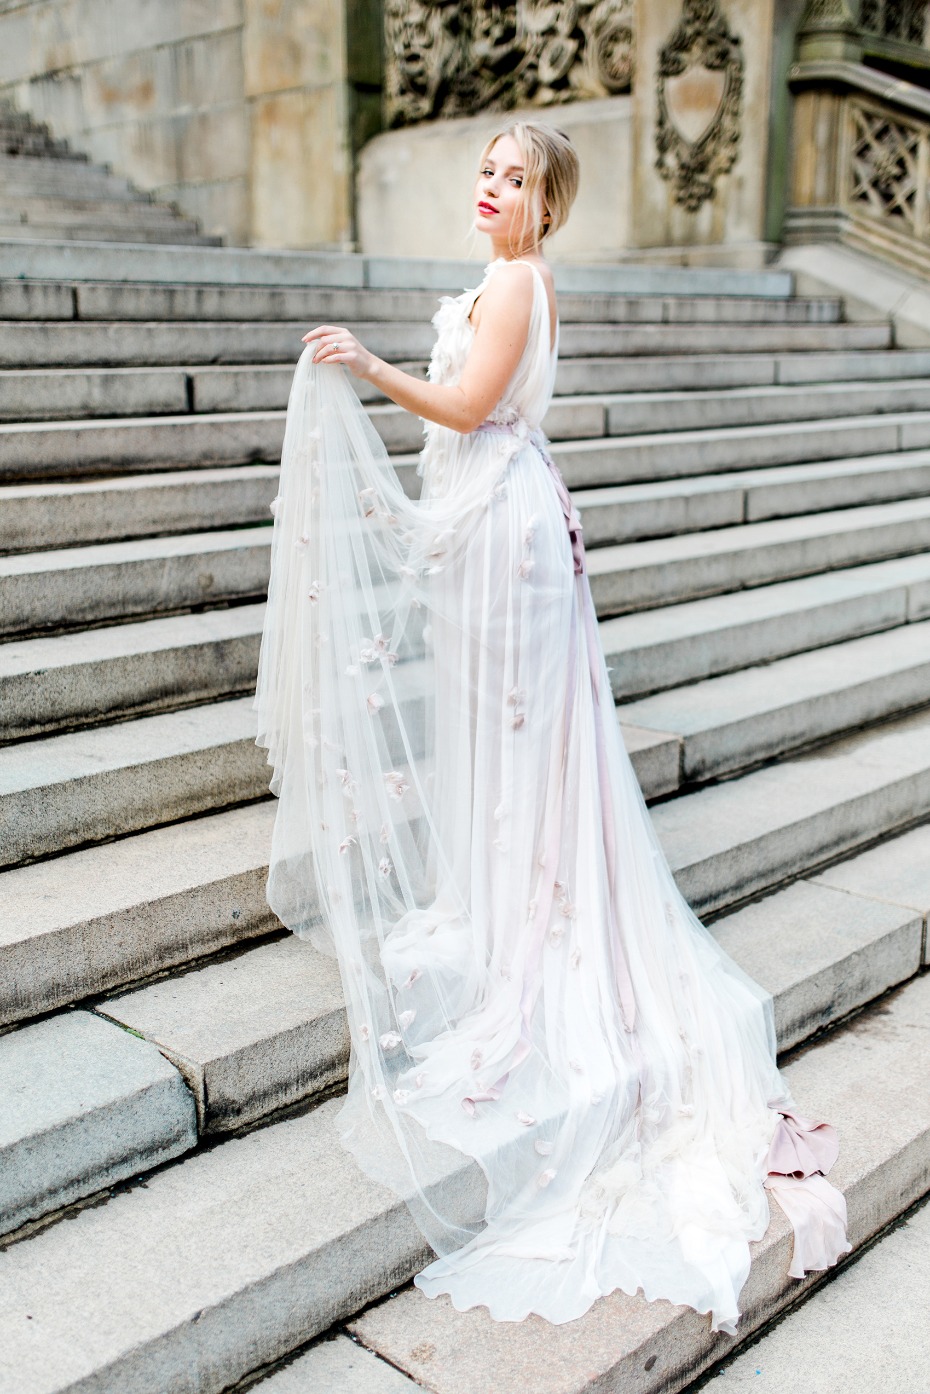
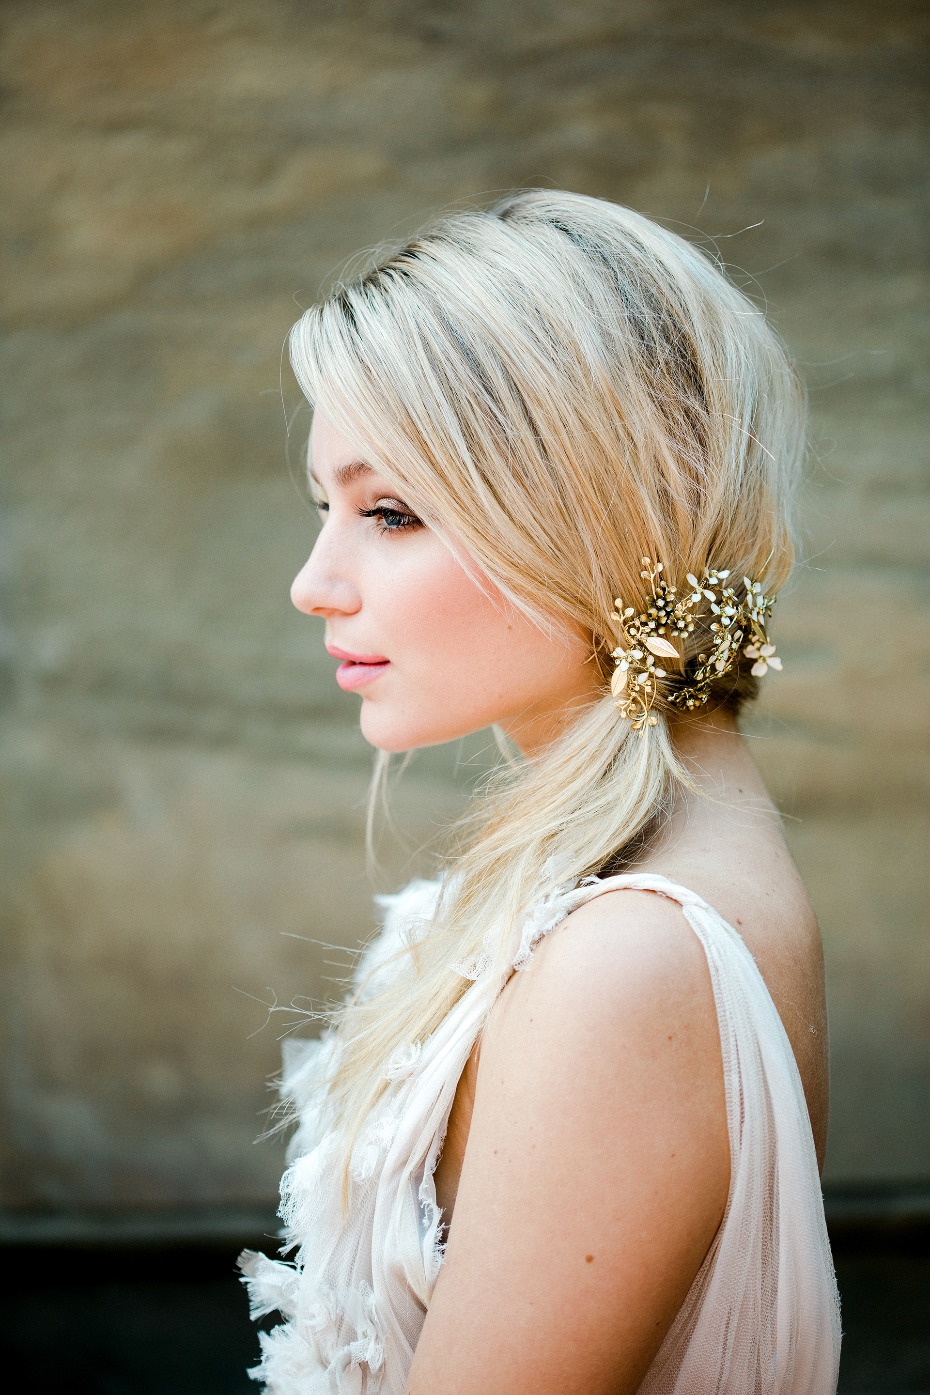
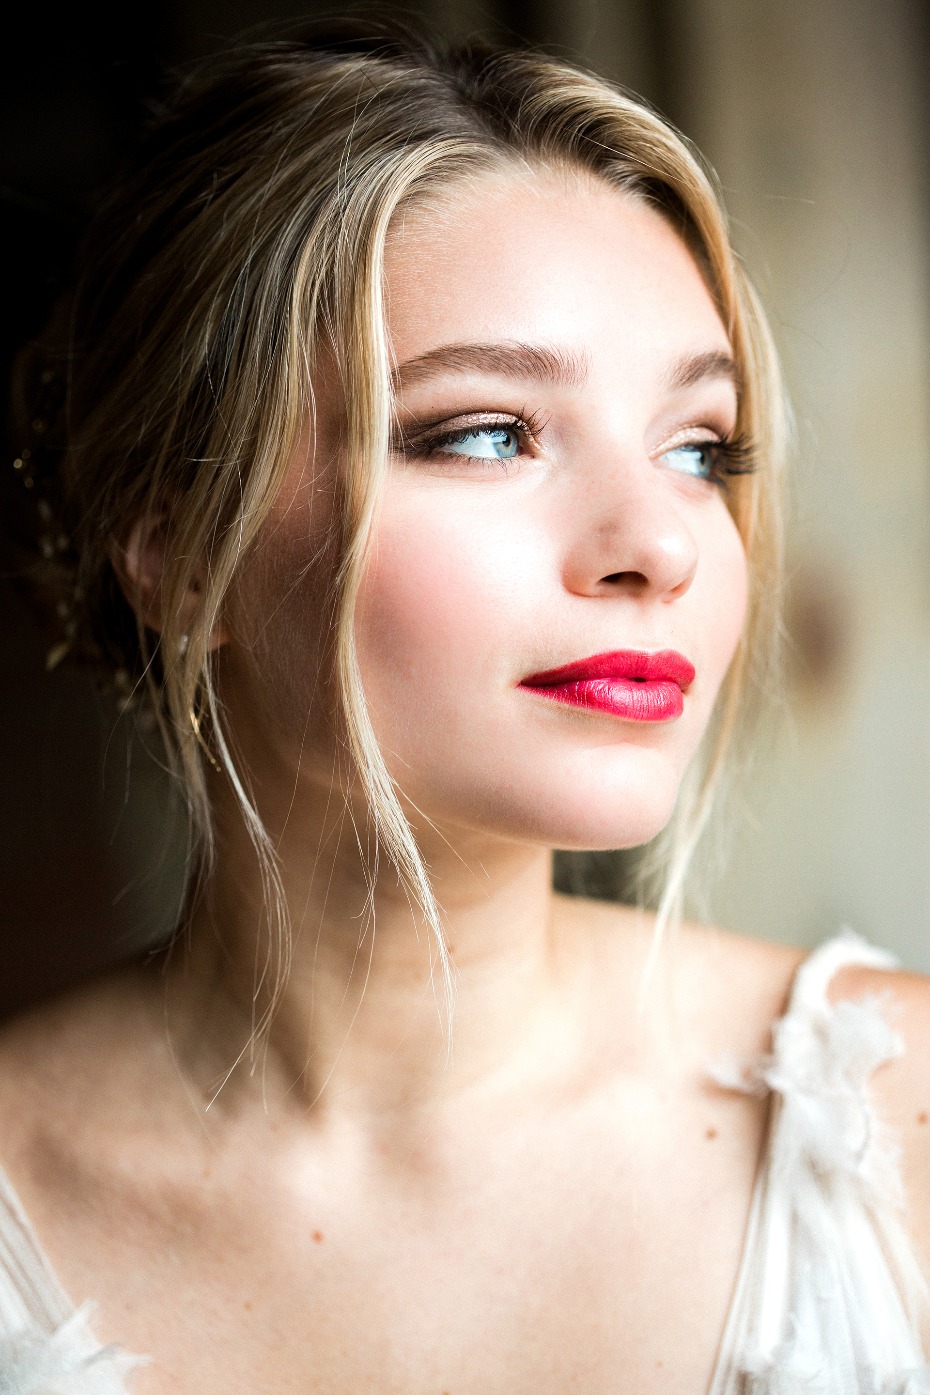
Danielle began with a classic French twist to accentuate the low back and detailed appliqués of our incredible Samuelle Couture gown. We wanted to create an inspiration that would be easy for any bride, but also versatile. The French twist can be modified to any bride’s desire, but we chose to soften the look with small pieces of hair that framed Madeleine’s face. We transitioned the french twist into a low messy pony: a look that is still elegant, but quick to achieve for an exit. Each look was finished with only one hairpiece.
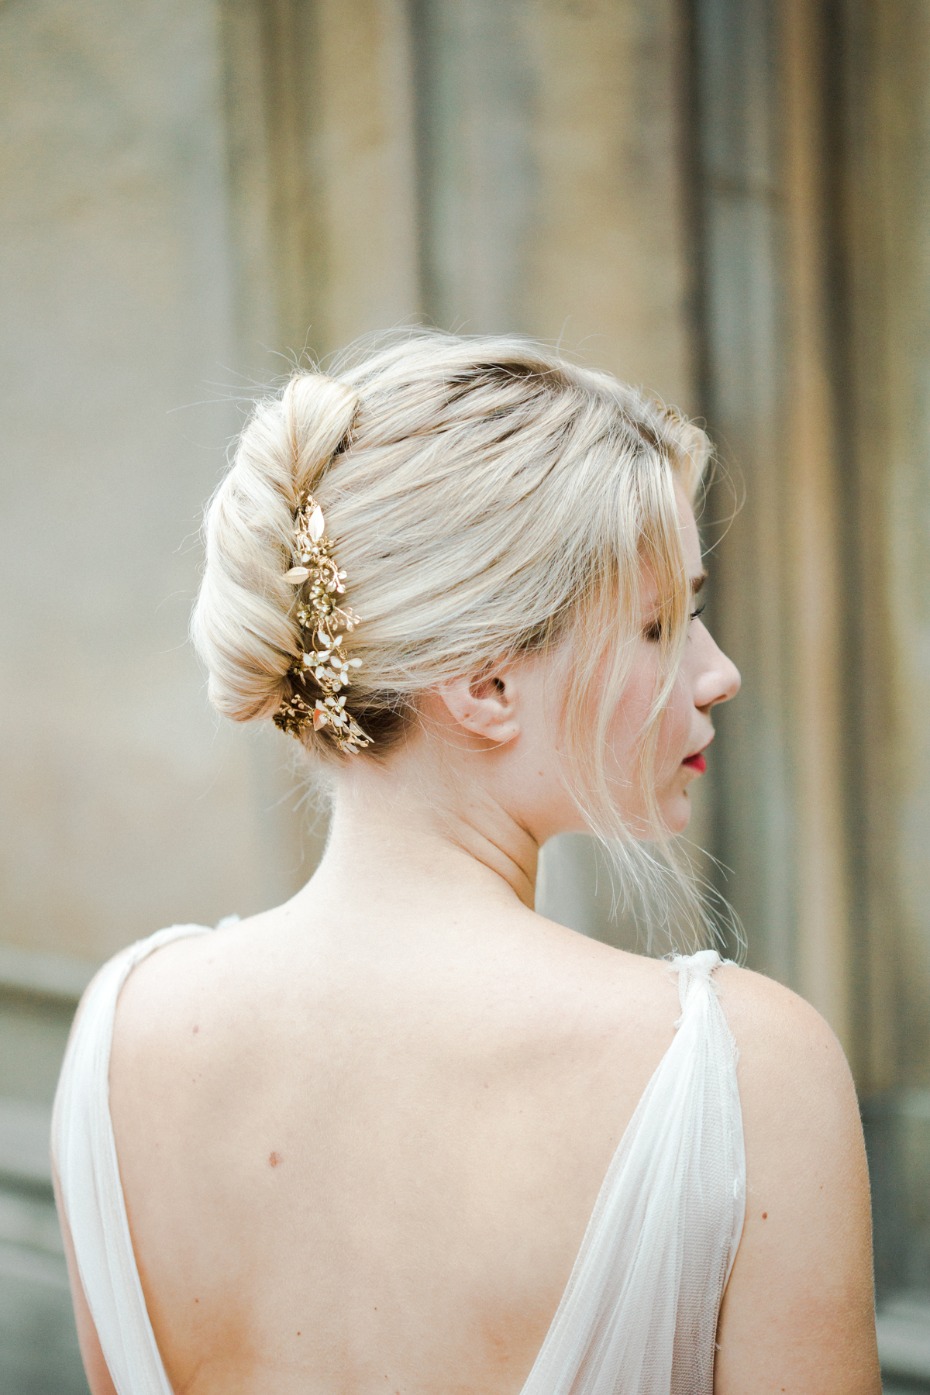
The French Twist
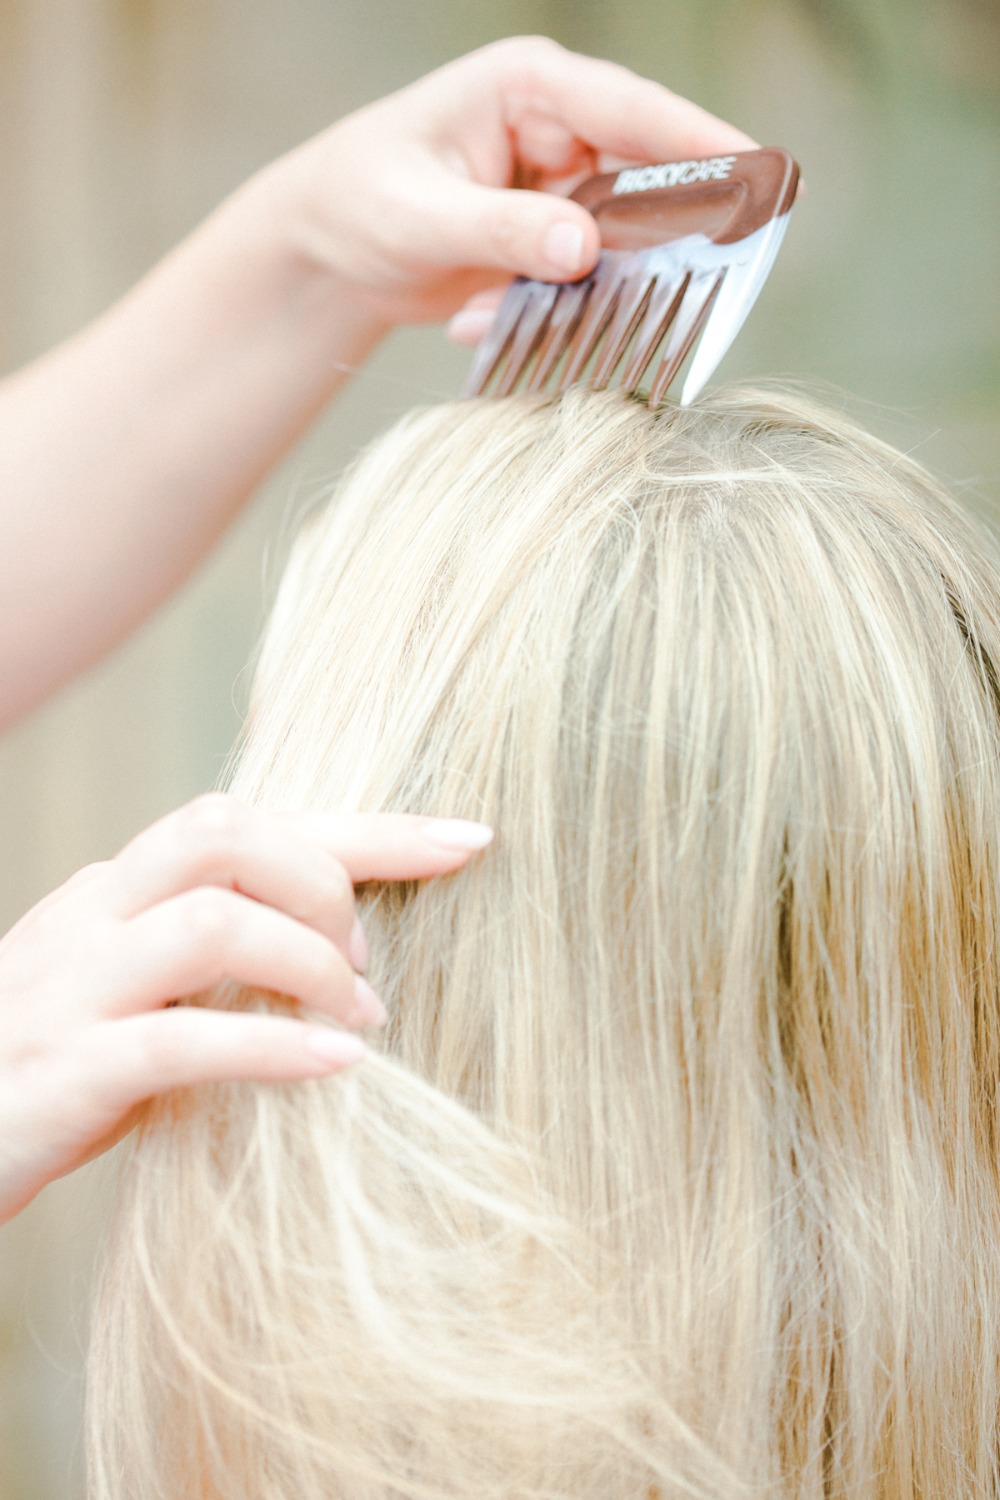
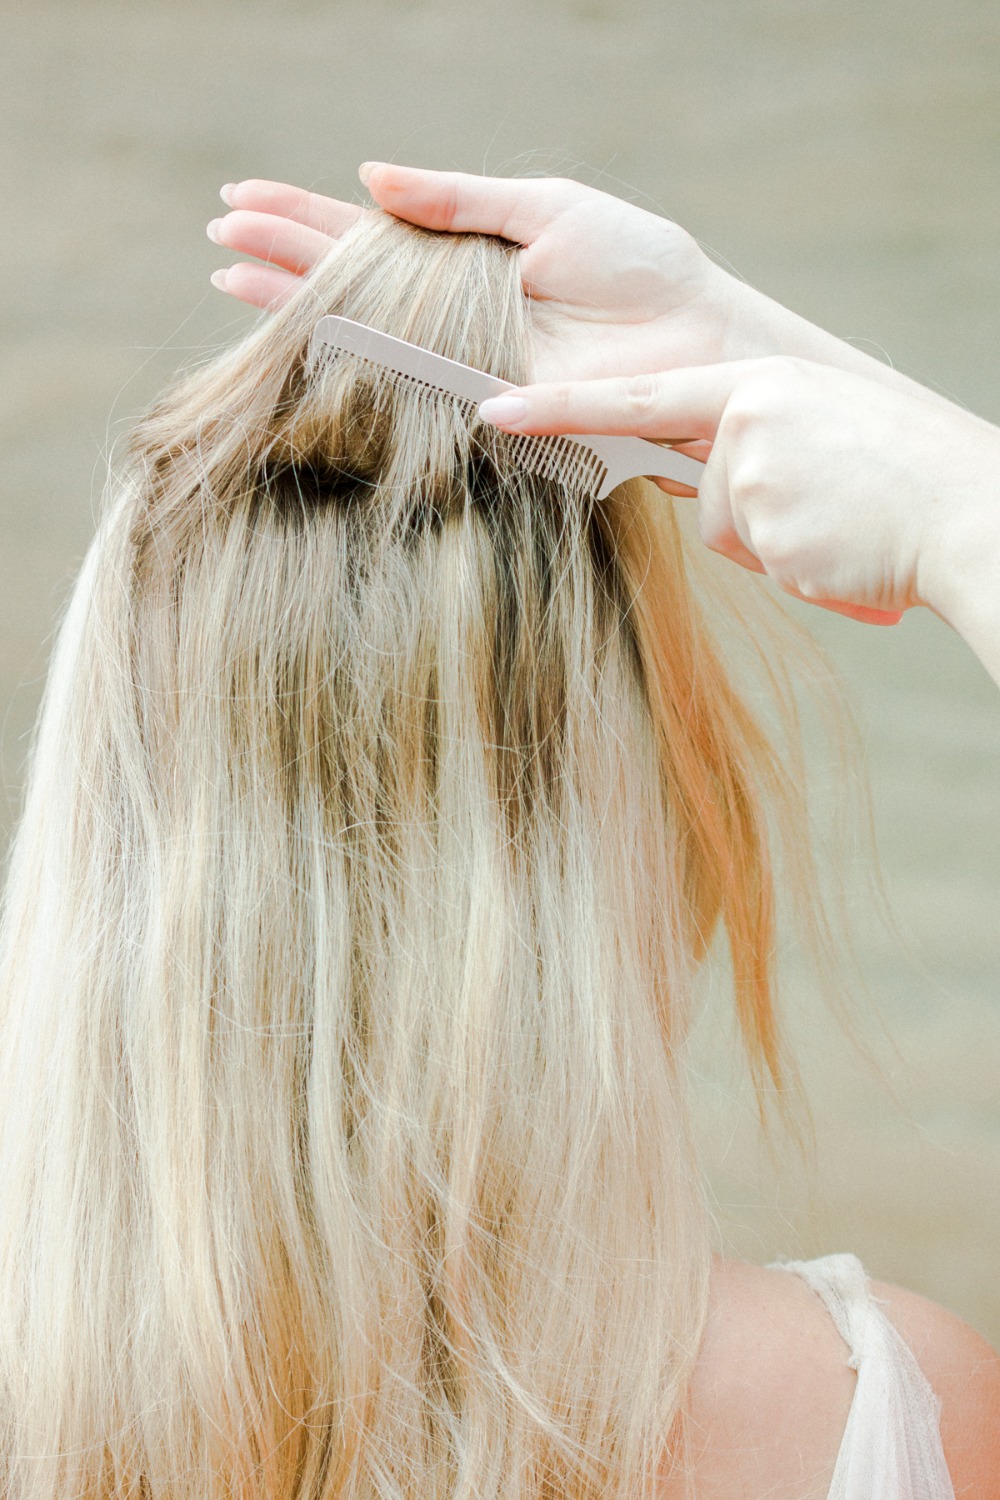
Start off by combing out any knots or tangles in the hair, then chose whatever desired part you wish in the hair. Gather a section at the crown of the head and gently tease with a downward motion. It's important to comb the hair (gently where you have done the teasing) as smooth as possible. Gather all the hair at the base of the neck and hold as if you were going to start a low ponytail. Then take your index finger and loop and flip the hair starting to tuck it in at the base of the knot you created by looping the hair around.
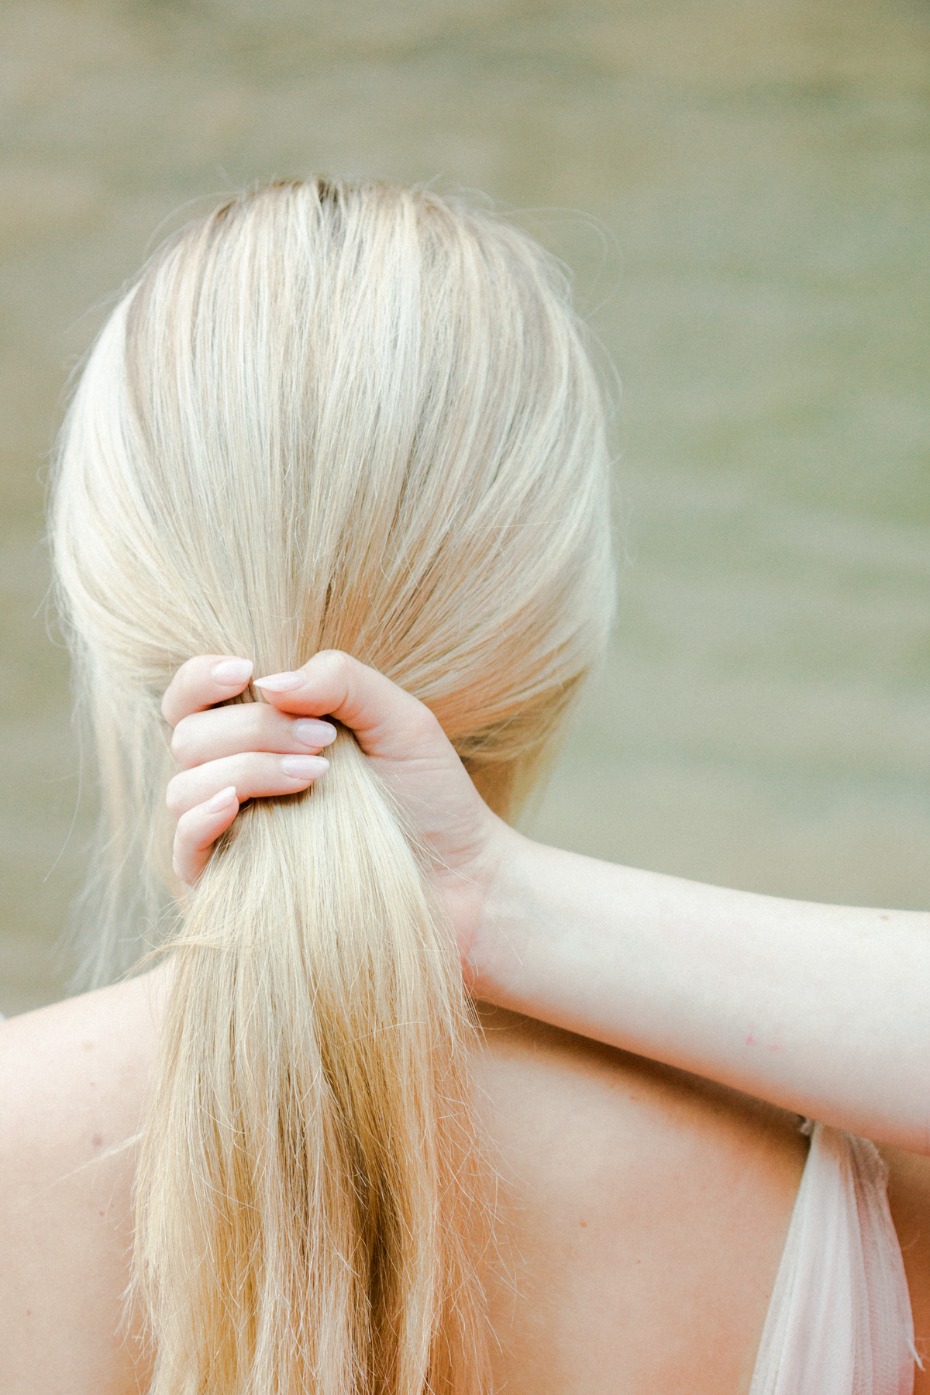
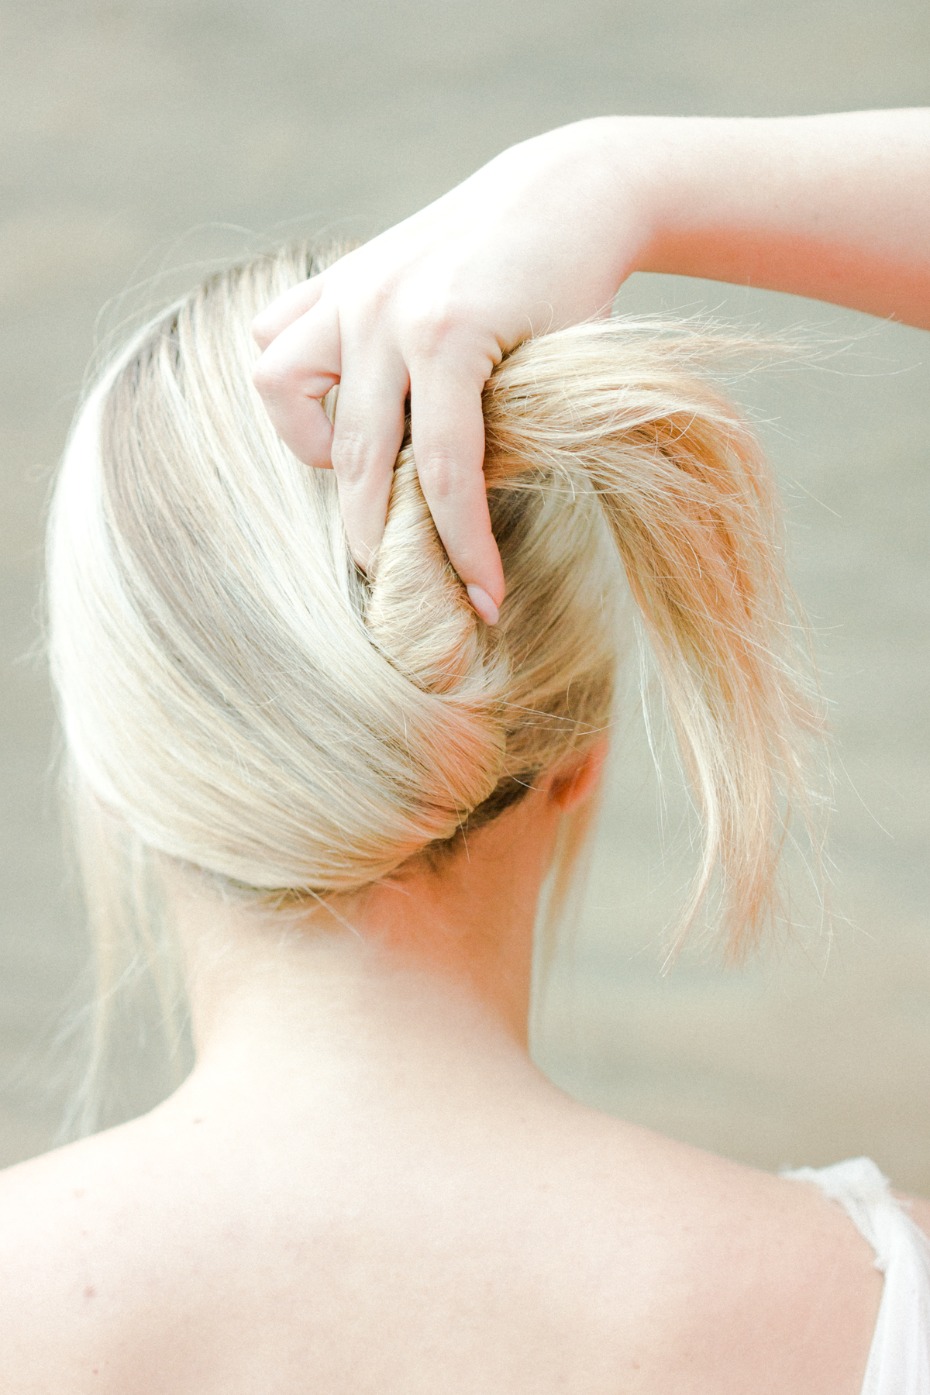
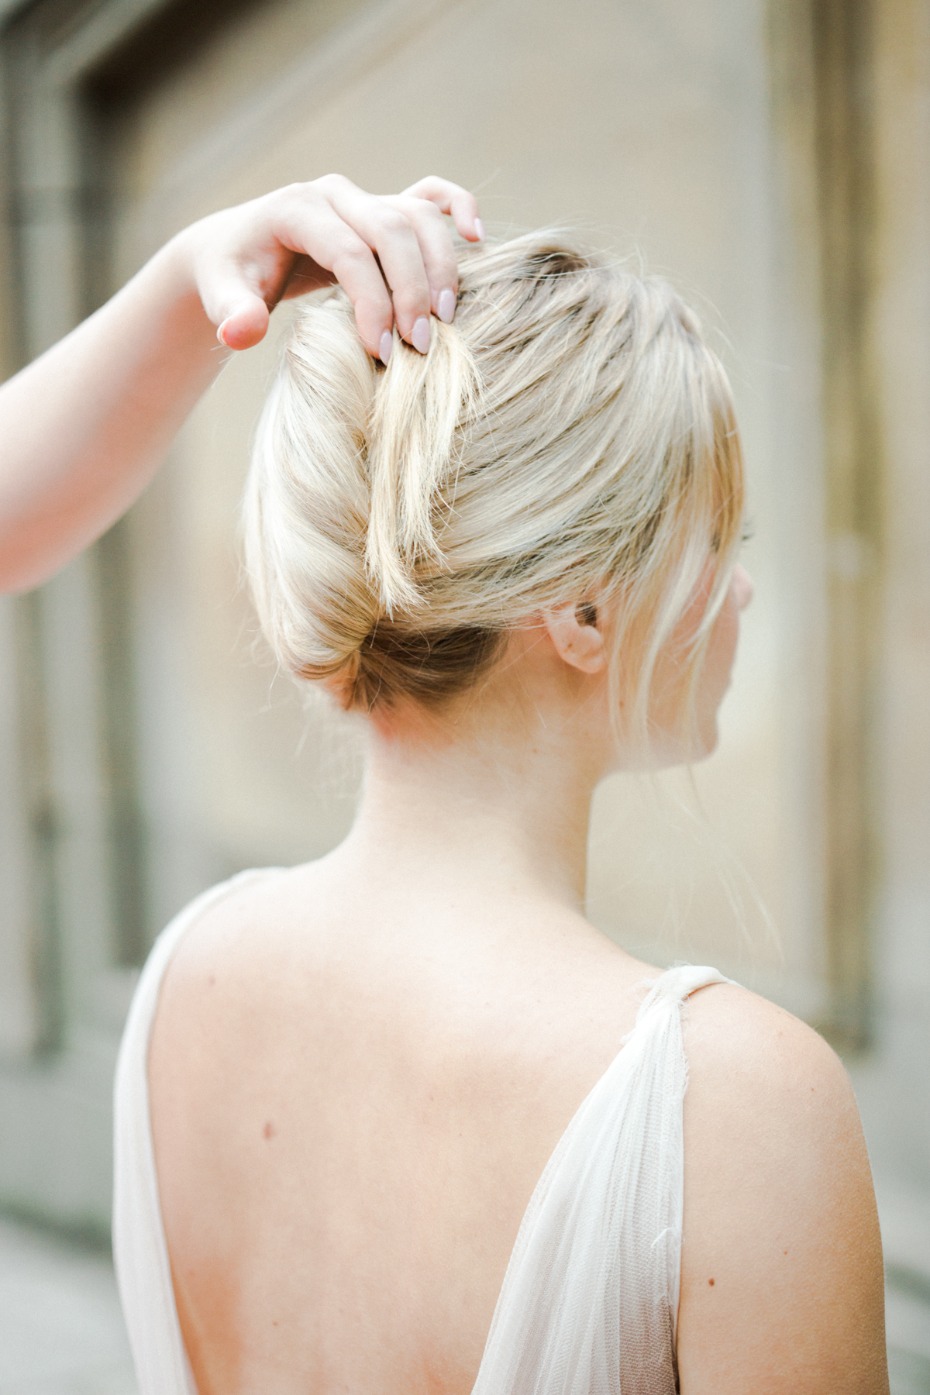
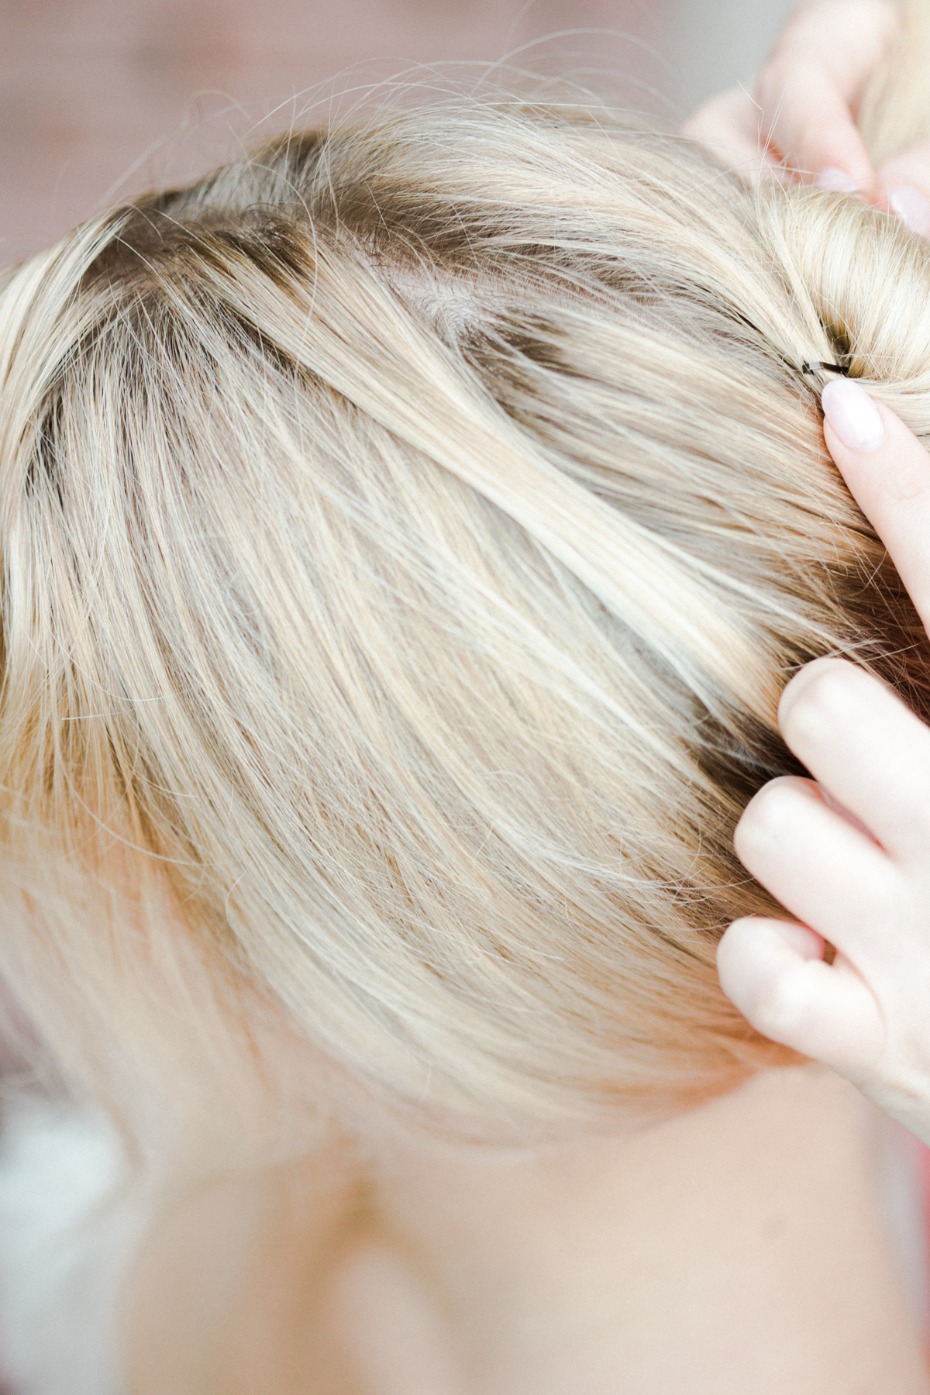
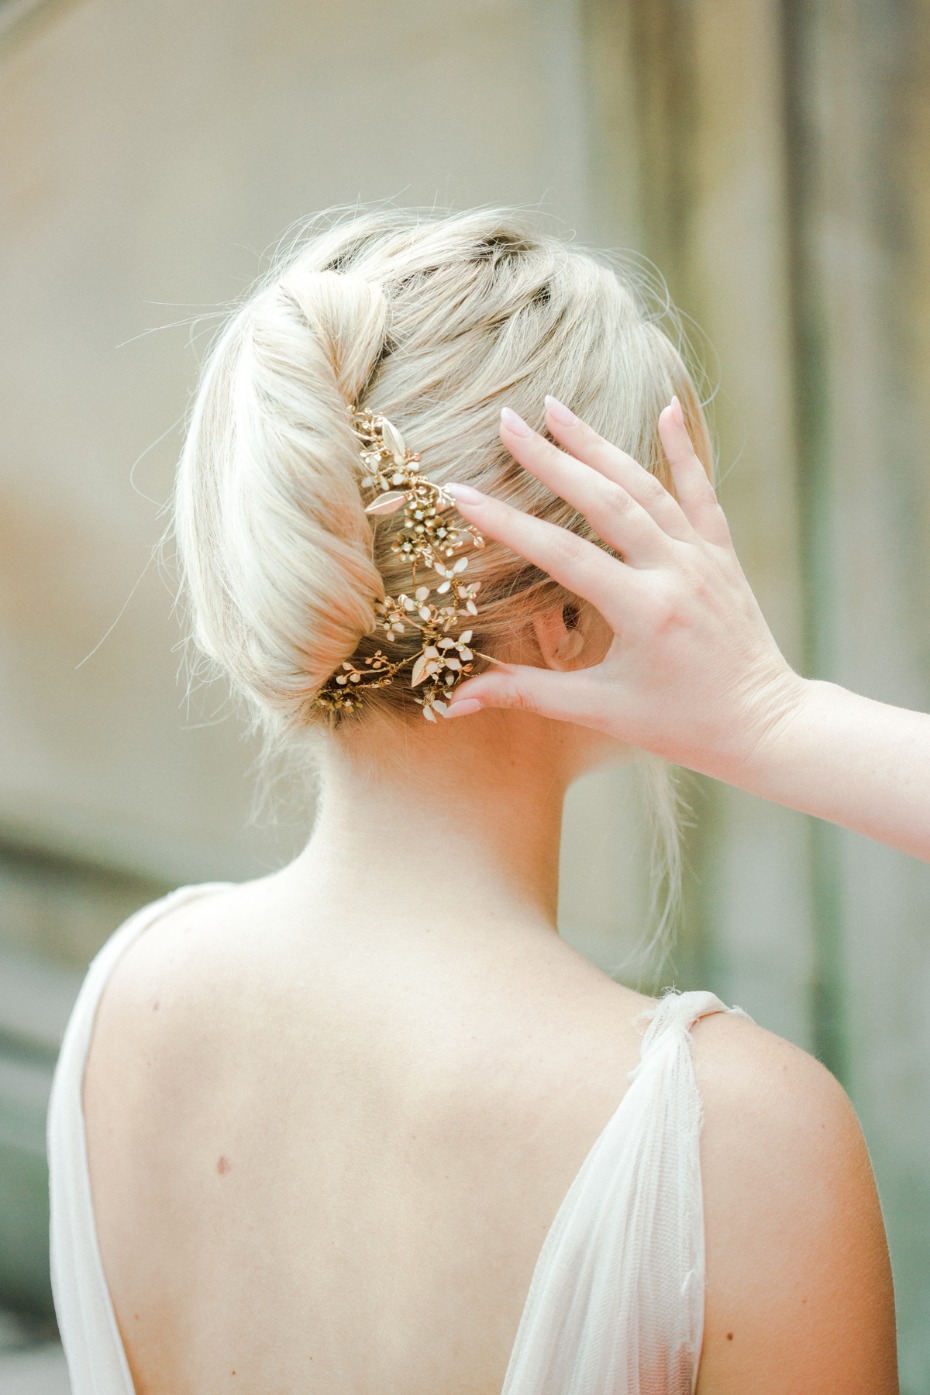
Then proceed to tuck all the hair in working it up towards the crown, pin the hair first at the crown of the head creating an X with the bobby pins securing the top of the twist. Then insure bobby pins all along the twist creating X's to secure the twist. Add any desired hair pieces where the twist meets and secure with bobby pins.
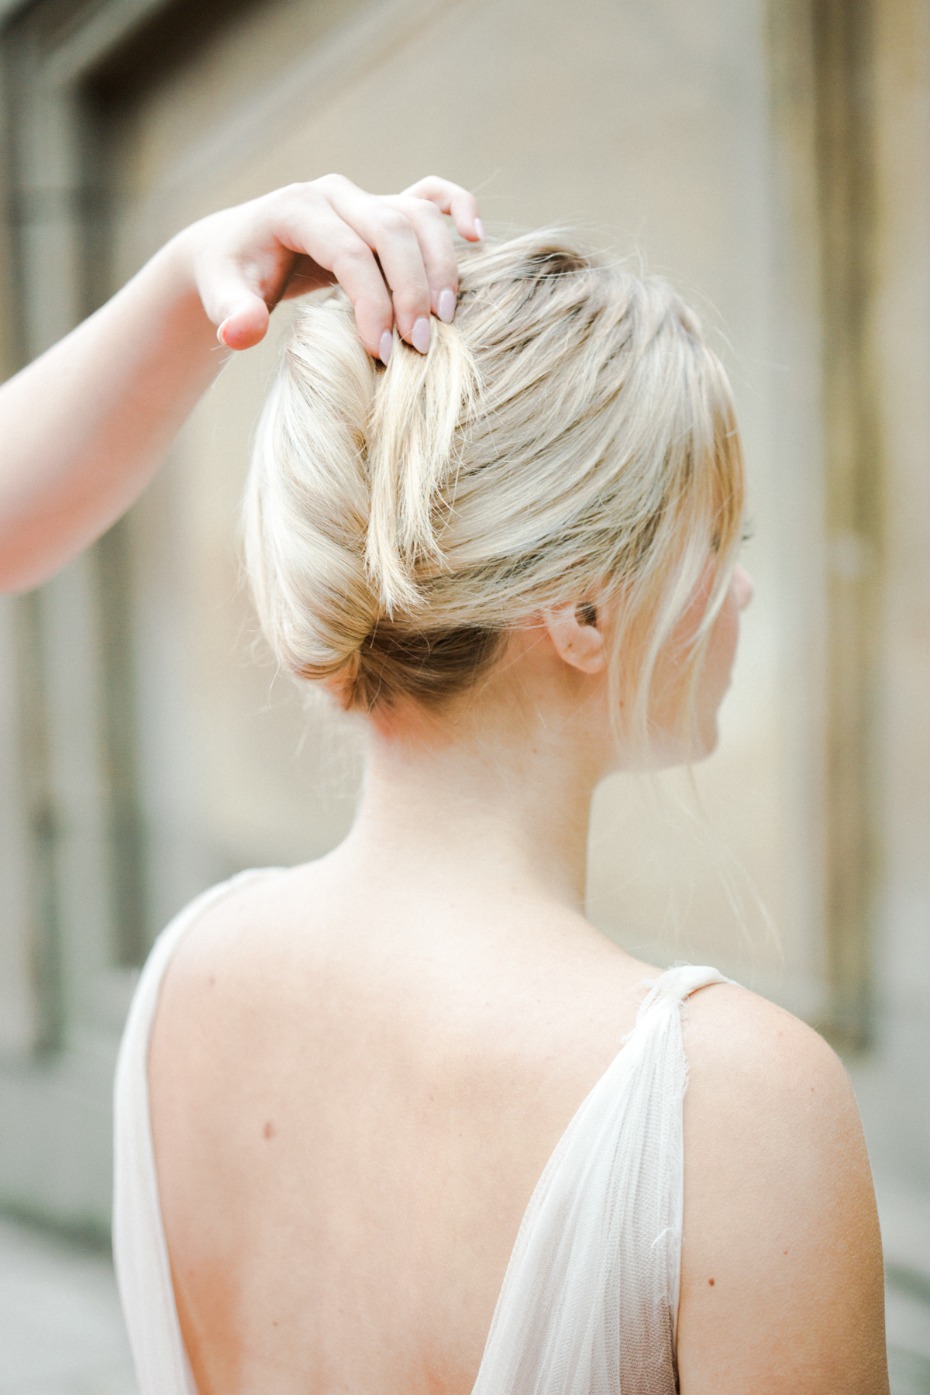
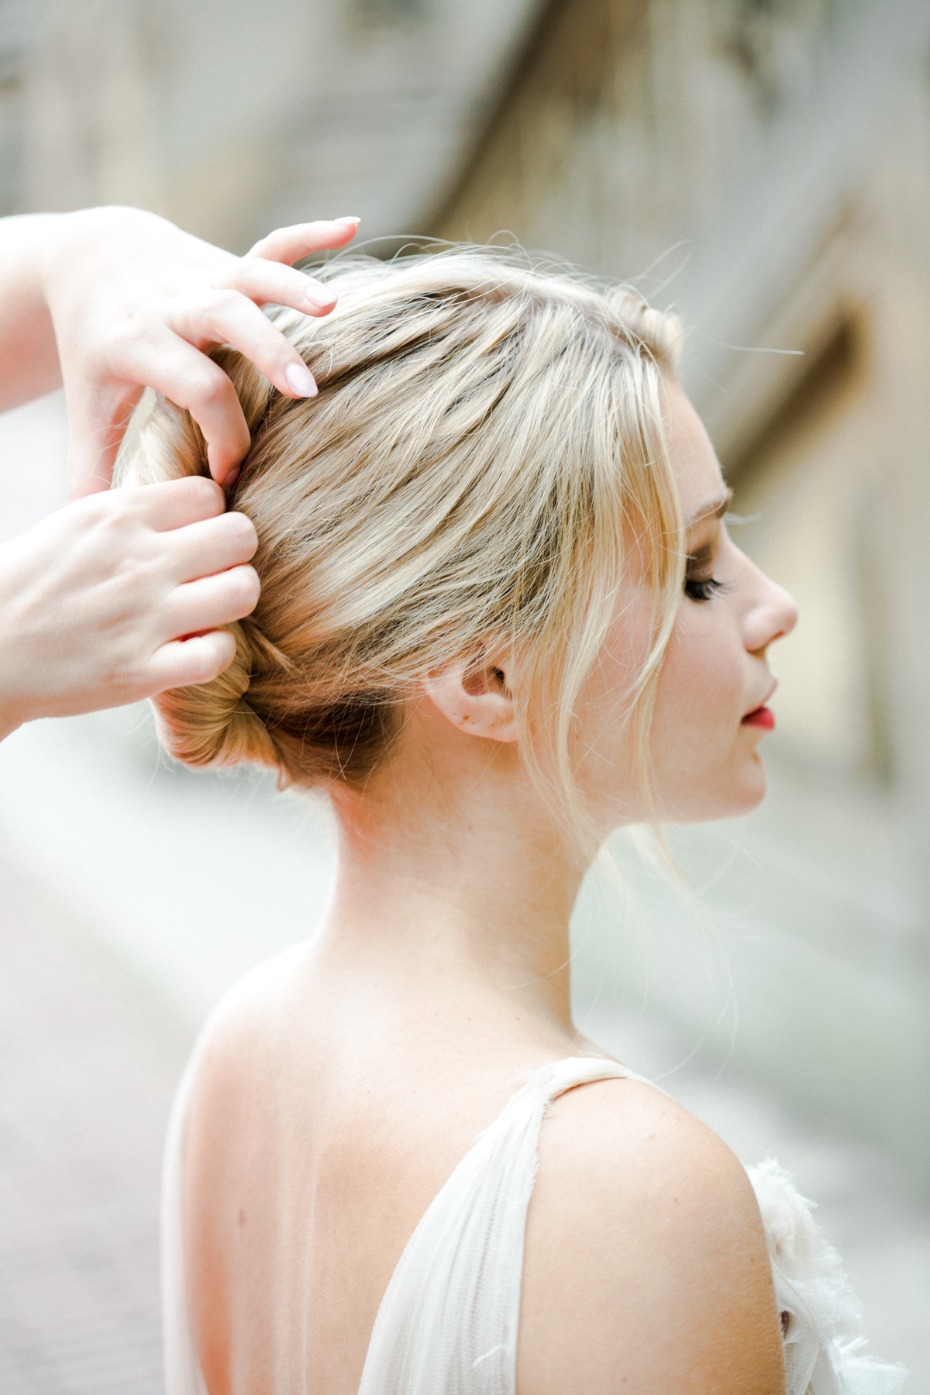
Take the base of a rat tail comb and slide under the hair gently lifting it on the top and sides of the head to add volume that may have gotten lost while twisting your hair. Add any hair accessories as desired. All done!
The Low Messy Pony
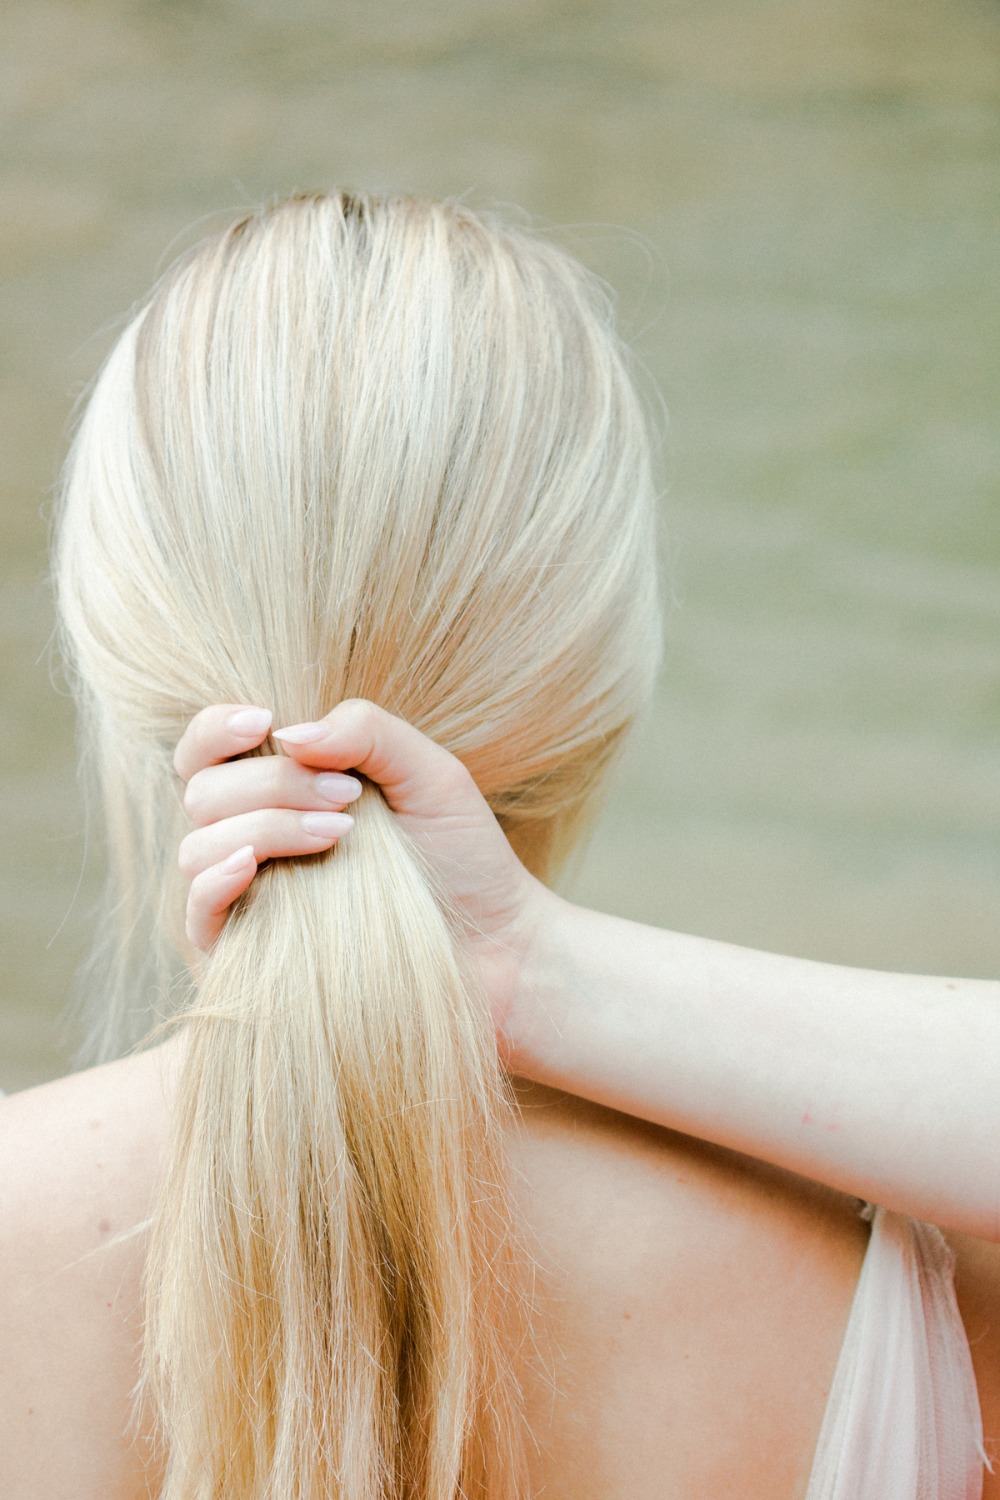
This is a great style on its own or to transition to for the reception so your dance floor ready! Take out all bobby pins and in this case, we kept a side part. Gather all hair to one side and tie with clear rubber-band tying it loosely that the hair is covering the ear and lightly draping the neck.
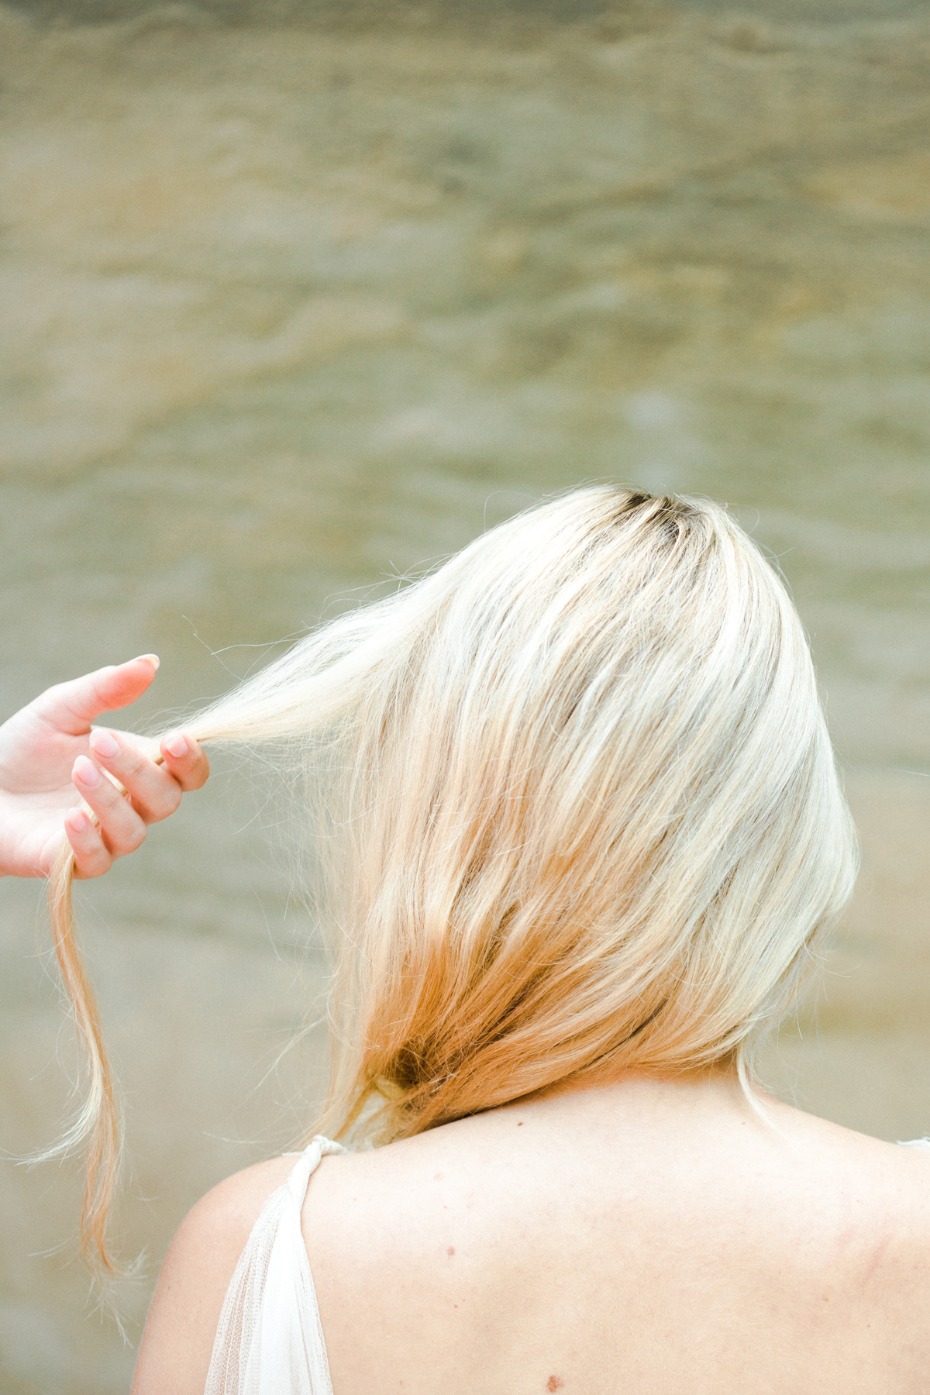
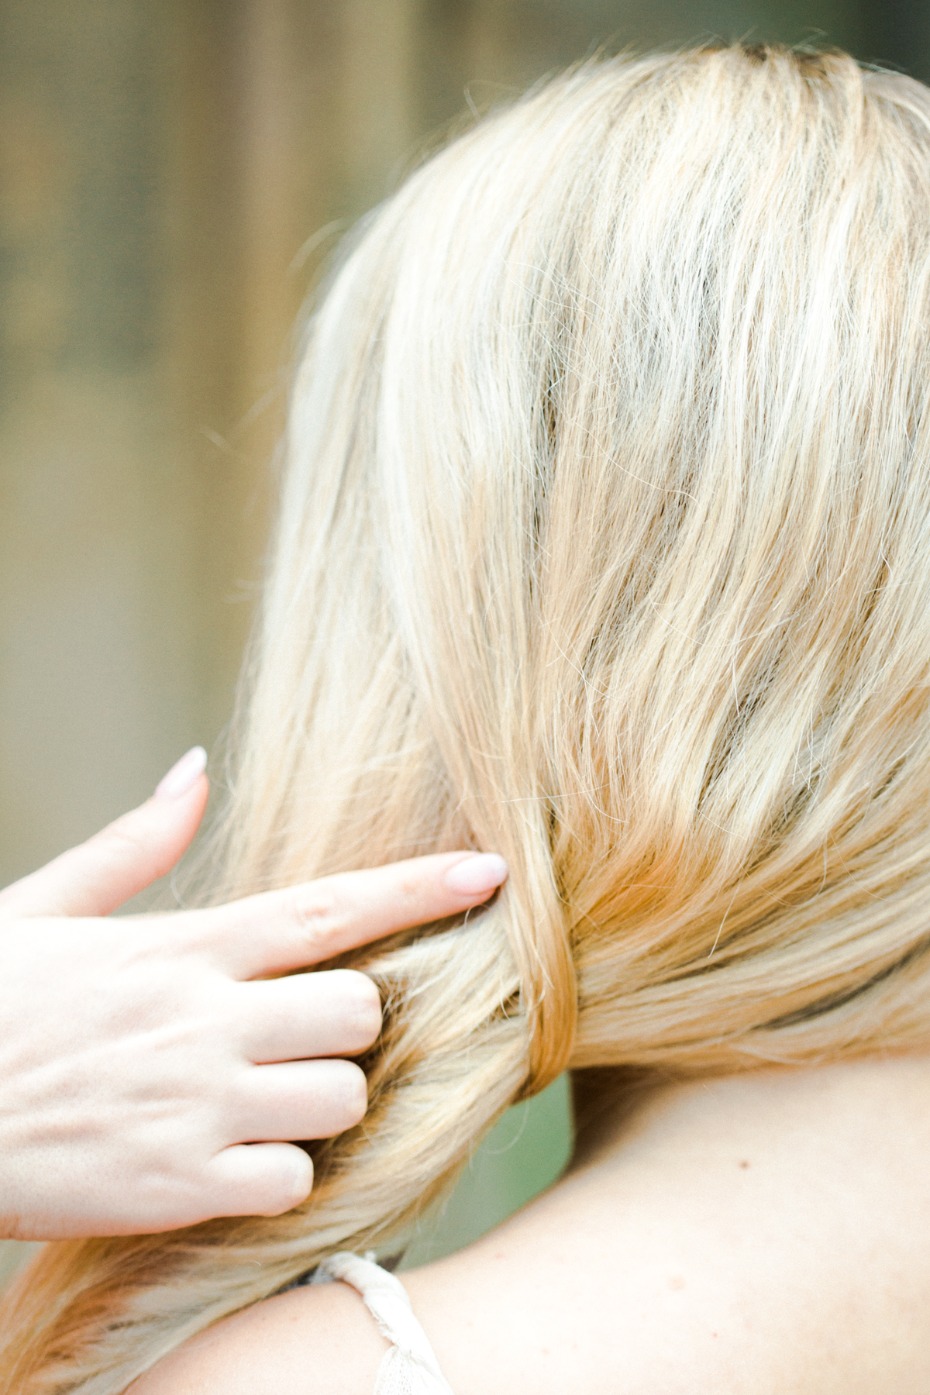
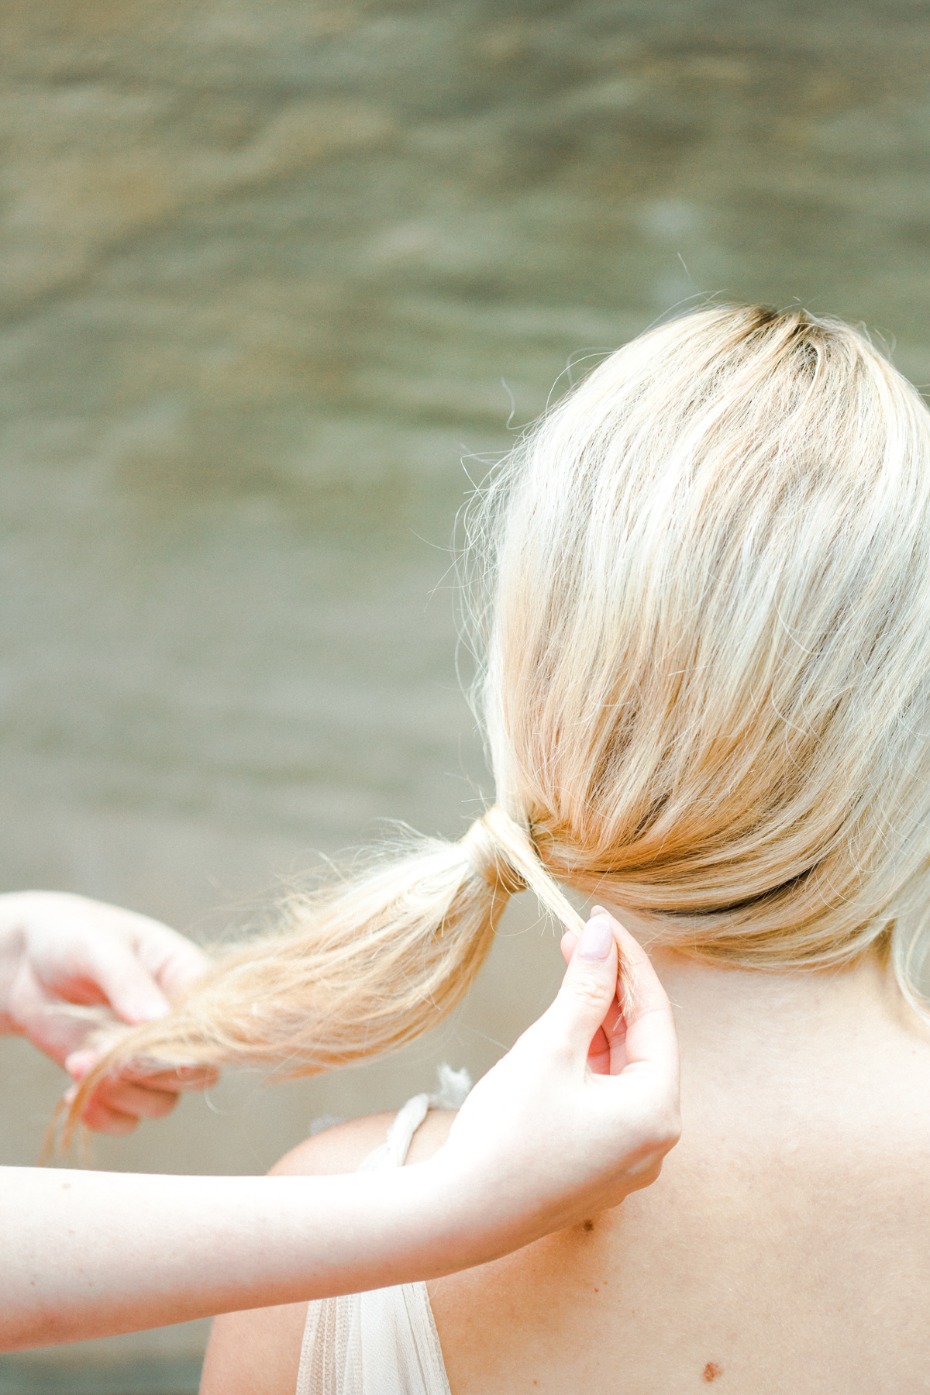
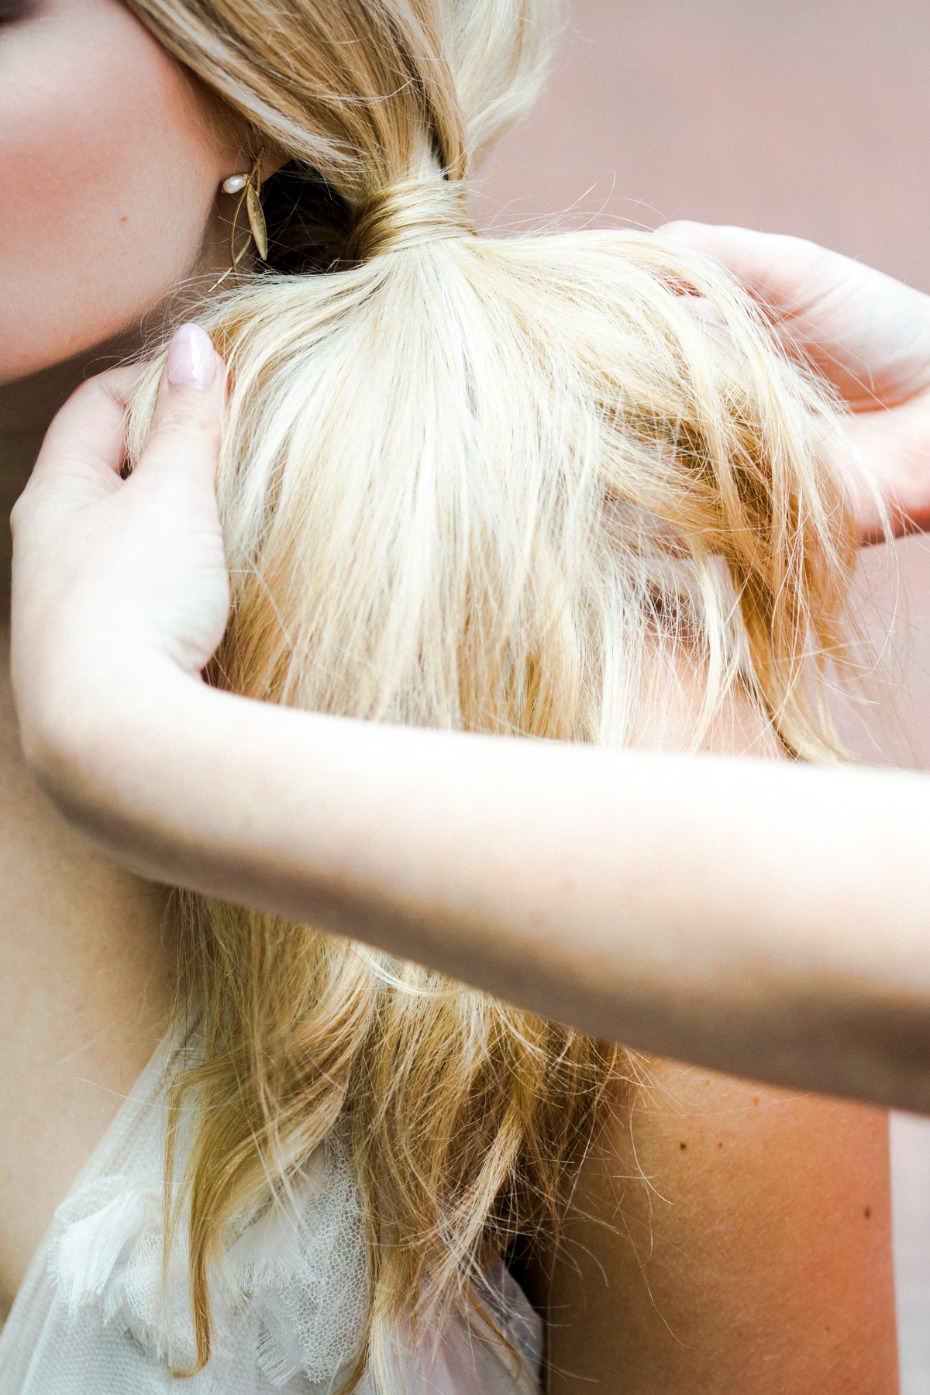
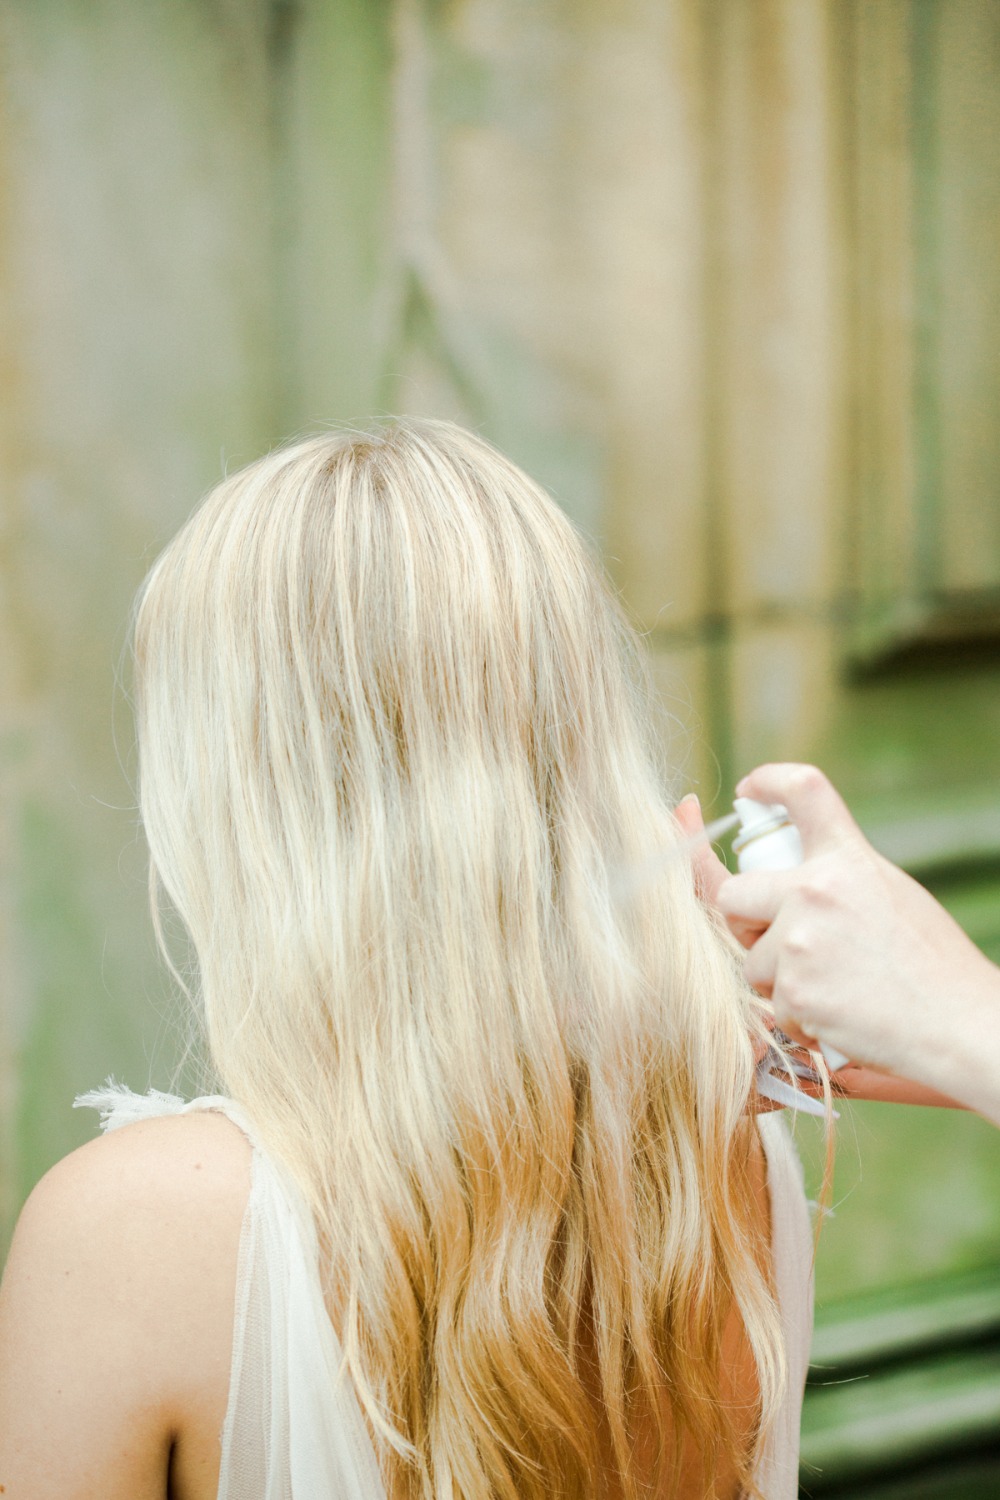
Then simply wrap a small section of hair from underneath the hair and completely cover the rubber-band. Then take your rat tail comb and gently tease the pony slightly and give it a pull to add volume. Then take the base of your comb and again go around the hair going into the pony, slide it under and pulling it away from the scalp to create volume. Add desired hair pins and spray! Finish off with any chosen hair accessories.
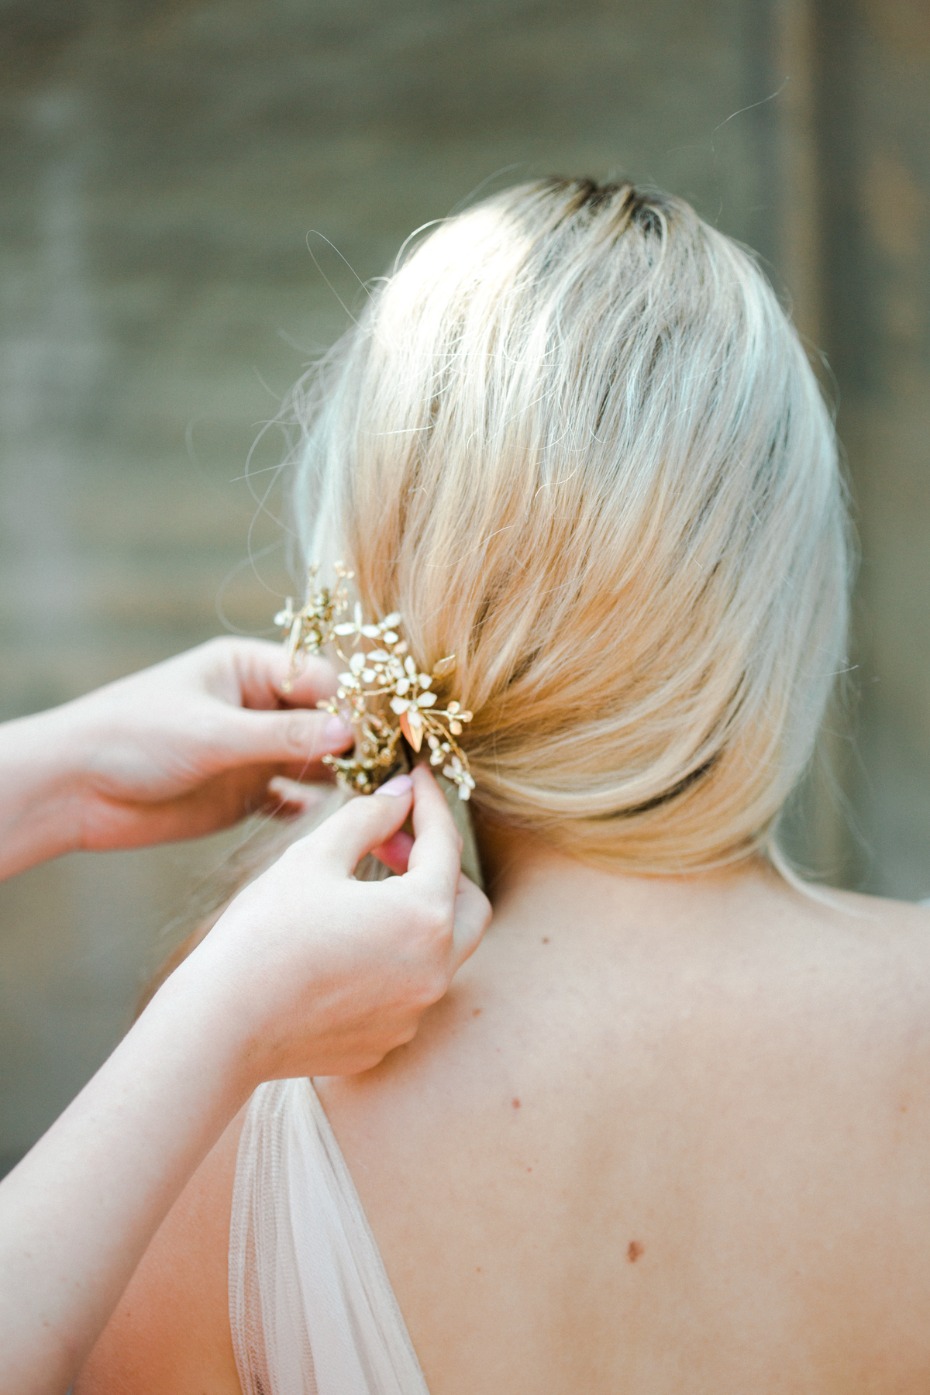
Empowering brides
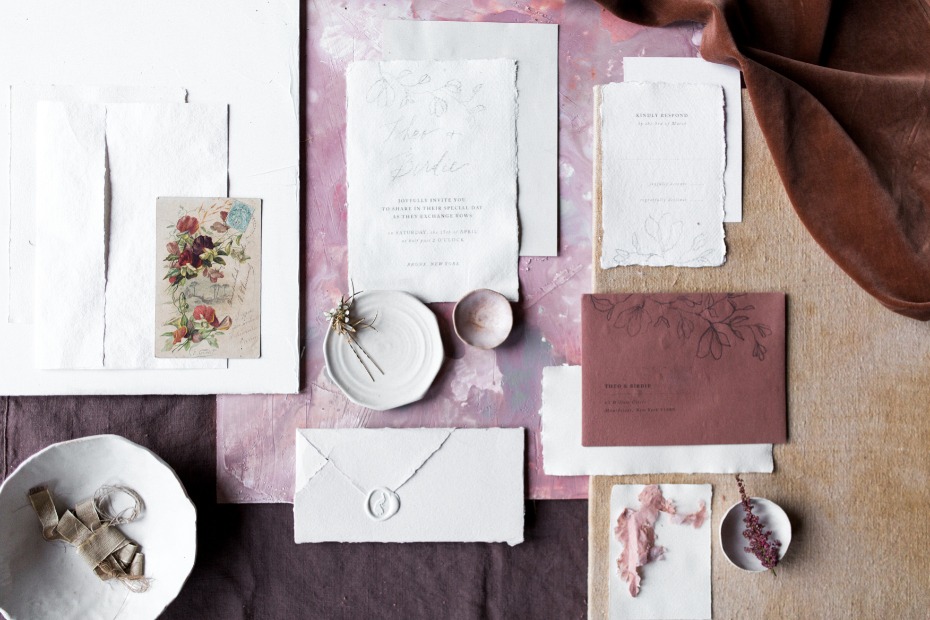
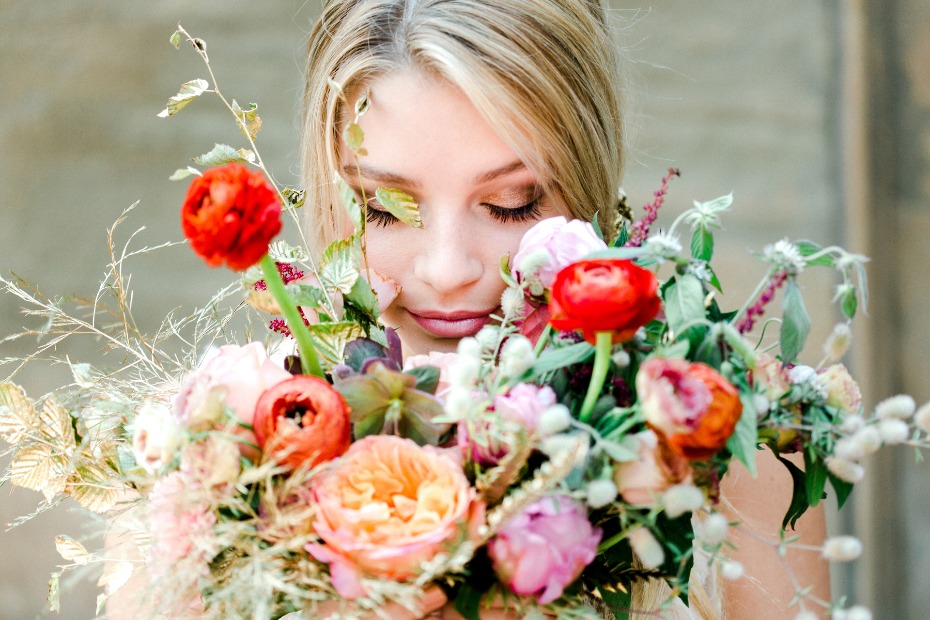
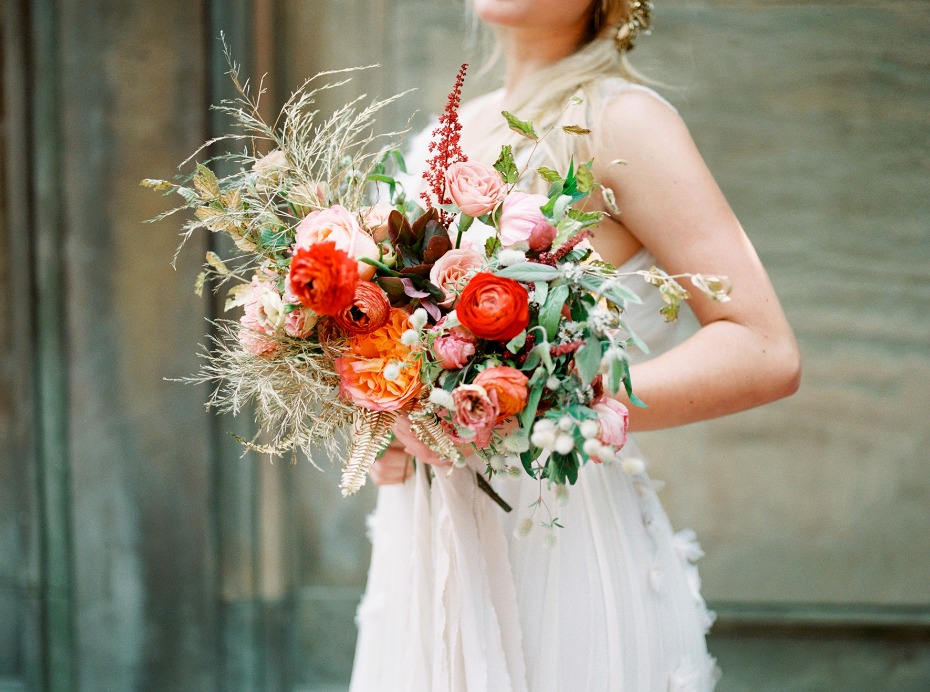
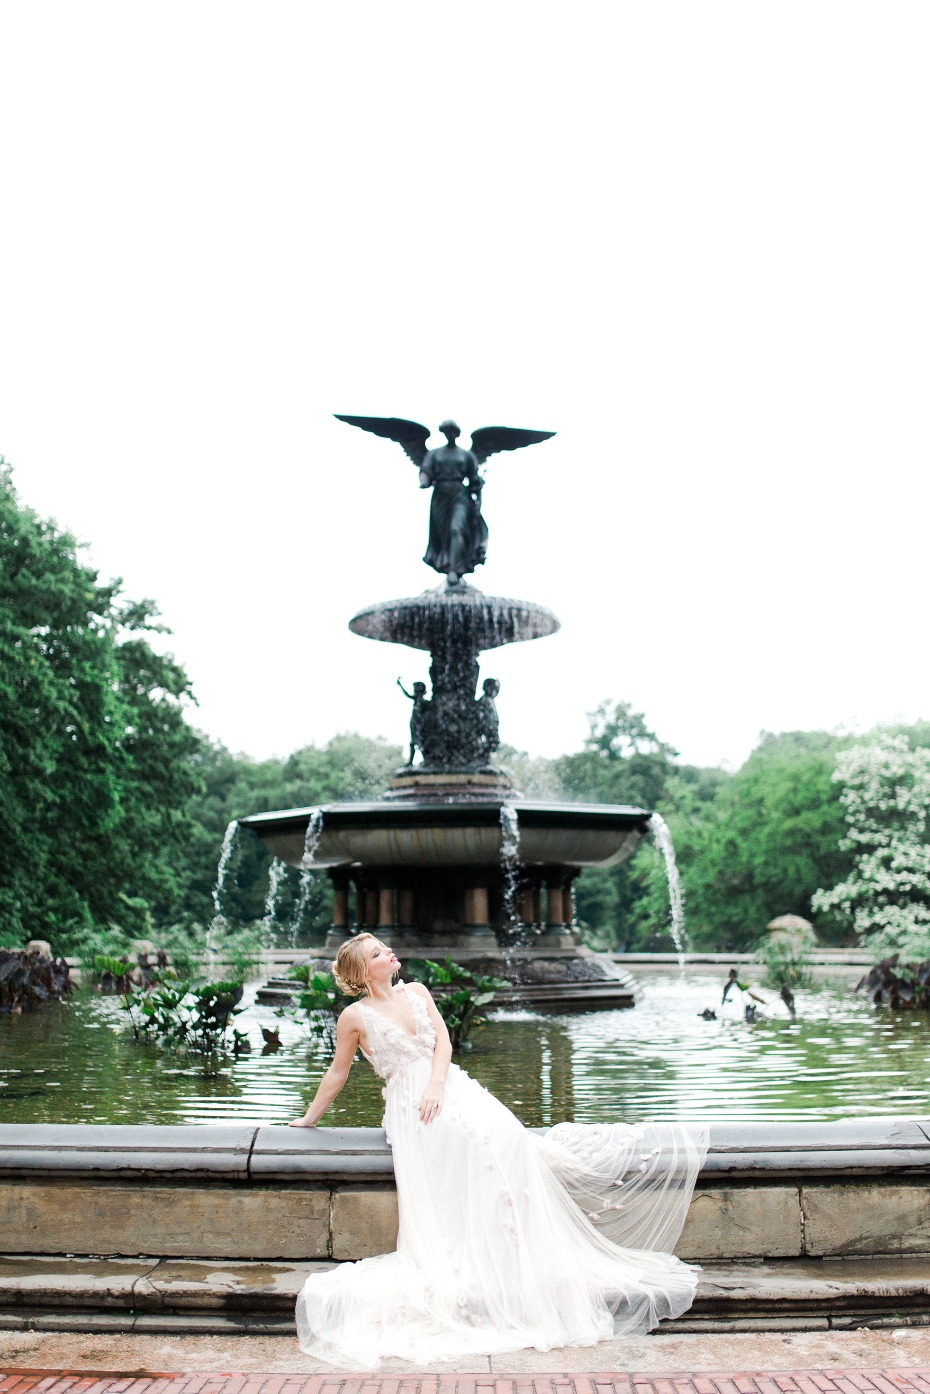
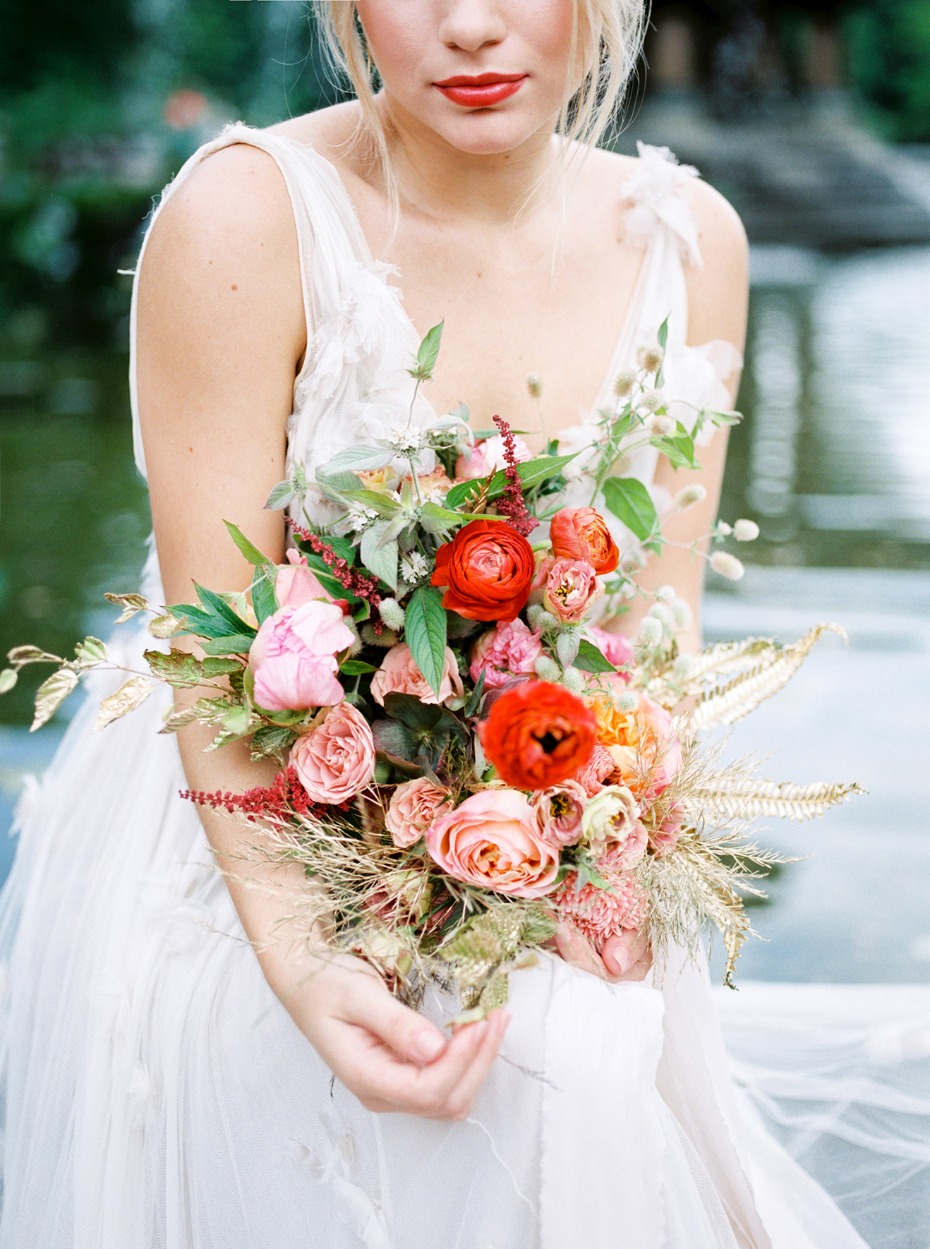
The pieces from Corbielle by Ada are designed to be bent and adjust to fit any hairstyle- allowing each look to be uniquely completed. As a planner and stylist, Emma Natter thought how all of the elements would combine: from the hand painted gold leaves in Cala Floral Studio’s bouquet that matched the dainty hairpiece to the textural elements of Alley and Co’s calligraphy suite that echoed the sheer ethereal feeling of Samuel Couture’s dress. Everything was meticulously chosen to match the romantic nature of Central Park’s Bethesda Fountain. We are so thrilled to not only share a complete bridal inspiration but to empower brides to create the look they desire for themselves.
- Event Planning & Design: Emma Natter
- Flowers: Cala Floral Studio
- Hair Accessories: Corbielle by Ada
- Hair, Makeup & Beauty: Danielle Victoria Boyer
- Model: Madeleine Michael
- Paper Goods & Calligraphy: Alley & Co.
- Photographers: Andrew and Ada
- Photographers: Pilgrim & Co
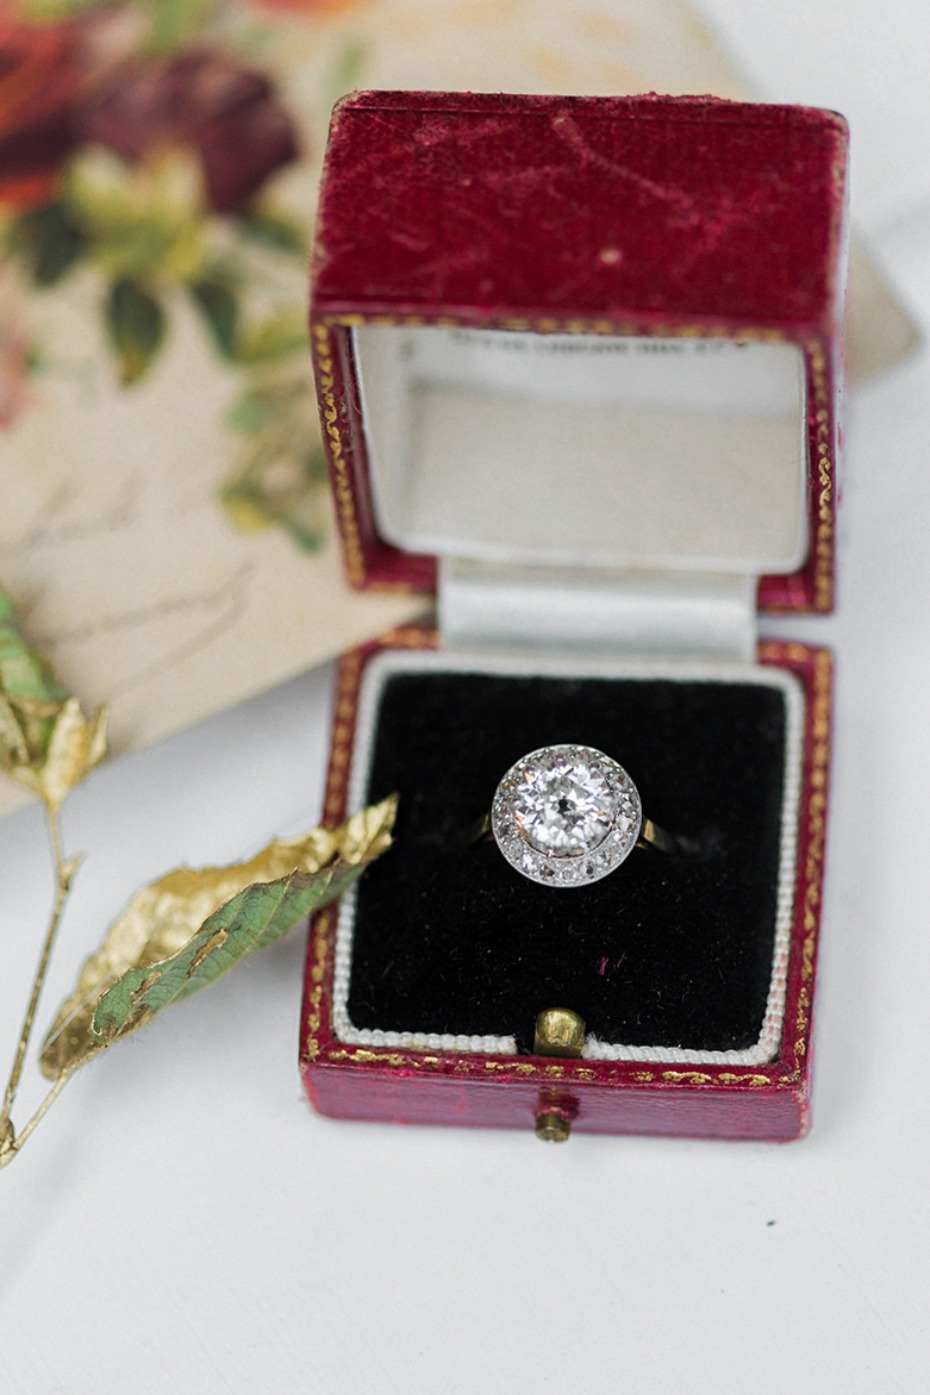
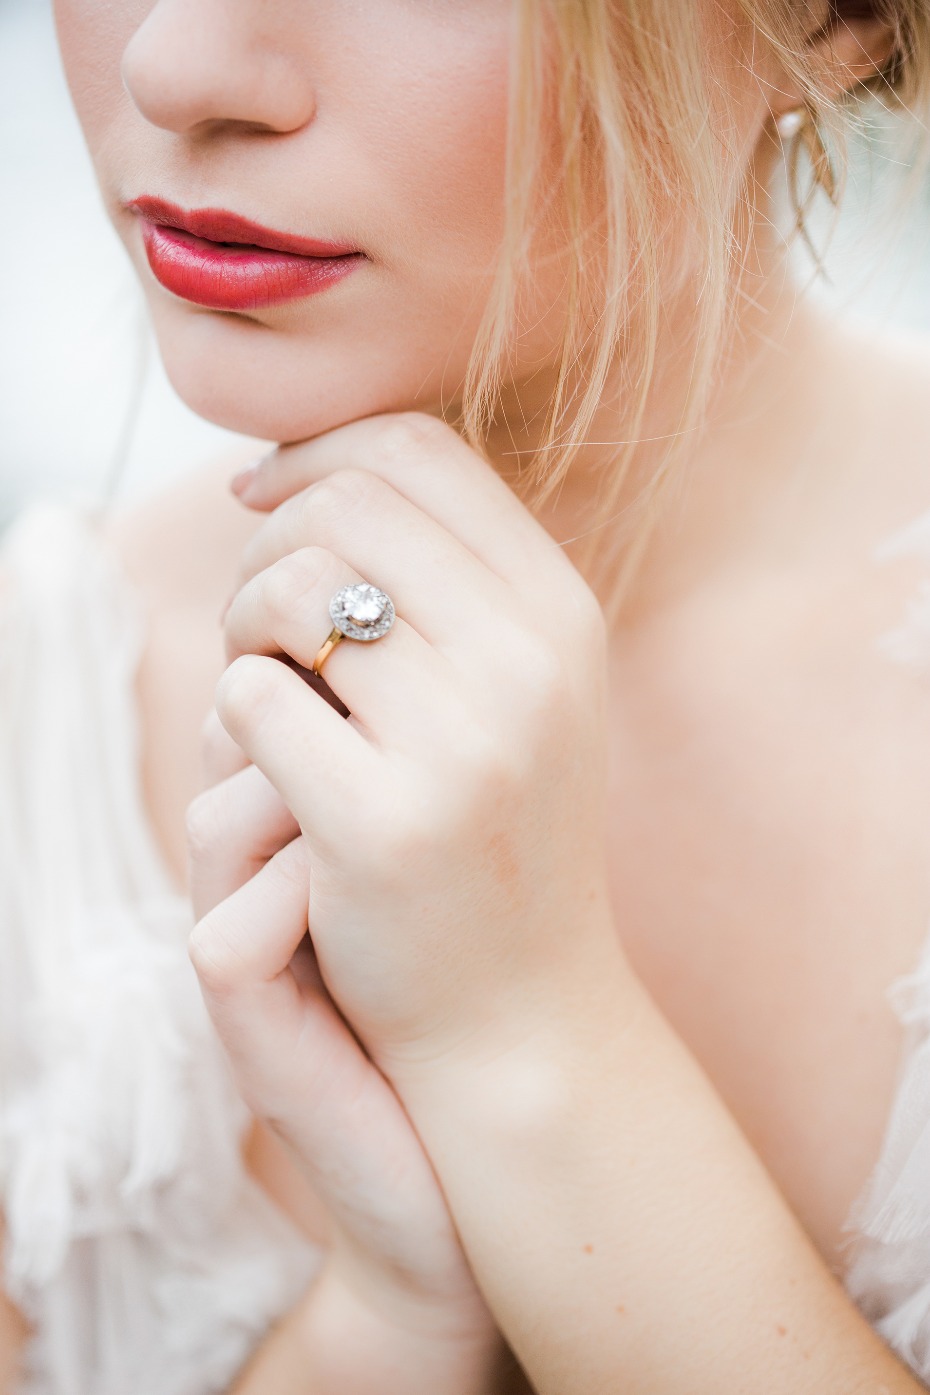
- Ring: Victor Barbone
- Silk Ribbon: Frou Frou Chic
